
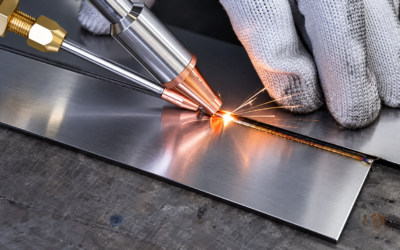
How do you laser weld stainless steel with a handheld laser welder? The key is to match laser power, travel speed, wobble width, shielding gas, and filler wire to the stainless steel grade, material thickness, and joint design.
Handheld laser welding can produce clean, consistent welds on 304 and 316L stainless steel with relatively localized heat input. This makes it useful for sheet metal fabrication, stainless steel cabinets, kitchen equipment, doors, railings, and small-batch production. If you’re sourcing equipment from an aluminum handheld laser welder supplier, keep in mind the settings differ significantly from stainless steel welding.
However, incorrect settings can lead to burn-through, incomplete penetration, porosity, or excessive weld discoloration. Even when a weld looks smooth on the surface, poor fusion underneath can compromise its strength.
Whether you are learning to operate a handheld laser welder or improving an existing production process, this guide explains how to prepare stainless steel, understand welding parameters, select argon or nitrogen, choose the correct filler wire, and troubleshoot common welding problems.
1. How to Prepare Stainless Steel for Handheld Laser Welding
Proper preparation is essential for producing consistent stainless steel laser welds.
Oil, moisture, oxide layers, and poor joint alignment can interfere with laser absorption and molten metal flow, causing defects even when the welding parameters appear correct.
Clean the Surface Before Welding
Before welding, identify the stainless steel grade and inspect both sides of the joint.
A practical preparation process includes:
- Remove oil and grease. Use a suitable non-chlorinated cleaning product to remove fingerprints, cutting fluids, and other contaminants.
- Remove surface contamination. Clean heavy oxides, scale, or embedded particles using methods suitable for stainless steel.
- Use dedicated tools. Avoid carbon steel brushes and grinding wheels that may introduce iron contamination.
- Dry the joint. Make sure cleaning fluid and moisture have been removed before welding.
- Check alignment. Fit the components together and secure them to minimize movement and uneven gaps.
Do not compensate for dirty surfaces by increasing laser power. Contamination can produce porosity, spatter, and inconsistent fusion.
Does 304 vs 316L Affect Welding Settings?
Both 304 and 316L stainless steel can be welded using a suitable handheld fiber laser welding system.
However, differences in alloy composition can influence weld-pool behavior, cracking susceptibility, and corrosion performance.
For similar material thicknesses and joint configurations, an existing validated 304 welding procedure may provide a useful reference when developing a 316L procedure.
But do not automatically increase power or reduce travel speed by a fixed percentage.
Instead, perform a trial weld and evaluate penetration, bead shape, heat tint, and any visible cracking.
For production components requiring corrosion resistance, confirm the welding procedure and filler metal against the actual alloy and service conditions.
Keep Joint Gaps Consistent
Handheld laser welding generally works best when the joint is clean, properly aligned, and consistently fitted.
Excessive or changing gaps can cause unstable welding, incomplete fusion, or excessive filler-wire buildup.
Closely fitted butt joints may be welded without filler wire when the procedure has been validated.
For fillet welds, corner joints, or assemblies with larger gaps, filler wire may be necessary.
The goal is to maintain a stable joint so the laser energy can be used for fusion rather than compensating for poor fit-up.
2. Handheld Laser Welder Settings for Stainless Steel
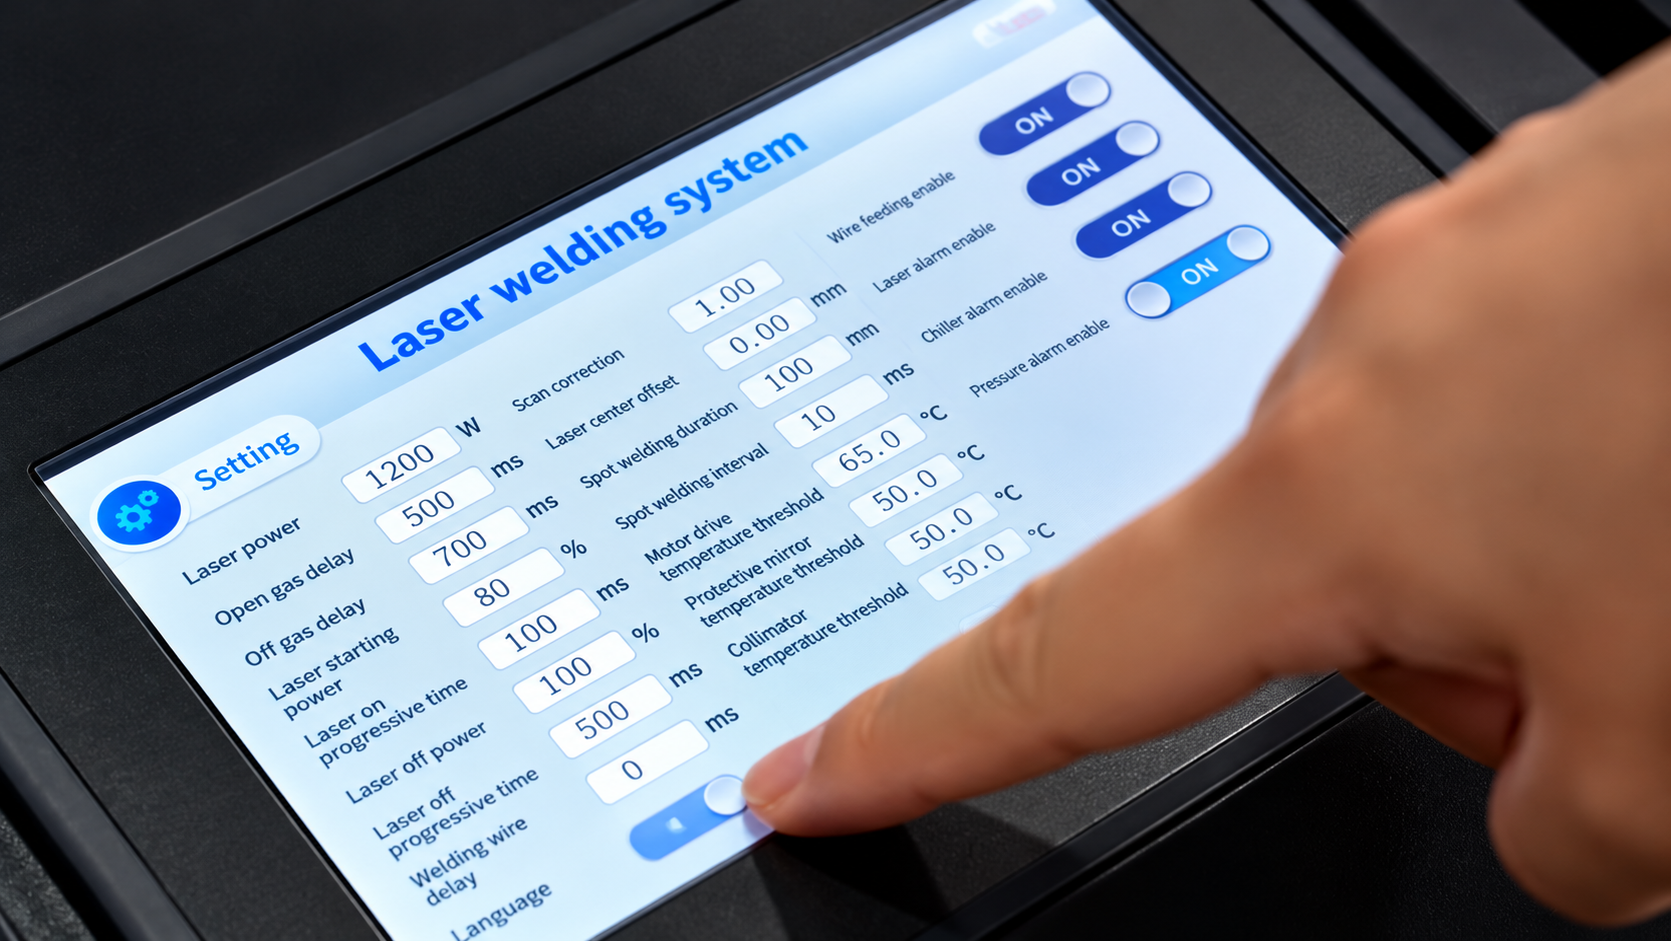
Laser power, welding speed, scanning width, and scanning frequency all influence the final weld.
However, there is no universal parameter chart that works on every handheld laser welder.
A 1500W machine and a 2000W machine may require different settings to weld the same material. Even machines with identical rated power can behave differently because of their welding heads, focus position, control software, and beam oscillation patterns.
The following table shows an illustrative set of published 304 stainless steel settings from one stainless steel welding equipment supplier. It demonstrates how parameters may change with thickness; it is not a validated MaxWave preset or a substitute for the specific machine manual.
Stainless Steel Laser Welding Settings by Thickness
| Stainless Steel Thickness | Example Laser Power | Wobble Width | Scan Frequency | Welding Speed |
|---|---|---|---|---|
| 0.5 mm | 20% | 1.5 mm | 100 Hz | 17 mm/s |
| 0.8 mm | 25% | 1.5 mm | 100 Hz | 17 mm/s |
| 1.0 mm | 30% | 1.8 mm | 100 Hz | 17 mm/s |
| 1.5 mm | 40% | 1.8 mm | 100 Hz | 17 mm/s |
| 2.0 mm | 50% | 2.0 mm | 100 Hz | 17 mm/s |
| 3.0 mm | 70% | 2.5 mm | 80 Hz | 17 mm/s |
Important: These values come from one manufacturer’s 304 stainless steel reference table. The percentage is specific to that equipment’s power and control configuration. It does not represent a universal percentage of 1500W or 2000W output. Actual settings must be confirmed for your laser source, welding head, joint type, and shielding conditions.
The table illustrates a general trend: thicker stainless steel may require greater total energy or changes in weld geometry to achieve sufficient penetration. For more detail on choosing a stainless steel laser welder manufacturer by thickness and power, see the full breakdown.
However, higher power is not always the correct solution. Beam focus, travel speed, joint fit-up, and wobble settings can be equally important.
How to Adjust Power, Speed, and Wobble
Laser Power
Laser power influences the available energy for melting and penetration.
Insufficient power may produce a visible bead without adequate fusion. Excessive power can cause burn-through, spatter, undercut, or an oversized weld pool.
Start with the machine manufacturer’s recommended preset for the actual material and thickness, then make controlled adjustments based on the test result.
Welding Speed
Travel speed determines how long the laser interacts with each section of the joint.
Moving too slowly can increase heat buildup and distortion. Moving too quickly may leave incomplete fusion or irregular weld formation.
Maintain consistent movement and evaluate the weld rather than relying on a theoretical maximum welding speed.
Wobble Width
Beam oscillation distributes the laser over a selected area of the joint.
A wider wobble can help increase coverage across a seam, but excessive width may reduce energy concentration and penetration.
Narrower patterns can be useful when the joint requires concentrated energy, while wider patterns may suit selected fillet or gap-filling applications.
Use the pattern supported by your welding head and validated for the joint.
Scanning Frequency
Scanning frequency controls the oscillating movement of the laser beam.
It should not be confused with the laser source’s pulse or modulation frequency.
Different systems may use very different frequency settings to achieve similar weld geometry.
Avoid copying scanning frequency values between unrelated controllers without checking how each machine defines the parameter.
How to Find the Right Settings
A reliable setup procedure is to start with the correct machine preset and test on material matching the production part.
During testing:
- Keep the material grade, thickness, and joint configuration consistent.
- Confirm the focal position and working distance.
- Adjust one major parameter at a time.
- Inspect both the weld surface and the root side where accessible.
- Verify actual penetration and joint quality using appropriate sample testing.
For production-critical components, visual appearance alone is not enough to establish weld strength or full penetration.
A properly configured fiber laser welding machine should support repeatable parameter adjustment, but final settings must be validated on the actual workpiece.
3. Argon vs Nitrogen for Stainless Steel Laser Welding
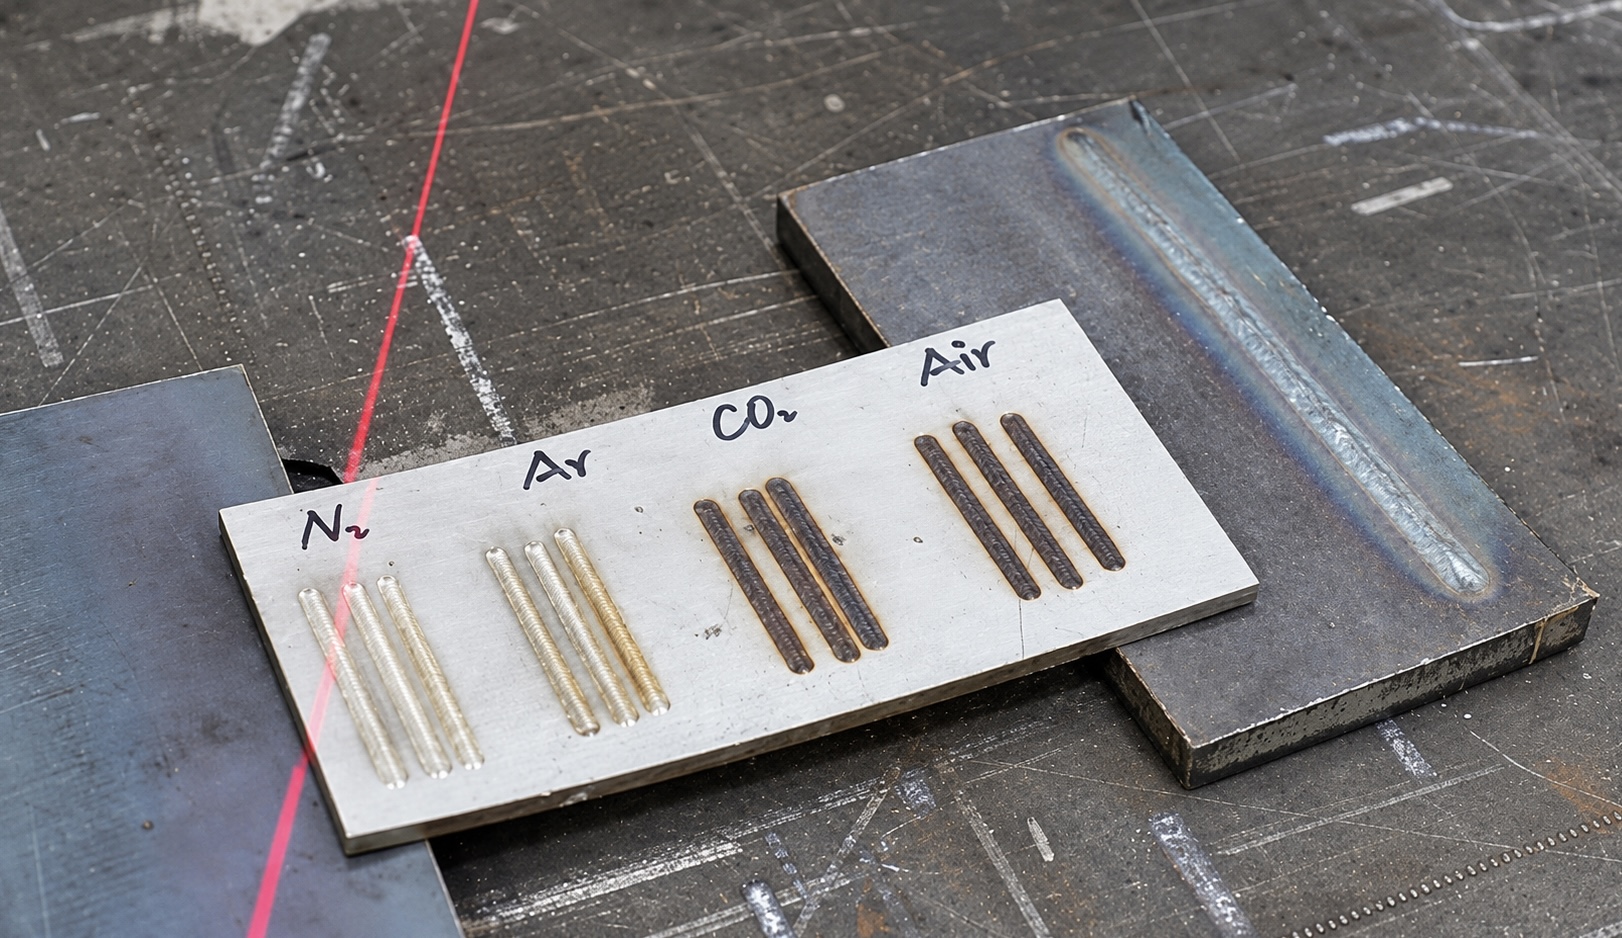
Shielding gas protects the molten weld pool from atmospheric oxygen and other contaminants.
Without appropriate shielding, stainless steel welds may develop excessive oxidation, porosity, and undesirable changes in surface appearance.
Argon and nitrogen are commonly considered for stainless steel laser welding, but they are not interchangeable in every application, so working with a stainless steel laser welding gas supplier to test both options before committing to one is a practical approach.
When Should You Use Argon?
High-purity argon is a practical starting choice for many 304 and 316L stainless steel laser welding applications.
Because argon is inert, it provides shielding without introducing nitrogen into the weld metal.
It is particularly worth considering for:
- Visible stainless steel welds requiring a clean appearance.
- Corrosion-sensitive fabricated components.
- Stainless steel tanks and pipe assemblies.
- Applications where the welding procedure specifies argon.
Some handheld welding systems use gas flows around 12–20 L/min as a general operating reference, but the correct value depends on nozzle geometry, working distance, drafts, and machine specifications.
Increasing gas flow excessively does not necessarily improve shielding. Turbulent flow can draw surrounding air into the weld zone.
Always use the flow and gas purity appropriate to the validated welding procedure.
Can You Use Nitrogen Instead?
Nitrogen can also be suitable for certain stainless steel laser welding applications, particularly with compatible austenitic grades and appropriately qualified procedures.
It may offer operating-cost advantages in facilities with a reliable nitrogen supply.
However, nitrogen can influence weld-metal composition and metallurgical behavior, so it should not be treated as a universal replacement for argon.
For 316L components requiring specific corrosion performance, or for other stainless steel grades with different metallurgical characteristics, verify nitrogen compatibility before production.
What About Backside Shielding?
For full-penetration welds, particularly pipes, tubing, and corrosion-sensitive assemblies, protecting the root side may be necessary.
A clean-looking weld on the top surface can still develop heavy oxidation underneath if the root is exposed to air during welding.
Where the application requires it, use an approved backing or purging arrangement to protect the root.
This is especially important for stainless steel equipment used in food processing, chemical handling, and other environments where corrosion resistance is critical.
4. Choosing Filler Wire for Stainless Steel Laser Welding
Filler wire is not always necessary for handheld laser welding.
Closely fitted stainless steel joints can sometimes be welded without additional metal, a process known as autogenous welding.
However, filler wire becomes useful when the joint has a gap, requires reinforcement, or needs added weld volume.
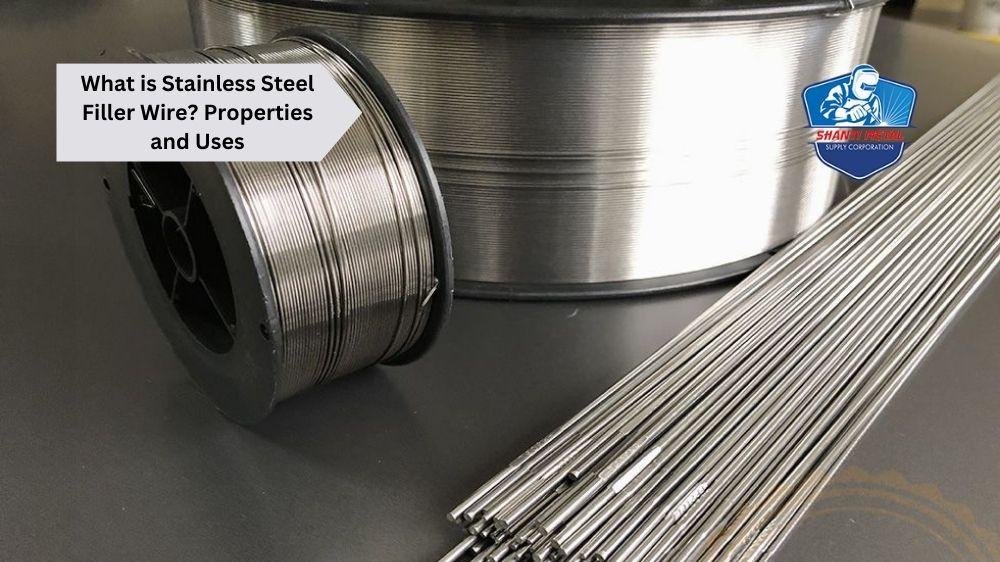
Which Stainless Steel Welding Wire Should You Use?
For common stainless steel applications, filler metal selection generally follows the base material and joint requirements.
| Base Material | Common Filler Wire | Typical Application |
|---|---|---|
| 304 / 304L Stainless Steel | ER308L | General stainless steel fabrication |
| 316 / 316L Stainless Steel | ER316L | Corrosion-resistant stainless assemblies |
| Stainless Steel to Carbon Steel | ER309L | Dissimilar metal welding |
| Mixed Stainless Steel Grades | Application-dependent | Confirm filler selection against both alloys |
ER308L is commonly used for welding 304 stainless steel because its composition is suited to that alloy family.
ER316L contains molybdenum and is commonly selected for 316 and 316L stainless steel applications.
ER309L is often used for joining stainless steel to carbon steel because it accommodates the different weld-metal compositions.
For demanding corrosion environments or critical structures, filler selection should follow the approved welding procedure rather than a generic material chart.
What Wire Diameter Should You Choose?
Wire diameter should match the workpiece thickness, joint design, required filler volume, and capability of the wire feeder.
For example, many commercial handheld laser welding systems support common wire sizes such as 0.8 mm, 1.0 mm, and 1.2 mm.
The MaxWave handheld laser welding machine offers wire feeding options across a 0.8–1.6 mm range, allowing the configuration to be matched to different fabrication tasks.
For thin sheet metal, avoid feeding more filler than the weld pool can absorb.
For larger fillet welds or joints requiring additional filling, a suitable larger wire or different feeding configuration may be appropriate.
How to Set Wire Feed Speed
Wire feed speed must be coordinated with the welding speed and the amount of metal being melted.
If wire feeds too quickly, it may accumulate on the surface, create an oversized bead, or leave incompletely fused filler.
If the feed rate is too low, gaps may remain insufficiently filled.
Start with a handheld laser welding wire feeding supplier‘s recommended wire-feed settings, then adjust based on weld-pool behavior and the finished sample.
Keep the wire aligned with the intended weld area and ensure the feeding mechanism operates smoothly.
A wider wobble pattern or faster wire feed cannot automatically compensate for poor joint preparation. Reliable welding begins with consistent alignment and the correct filler material.
5. How to Weld Stainless Steel and Fix Common Problems
Once the material, settings, shielding gas, and wire have been selected, the next priority is maintaining a stable welding process.
Handheld laser welding can reduce heat input and finishing work on suitable stainless steel assemblies, but operator movement and joint consistency still affect the result.
Step-by-Step Stainless Steel Laser Welding
Step 1: Establish a Safe Welding Area
Handheld laser welders are high-power Class 4 laser systems.
Use a properly engineered laser-controlled work area with appropriate beam containment, interlocks, restricted access, and fume extraction. Operators need training and laser-rated protective equipment appropriate to the wavelength and assessed exposure hazards.
Ordinary welding glasses or an unverified welding helmet do not provide adequate protection from the laser beam.
Step 2: Secure the Workpiece
Clamp the stainless steel parts securely and check the alignment, joint gap, and surrounding surfaces.
Make sure the intended beam path is controlled and that hazardous transmitted or reflected radiation cannot escape the protected area.
Step 3: Confirm Gas, Wire, and Welding Settings
Check the shielding gas supply, select the appropriate material preset, and confirm the welding-head setup.
If filler wire is required, make sure the wire diameter, feed direction, and feed speed are suitable for the joint.
Step 4: Perform a Test Weld
Use a representative sample of the same stainless steel grade, thickness, and joint configuration.
Inspect weld formation and adjust the settings only as necessary.
Step 5: Complete the Weld
Maintain a consistent working distance, welding-head position, and travel speed according to the validated procedure.
Avoid unnecessary pauses or uneven movement that could concentrate heat in one location.
Step 6: Inspect the Result
Check the finished weld for incomplete fusion, excessive reinforcement, cracks, porosity, undercut, discoloration, and distortion.
For structural or corrosion-critical components, perform the required inspection and testing before accepting the weld.
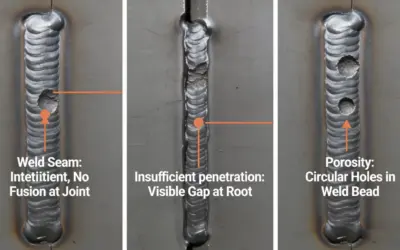
Common Stainless Steel Laser Welding Problems
| Problem | Possible Cause | Recommended Check |
|---|---|---|
| Incomplete penetration | Insufficient energy, excessive travel speed, incorrect focus | Check focus and joint fit; adjust energy or speed through controlled testing |
| Burn-through | Excessive heat input, slow travel, thin material | Reduce unnecessary heat input and verify joint support |
| Porosity or pinholes | Surface contamination, moisture, poor shielding | Clean the joint and check gas coverage |
| Excessive heat tint | Oxidation, poor shielding, excessive local heating | Check gas flow, travel speed, and heat input |
| Wire buildup | Wire feed exceeds available melting capacity | Reduce feed rate or revise the validated welding setup |
| Irregular bead width | Inconsistent movement, wobble, or working distance | Stabilize the workpiece and welding-head position |
| Undercut | Excessive energy concentration or unsuitable travel conditions | Recheck power, speed, filler supply, and joint geometry — insights from a handheld laser welder factory can help identify overlooked causes. |
How to Reduce Heat Tint and Discoloration
Yellow, brown, purple, and blue heat tint around stainless steel welds indicates surface oxidation.
The amount and appearance of heat tint depend on temperature history, alloy, surface condition, and shielding effectiveness.
To reduce unwanted discoloration, focus on proper gas coverage, consistent travel speed, controlled heat input, and suitable backside shielding where required.
Do not assume that a brighter-looking weld is automatically stronger or more corrosion-resistant.
For corrosion-critical stainless steel components, post-weld cleaning may be needed to remove heat tint and the affected surface layer. Follow the applicable inspection and surface-treatment requirements.
Conclusion
Successful stainless steel handheld laser welding depends on the right combination of power, travel speed, wobble settings, shielding gas, filler wire, and joint preparation.
For 304 and 316L stainless steel, begin with clean, properly fitted material and a machine-specific welding preset. Use suitable shielding gas, select compatible filler wire when needed, and verify the weld on representative samples before production.
For fabrication shops handling stainless steel cabinets, kitchen equipment, doors, railings, and repeated sheet-metal work, an appropriately configured handheld laser welder from a trusted laser welding machine manufacturer can provide a practical alternative to traditional welding methods, particularly when controlled heat input and reduced finishing work are important.
However, the best machine is not necessarily the one with the highest power rating. It is the one that can produce consistent, acceptable welds on the materials and joints your business handles most often.
Need help choosing a handheld laser welder or setting up stainless steel welding? Contact MaxWave to discuss your material grade, thickness, joint type, and production requirements. Our team can help you compare suitable equipment configurations, review sample welds, and recommend machine-specific welding parameters for your application.

0 Comments