
Can you weld aluminum with a handheld laser welder?
Yes. Handheld laser welding can produce clean, consistent welds on aluminum, but the process requires more careful preparation and parameter control than welding stainless or mild steel.
Aluminum reflects more laser energy, transfers heat quickly, and forms a stubborn oxide layer. These characteristics make it easier to encounter porosity, incomplete fusion, burn-through, or cracking when the setup is incorrect.
For successful results, you need to match the aluminum alloy, material thickness, laser settings, shielding gas, and filler wire.
A handheld laser welder can offer fast, controlled welding with relatively low distortion, provided the joint is properly prepared and the settings are tested before production.
This guide covers the complete process, from preparing aluminum and selecting argon or filler wire to setting the machine, making a test weld, and correcting common defects.
1. Why Is Aluminum Harder to Laser Weld?
Aluminum behaves differently from steel under a laser. Understanding these differences helps explain why stainless-steel settings cannot simply be copied onto aluminum.
High Reflectivity
Aluminum reflects a significant portion of incoming laser energy, particularly before a stable weld pool forms.
This makes weld initiation more demanding and can require greater power density or a different process setup than steel of similar thickness.
However, increasing power too aggressively can cause spatter or burn-through once the metal begins absorbing more energy.
High Thermal Conductivity
Aluminum transfers heat away from the welding area much faster than steel.
If laser power is insufficient or travel speed is too high, the joint may show a visible bead without adequate penetration.
On thin material, the opposite problem can occur: excessive power or slow movement can quickly overheat the joint.
The goal is to balance laser power, travel speed, wobble width, and joint fit-up to maintain stable fusion.
Tough Oxide Layer
Aluminum naturally develops a surface oxide layer with a much higher melting temperature than the base metal.
If oxide, oil, or moisture remains around the joint, it can interfere with fusion and contribute to weld defects.
That is why surface preparation is especially important when using a fiber laser welder on aluminum.https://www.youtube.com/embed/OEzYZHUG_g0
2. How Should You Prepare Aluminum?
Good aluminum welds start with clean metal and tight joint fit-up.
Handheld laser welding is generally less forgiving of contamination and inconsistent gaps than traditional TIG or MIG welding. Proper preparation helps prevent porosity, incomplete fusion, and irregular weld beads.
Clean Oil and Oxide First
Remove oil, coolant, fingerprints, and marking residue before welding.
A practical cleaning sequence is:
- Degrease the joint using a suitable non-chlorinated cleaner.
- Remove surface oxide with a stainless-steel brush dedicated to aluminum.
- Wipe away remaining particles and debris.
- Allow the joint to dry completely.
- Keep the cleaned surface free from handling contamination.
Use a brush reserved for aluminum to avoid transferring steel particles to the surface.
Do not compensate for inadequate cleaning by increasing laser power. Contamination can remain trapped in the weld pool, causing porosity and unstable fusion.
Keep the Joint Gap Tight
Large or inconsistent gaps can cause incomplete fusion, unstable filler-wire feeding, and uneven bead formation.
Keep the parts properly aligned and use fixtures where necessary, particularly for thin sheet, long seams, and components prone to movement or distortion.
A cleaner, tighter joint generally requires less filler and less heat, making the welding process easier to control.
If your parts regularly have wide or irregular gaps, test the joint before choosing a machine. In some cases, TIG or MIG may offer greater gap tolerance.
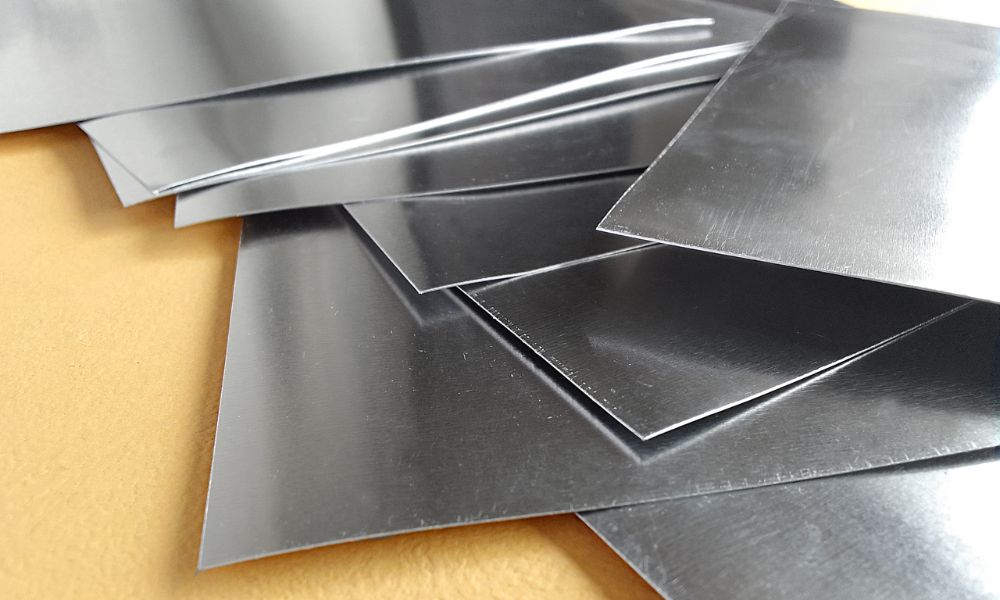
3. What Settings, Gas, and Wire Should You Use?
There is no universal aluminum laser welding setting that works on every machine.
Laser source characteristics, welding-head design, wobble patterns, and control systems can all affect the result.
The following ranges are illustrative starting references for setup evaluation, not validated production presets. Confirm the appropriate parameters with your machine manufacturer and test them on matching material before production.
Aluminum Laser Welding Settings by Thickness
| Aluminum Thickness | Power Class | Reference Travel Speed | Reference Wobble Width |
|---|---|---|---|
| 1.0 mm | Around 1000W | 40–80 mm/s | 1.0–1.5 mm |
| 1.5 mm | 1000–1500W | 30–60 mm/s | 1.2–1.8 mm |
| 2.0 mm | 1500–2000W | 20–45 mm/s | 1.5–2.2 mm |
| 3.0 mm | Around 2000W | 15–30 mm/s | 1.8–2.5 mm |
| 4.0 mm | 2000–3000W | 10–25 mm/s | 2.0–3.0 mm |
These values should not be applied automatically to every alloy or handheld laser welder.
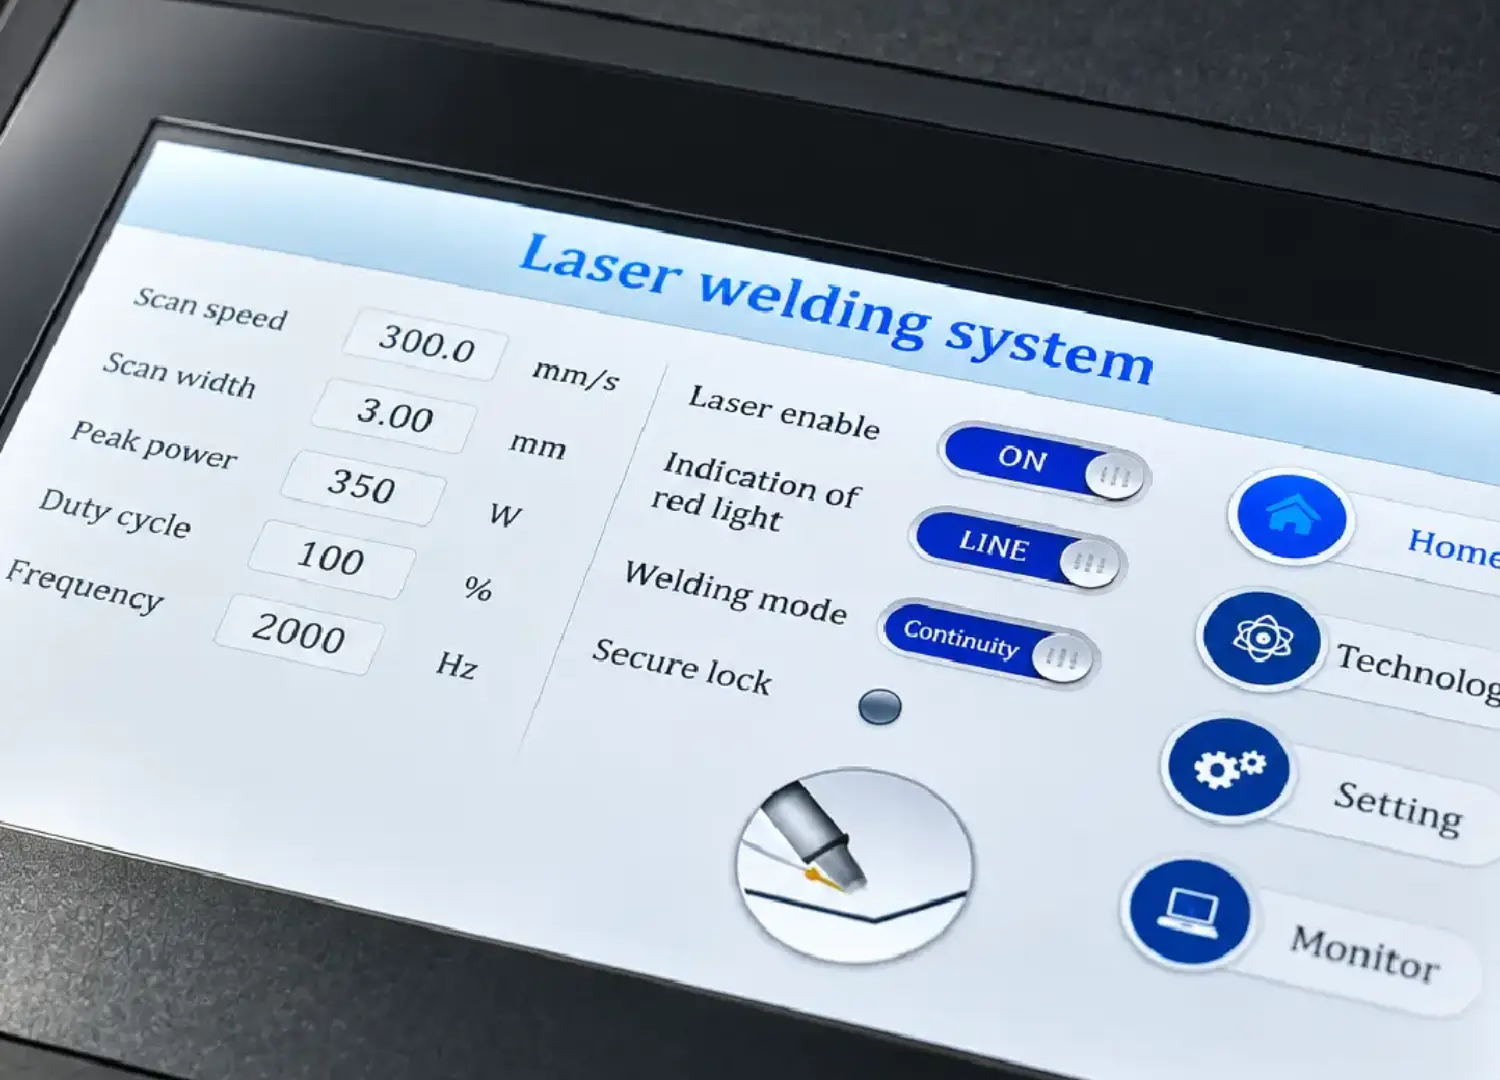
Power and Travel Speed: Higher power can increase penetration, while slower travel delivers more energy per unit length. If fusion is insufficient, first check focus, joint fit-up, and surface preparation before gradually adjusting power or speed.
Wobble Width: A wider wobble can help distribute energy across the joint, but excessive width may reduce energy concentration and penetration. Match the scan pattern to the joint rather than using the widest available setting.
Focus Position: Verify the correct focal position using the machine manufacturer’s instructions. Incorrect focus can cause incomplete fusion or unstable weld formation even when the power setting appears sufficient.
Change one major parameter at a time and inspect the result before making another adjustment.
Which Shielding Gas Is Best?
High-purity argon is the preferred starting shielding gas for most handheld aluminum laser welding applications.
Argon protects the molten weld pool from atmospheric contamination and is widely available for fabrication shops.
Actual gas flow depends on the nozzle design, working distance, and surrounding airflow. Some handheld setups use approximately 15–25 L/min as a reference range, but the correct flow should be established using the welding-head manufacturer’s recommendations and a sample weld.
Too little gas can allow air to enter the weld zone, increasing the risk of oxidation and porosity. Excessive flow may become turbulent and reduce shielding effectiveness.
If the weld develops unusual discoloration or repeated porosity, inspect the nozzle, gas supply, and shielding coverage before increasing laser power.
For certain thicker or specialized aluminum applications, an argon-helium mixture may be evaluated when supported by the welding procedure. For routine handheld work, argon remains the practical starting choice.
Should You Use 4043 or 5356 Filler Wire?
Before selecting filler wire, confirm the aluminum alloy. A 6061 part and a 5083 part may require different wire depending on the strength, crack resistance, corrosion performance, and final finish required.
| Base Material | Common Filler Wire Options |
|---|---|
| 6061 / 6063 general fabrication | ER4043 |
| 6061 / 6063 with different strength or finish requirements | ER5356 |
| 5052 | ER5356 |
| 5083 | ER5356 / ER5183 / ER5556 |
| Crack-sensitive 6xxx applications | ER4043 / ER4047 may be evaluated |
ER4043 is commonly selected for many 6xxx aluminum applications because of its fluidity and resistance to solidification cracking.
ER5356 is widely used with magnesium-containing aluminum alloys and offers different strength, corrosion, and finishing characteristics.
If the finished part will be anodized, filler-wire selection can also affect the final color.
Always confirm filler compatibility against the actual alloy and application requirements. Wire selection may be especially important for structural, marine, or high-strength components.
4. How Do You Laser Weld Aluminum Step by Step?
Once the material is prepared and the appropriate starting parameters are selected, the welding process should follow a consistent sequence.
Before operating the equipment, use the laser-controlled work area, protective enclosure, wavelength-appropriate eyewear, ventilation, and safety interlocks required for your machine. High-power handheld lasers are Class 4 systems, and reflected radiation from aluminum presents a serious hazard.
Step 1: Confirm the Material and Joint
Identify the aluminum alloy, thickness, and joint type.
A butt joint, lap joint, and corner joint may require different welding conditions even when the material thickness is the same.
Confirm the required penetration and finished weld quality before selecting parameters.
Step 2: Clean, Align, and Secure the Parts
Remove oil and oxide from the joint.
Position the parts accurately and secure them with suitable fixtures.
For thin material, appropriate backing or heat-sinking fixtures may help support the weld pool and reduce distortion.
Make sure the joint gap remains consistent throughout the welding process.
Step 3: Set the Wire, Gas, and Focus
Load filler wire compatible with the aluminum alloy when filler is required.
Confirm that the wire feeds smoothly without bending, slipping, or jamming.
Set the argon supply according to the welding-head requirements and verify that the nozzle is clean and correctly positioned.
Then check focus and select conservative starting values for power, travel speed, and wobble width.
Step 4: Run a Test Weld
Before welding the actual component, use a representative scrap sample matching the same alloy, thickness, and joint configuration.
Make a short test weld using the selected starting settings.
Inspect the bead, backside formation, and visible defects. For production-critical joints, sectioning a test sample can help verify actual penetration and fusion rather than relying only on surface appearance.
If the result is unsatisfactory, adjust one parameter at a time and repeat the test.
Step 5: Weld and Inspect
Once the test weld is satisfactory, begin welding the actual component.
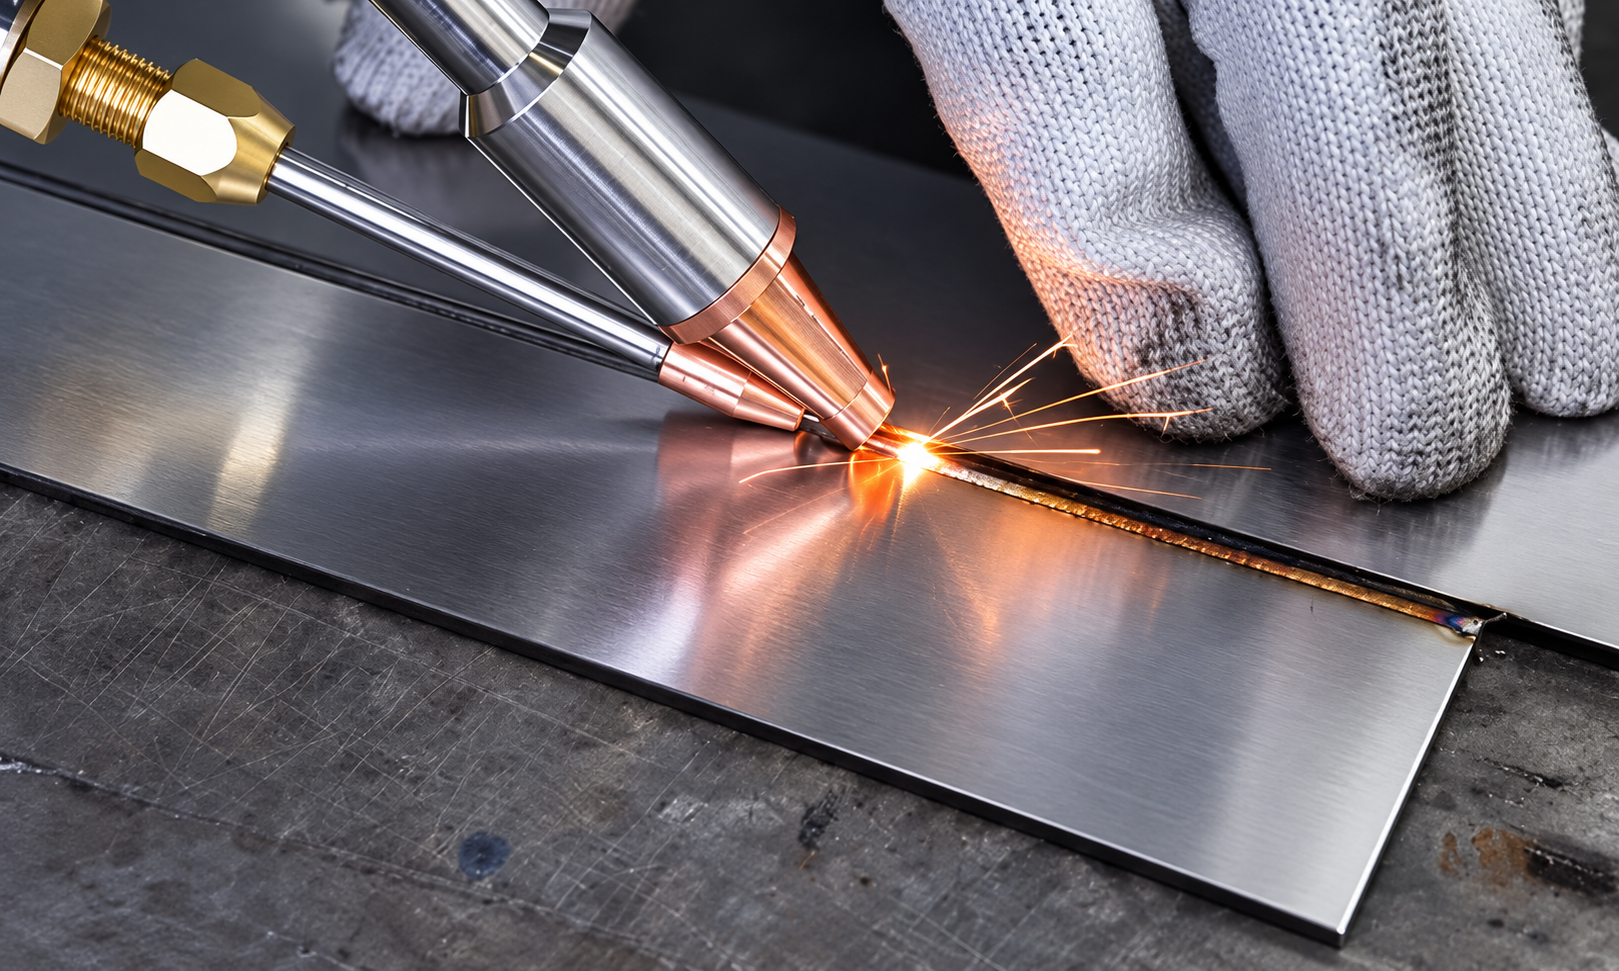
Maintain a consistent torch position, working distance, and travel speed.
When using filler wire, feed it smoothly into the appropriate area of the weld pool without interrupting the beam or shielding coverage.
Avoid unnecessary pauses, especially on thin aluminum, where localized heat buildup can cause burn-through.
After welding, inspect penetration, bead shape, porosity, cracking, and distortion before releasing the part.
A stable, repeatable laser welding process is more valuable than simply using the highest available power.
5. How Do You Fix Common Aluminum Welding Defects?
Even with suitable settings, aluminum laser welding can produce defects when surface preparation, shielding gas, or joint fit-up is inconsistent.
Before increasing laser power, identify the visible problem and check the most likely cause.
| Problem | Common Cause | What to Adjust |
|---|---|---|
| Porosity | Oil, oxide, moisture, or poor shielding | Re-clean and check argon coverage |
| Cracking | Crack-sensitive alloy, filler mismatch, or weld stress | Review filler compatibility and heat input |
| Lack of Fusion | Insufficient energy, excessive speed, or poor fit-up | Check focus and gap, then adjust power or speed |
| Burn-Through | Excessive heat input on thin aluminum | Reduce power or increase travel speed |
| Black or Gray Bead | Contamination, oxidation, or shielding problems | Inspect surface cleaning and gas coverage |
If the defect continues, test one adjustment at a time on matching scrap.
Check actual penetration and weld condition rather than relying only on the surface appearance.
Thin aluminum can also distort during welding. Proper fixtures, controlled heat input, and shorter weld sections may help reduce warping.
The goal is to correct the cause of the defect—not simply make the weld bead look better.
Conclusion
How do you laser weld aluminum with a handheld laser welder?
The most important rule is simple:
Do not treat aluminum like stainless steel.
Aluminum’s reflectivity, rapid heat transfer, and oxide layer mean successful welding depends on the complete process rather than laser power alone.
Start with clean metal and a properly fitted joint. Use argon as the normal shielding-gas starting point, match the filler wire to the aluminum alloy, and develop stable welding parameters on representative scrap before moving to production.
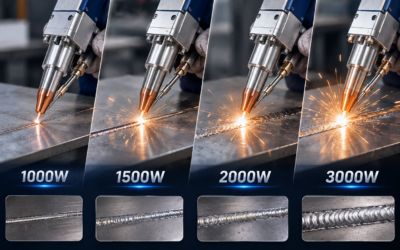
For many fabrication shops, 1500W and 2000W are practical power classes to compare for common thin-to-medium aluminum work, while thicker production applications may justify evaluating 3000W.
However, the best machine is not necessarily the one with the highest wattage.
It is the one that can produce consistent penetration, acceptable weld quality, and practical production speed on the material you work with most often.
If you are choosing a laser welder for metal, send MaxWave your aluminum alloy, material thickness, joint type, and expected daily workload.
Our team can help recommend the appropriate handheld laser welder configuration and arrange a sample weld so you can evaluate penetration, bead quality, and welding efficiency before purchasing.

0 Comments