
MAXWAVE FIBER QCW MOLD REPAIR SYSTEM
Semi-Automatic QCW Laser Welder for Faster Mold Repair
- Semi-Automatic XYZ Control: Less repositioning · More repeatable welds
- Low-Heat QCW Welding: High-peak pulses · Less distortion
- Flexible Boom Welding Head: Multi-angle access · Easier mold repair
- Variable-Speed Control: Fine repair · Faster repeat seams
- Built for Mold Repair: Injection · Stamping · Die-casting · Rubber molds
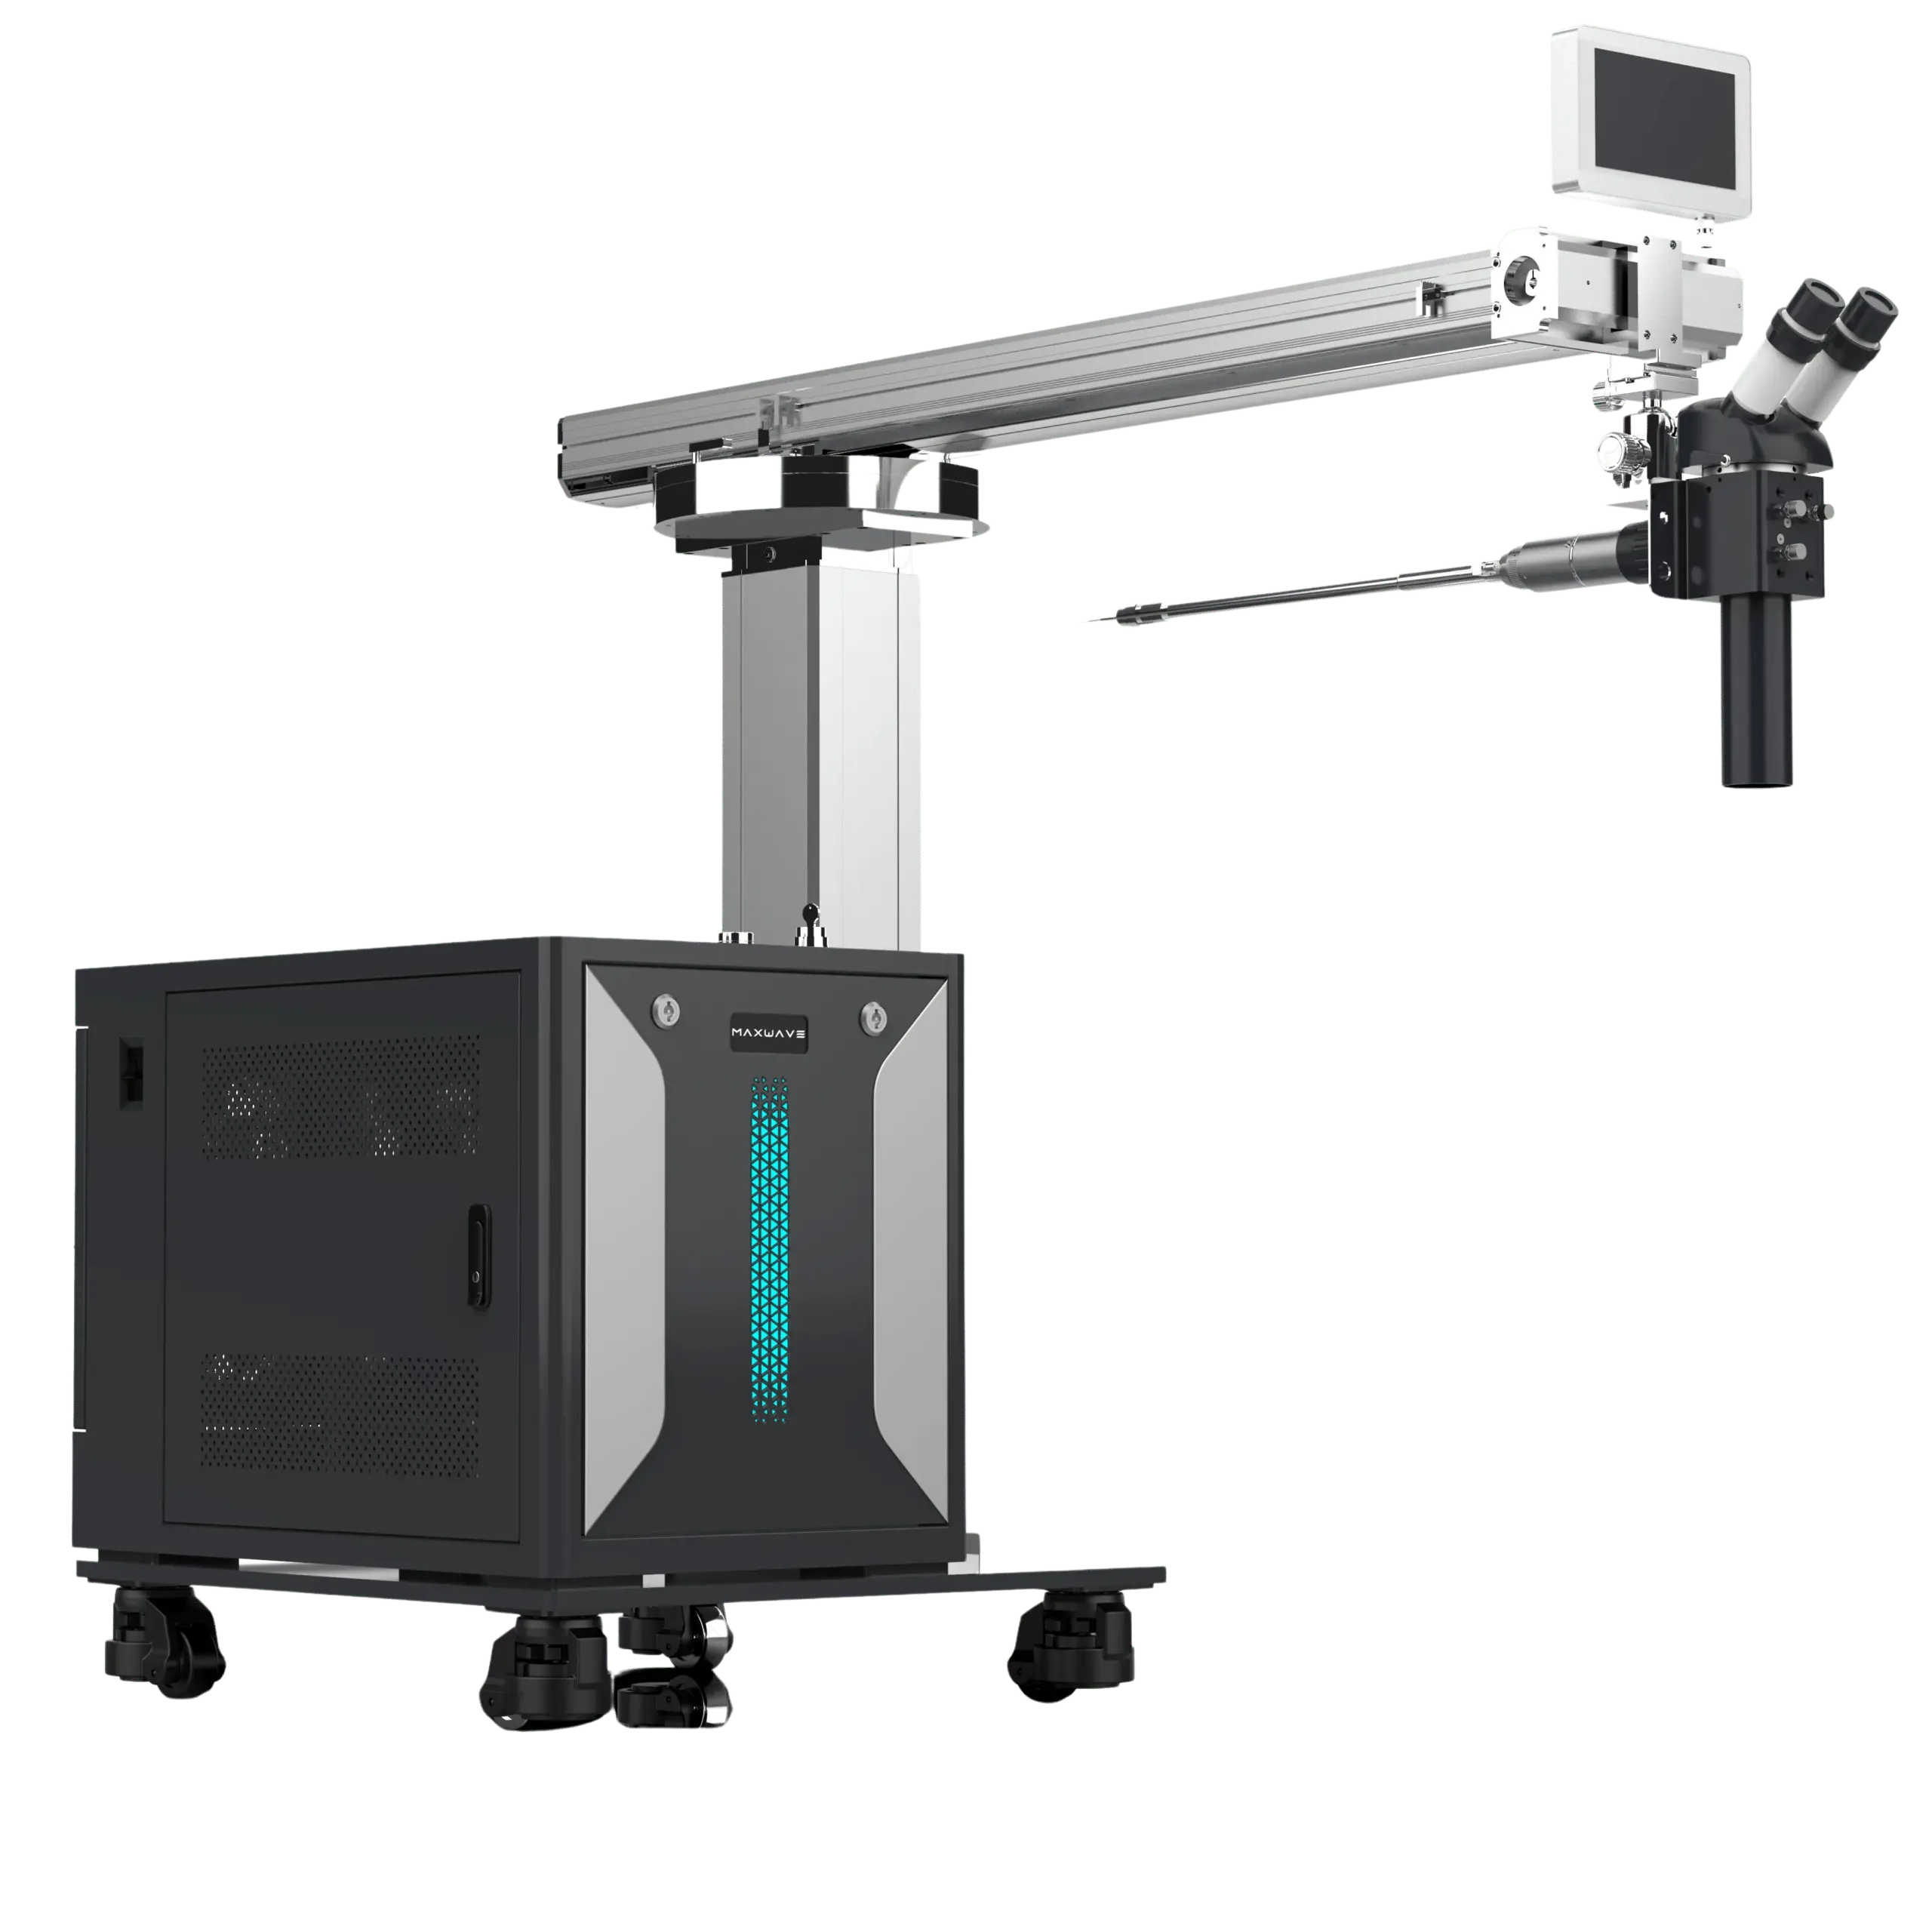
Built for Faster, More Controlled Mold Repair
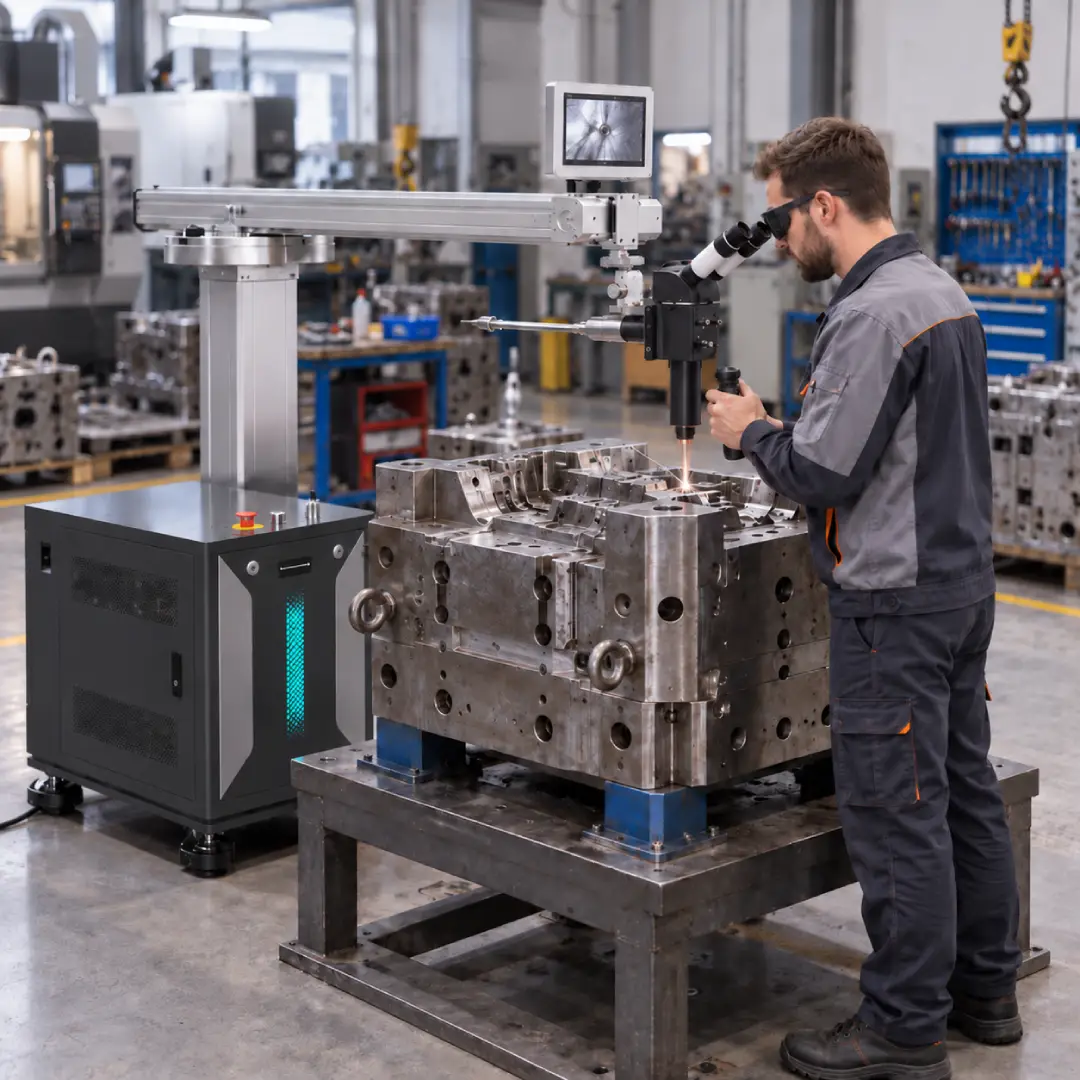
01
Keep the Mold in Place
XYZ control moves the welding head around the mold, reducing heavy mold repositioning.
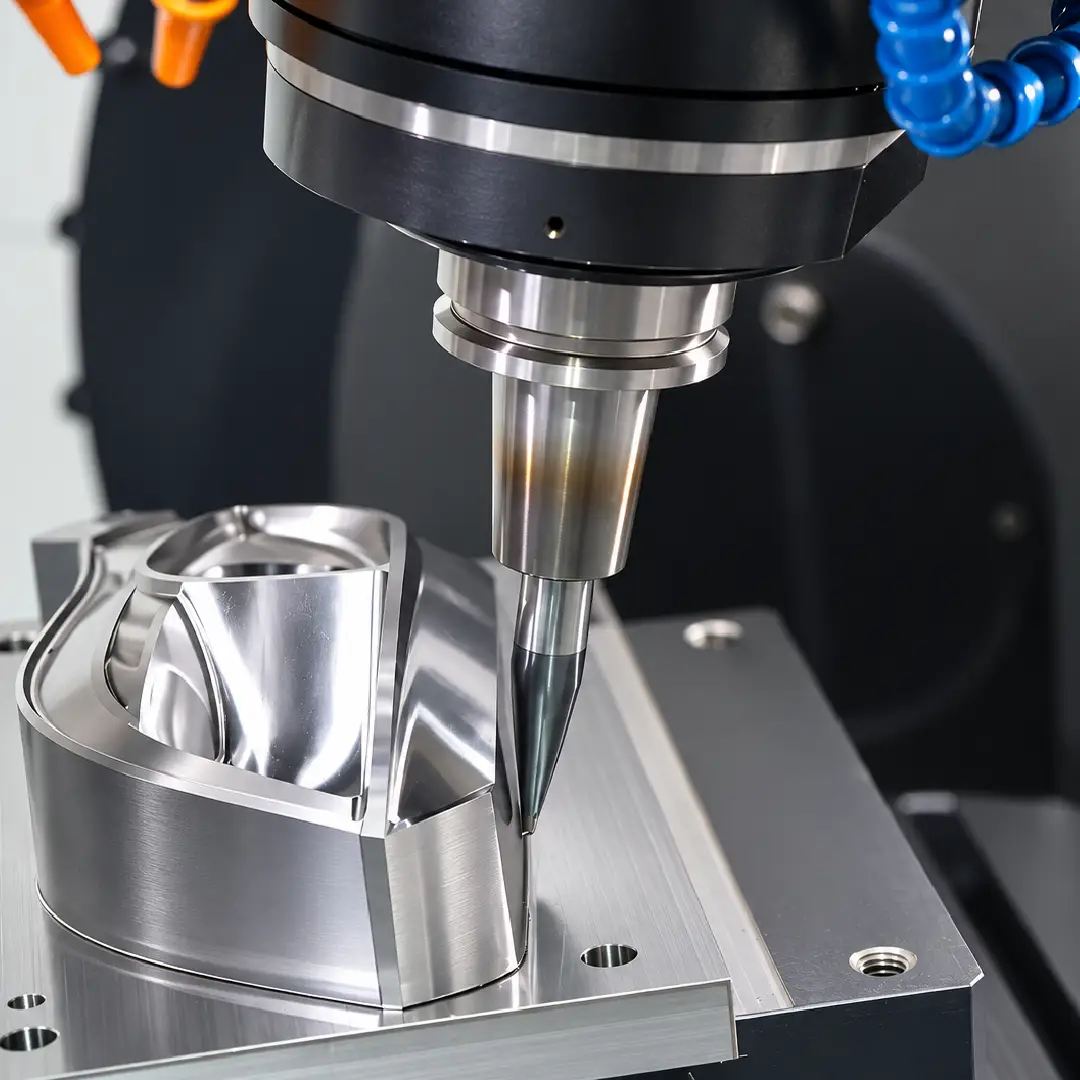
02
Reach Difficult Repair Areas
The boom arm and adjustable head reach edges, grooves and cavities more easily.
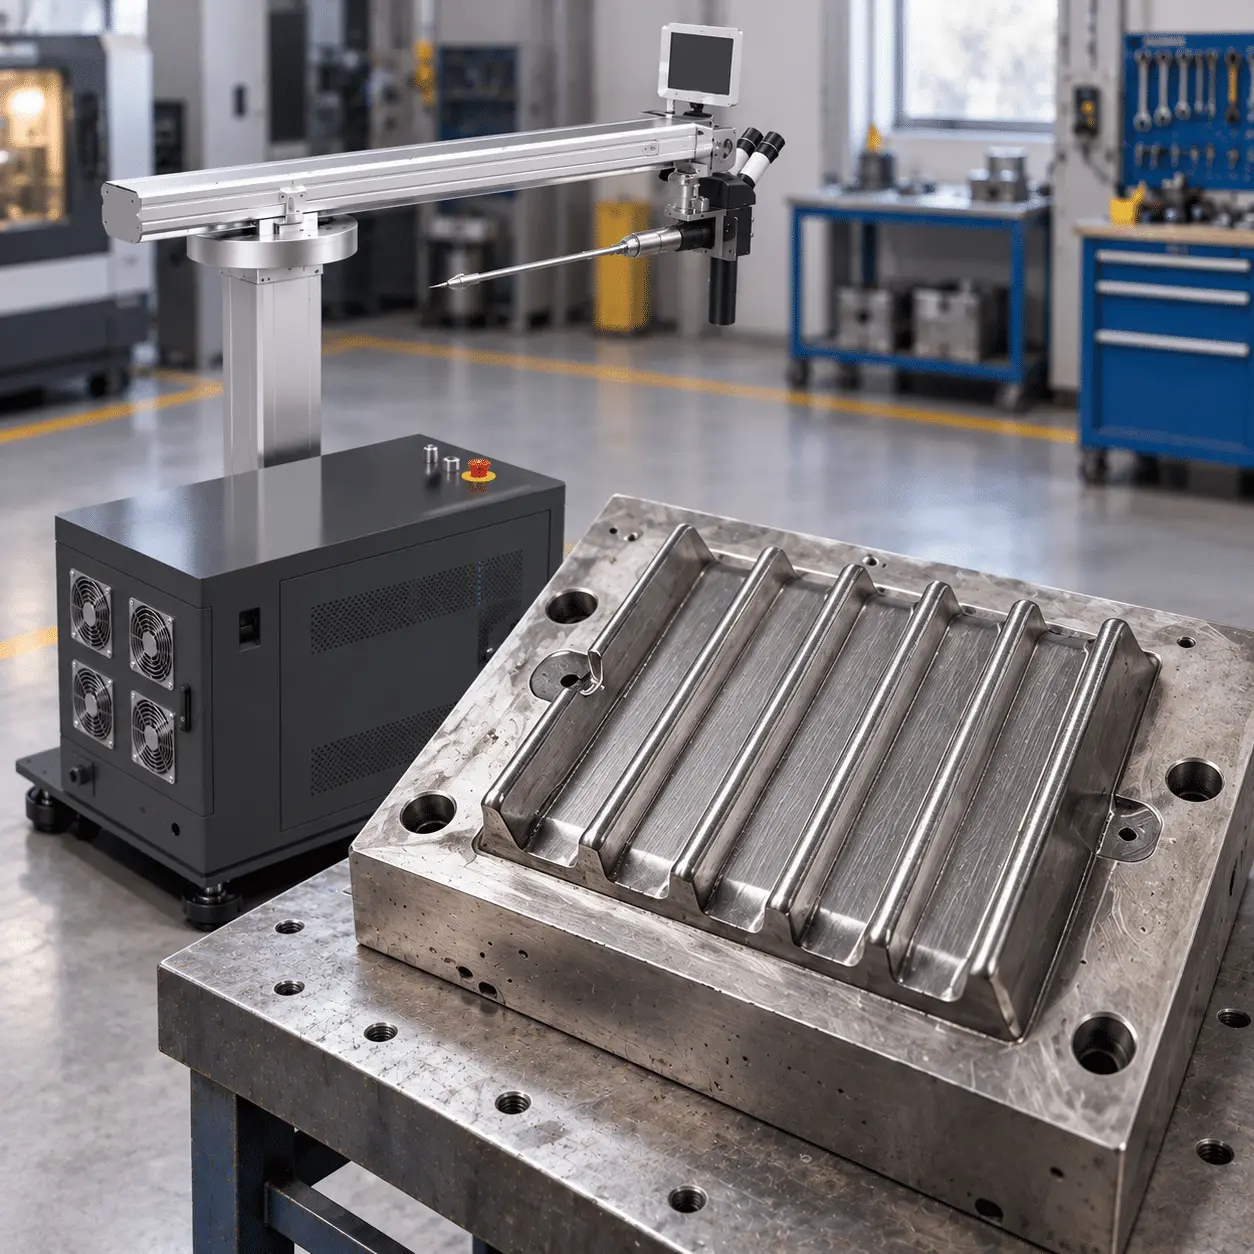
03
Repeat Repairs More Consistently
Semi-automatic movement keeps repeat welds consistent.
What Can This Semi-Automatic QCW Laser Welder Repair?
WHAT ARE YOU REPAIRING?
COMMON MOLD AREAS / PARTS
SUITABLE
POWER DEPENDS ON
Injection Molds
Cavities · Edges · Parting Lines · Vents · Inserts
✓ Yes
Repair depth · Area size · Mold material
Stamping Dies
Die Edges · Corners · Punch Areas · Worn Surfaces
✓ Yes
Wear depth · Weld size · Material hardness
Die-Casting Molds
Cracks · Edges · Cavities · Hot-Work Mold Areas
✓ Yes
Crack depth · Repair area · Heat sensitivity
Rubber Molds & Fixtures
Mold Surfaces · Grooves · Fixtures · Jigs
✓ Yes
Part size · Repair position · Material
Real Laser Welding Results
Built for complex geometry, precision repair and small-batch welding, this QCW laser welding machine combines flexible positioning, low heat and repeatable control.
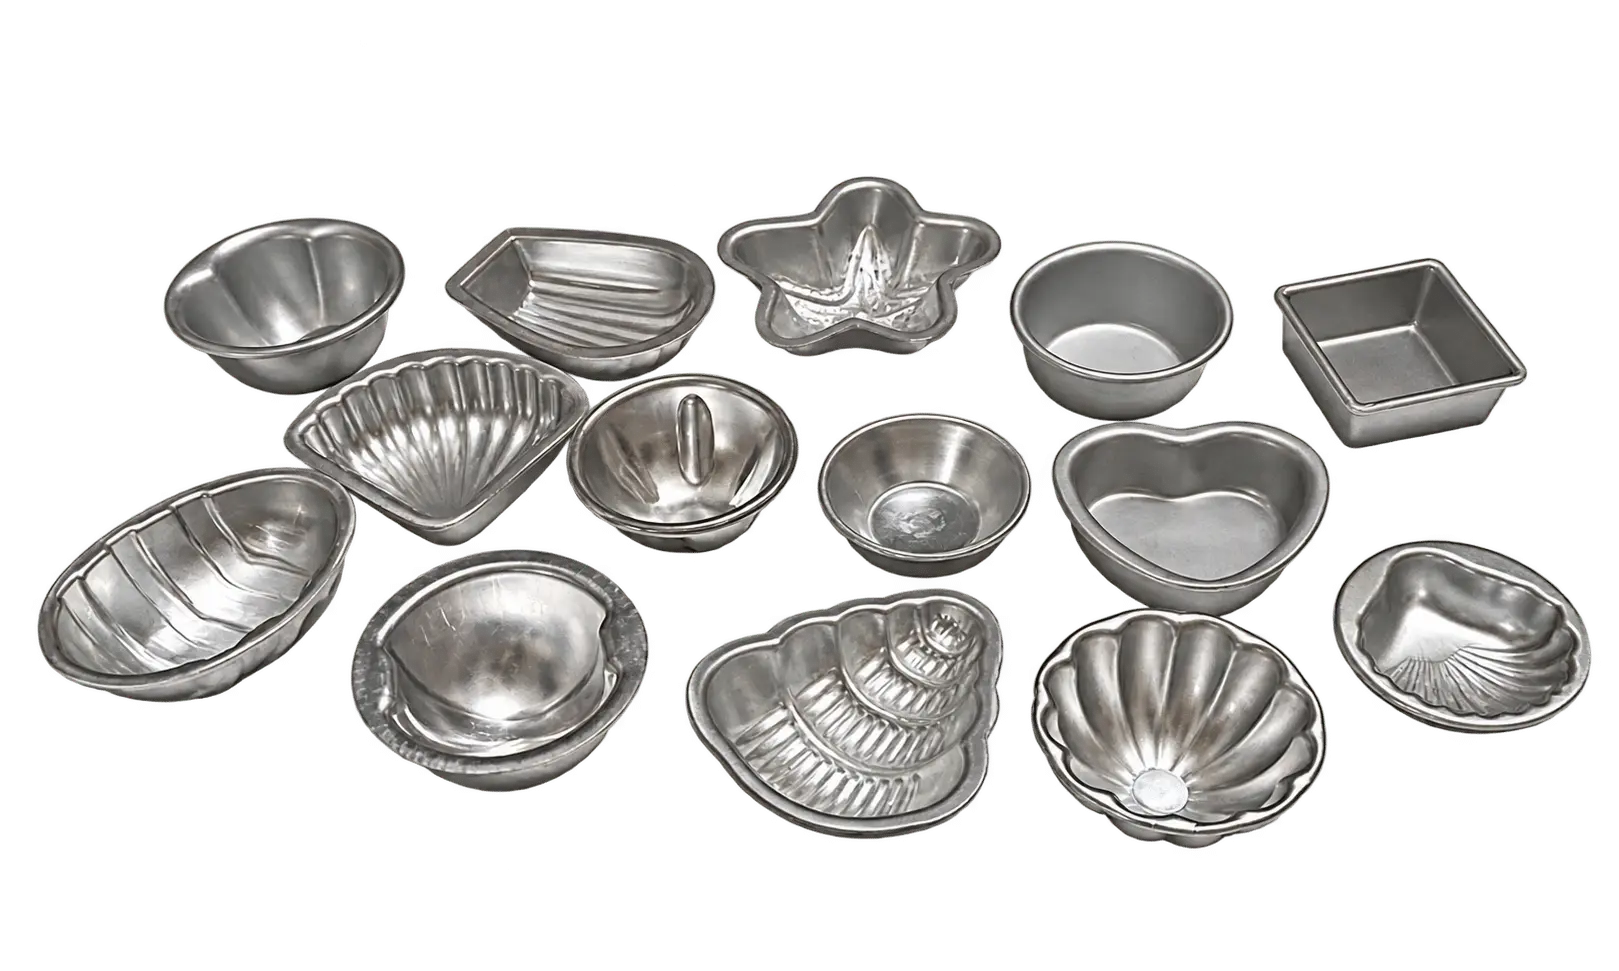
SAMPLE 01
Complex Geometry Welding
QCW LASER WELDING · MOLDS / TOOLS · HARD-TO-REACH AREAS
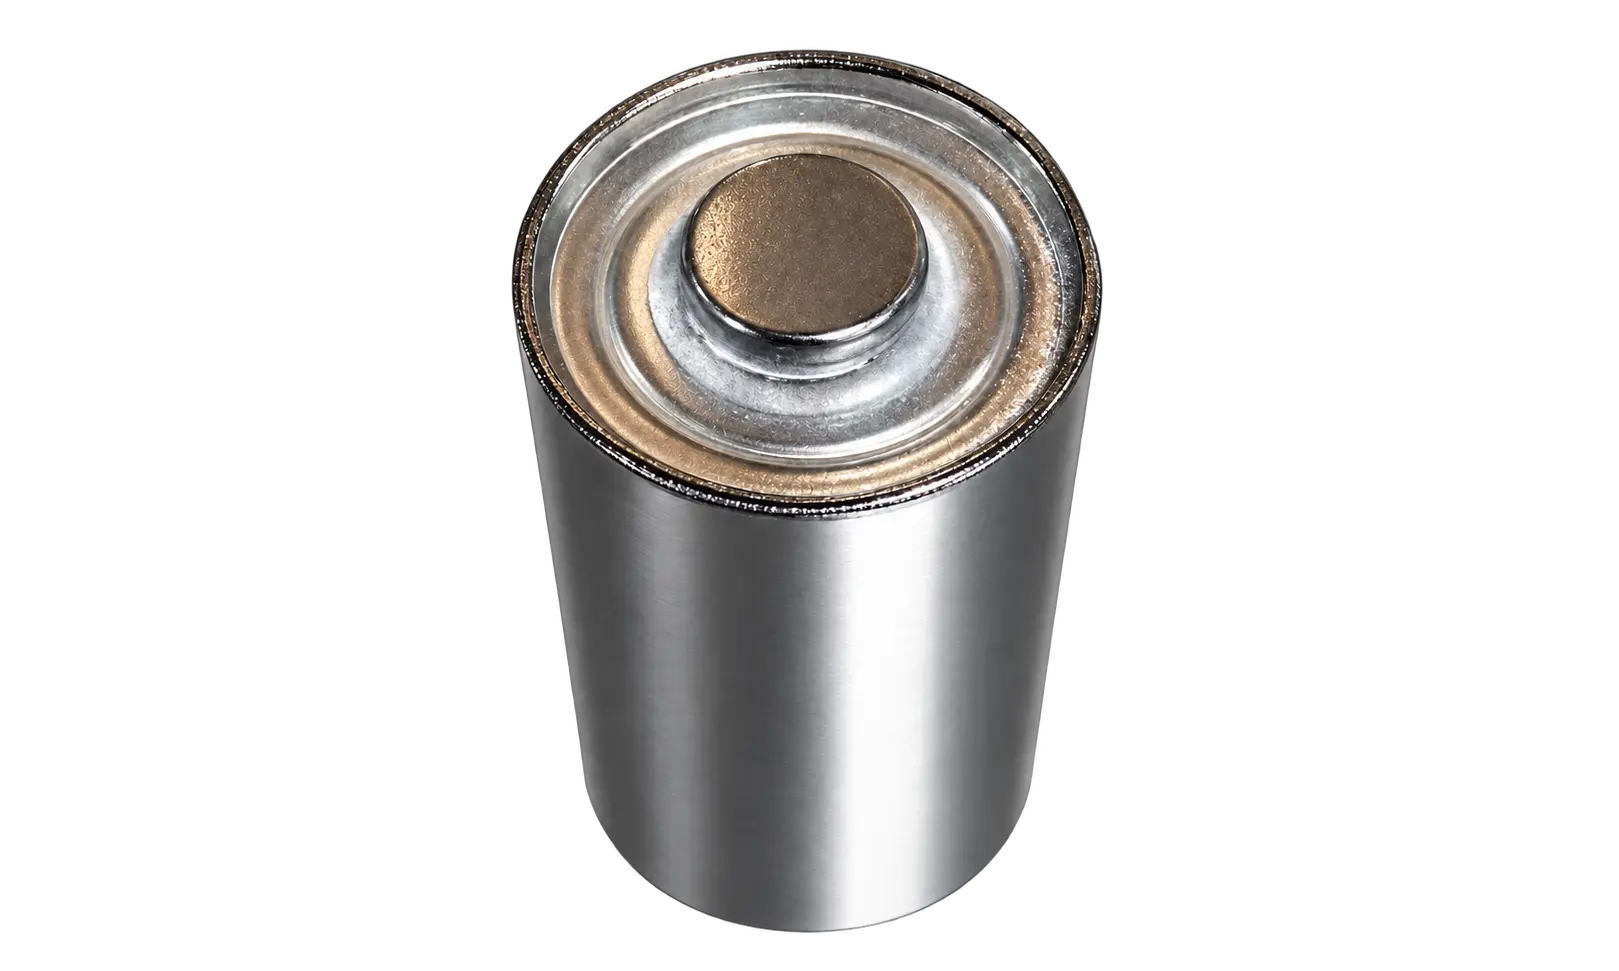
SAMPLE 02
Precision Mold Repair
MOLD REPAIR · LOW-HEAT QCW · LOCALIZED WELDING
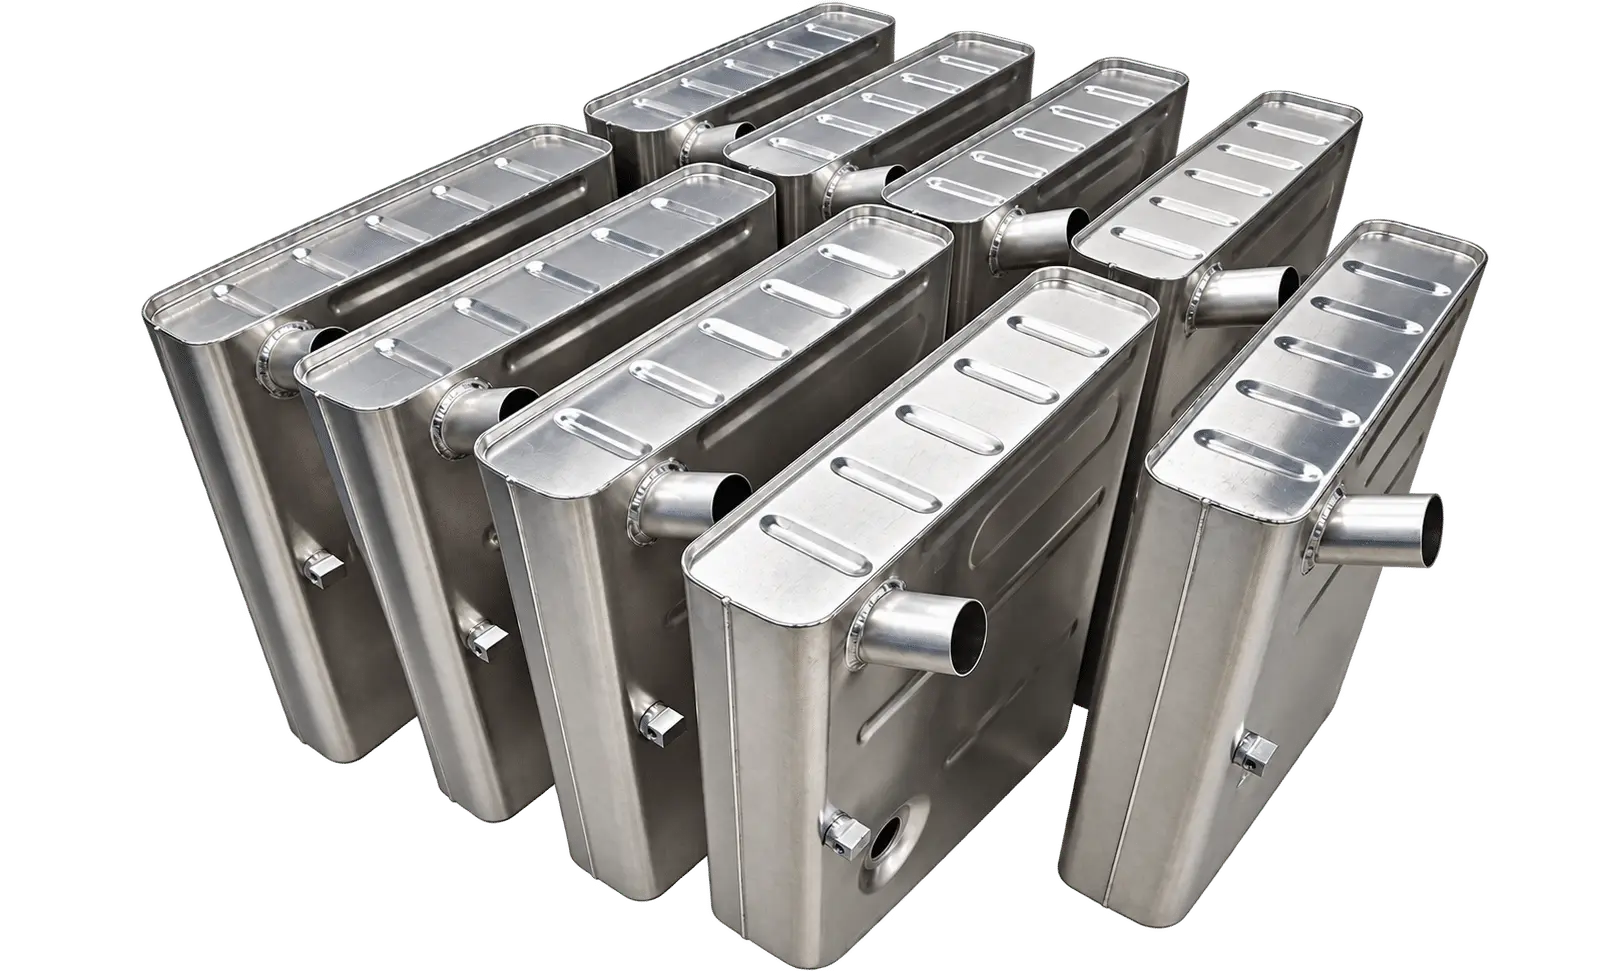
SAMPLE 03
Small-Batch Laser Welding
SEMI-AUTOMATIC XYZ · REPEAT WELDS · CONSISTENT PATHS
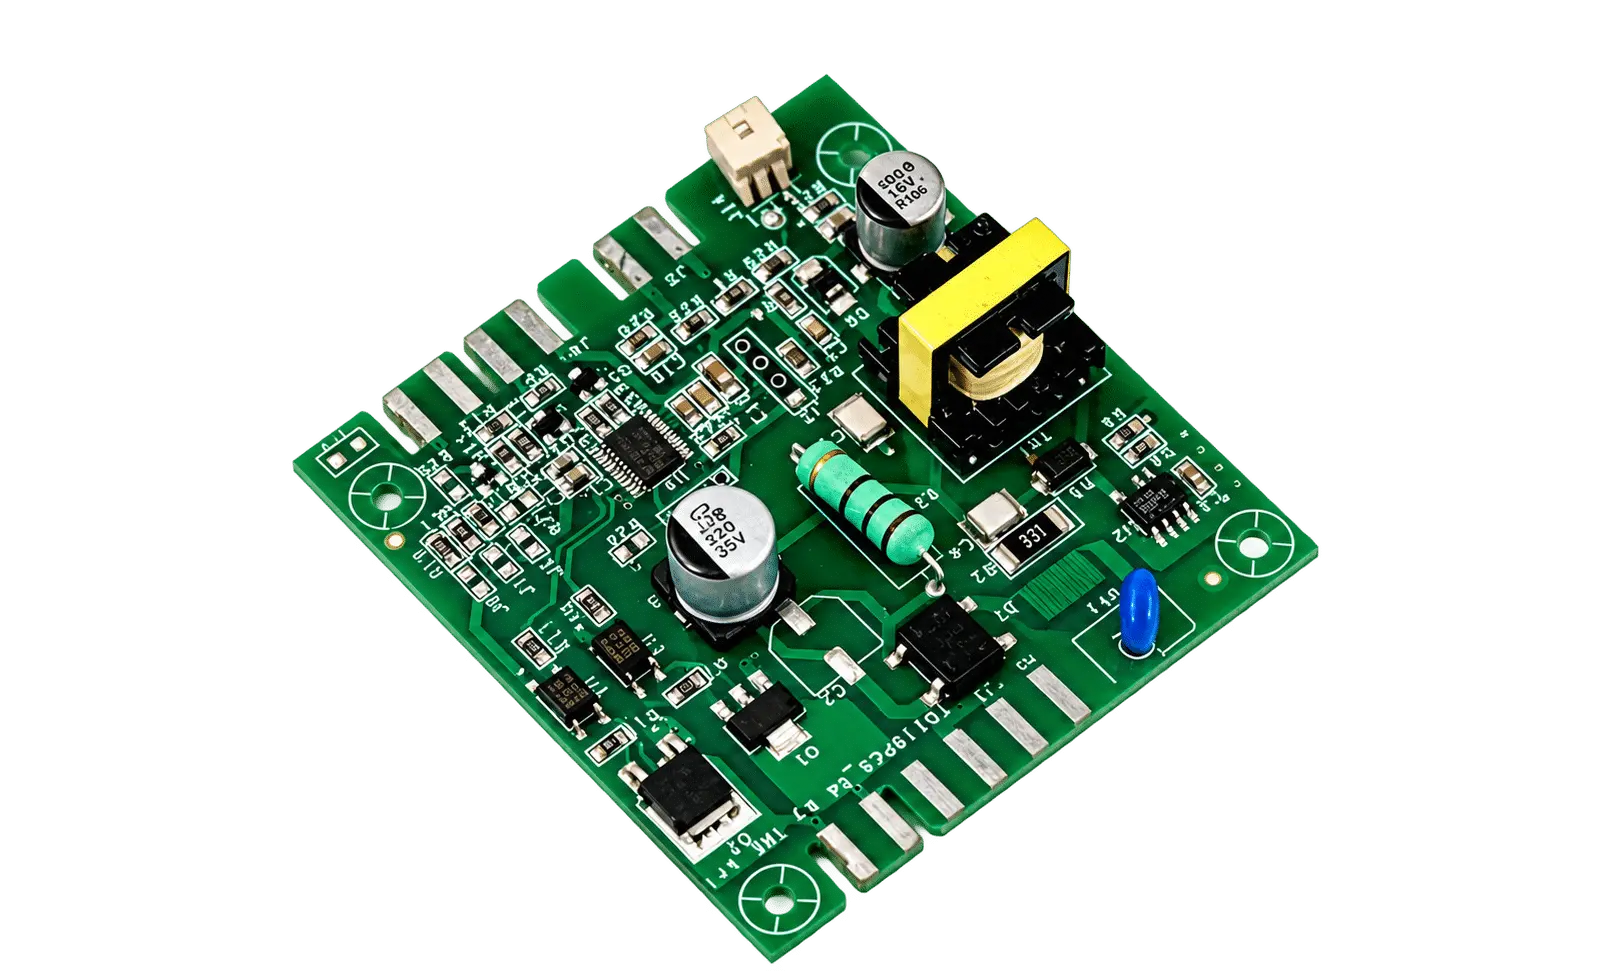
SAMPLE 04
Precision Parts & Tool Welding
QCW LASER WELDER · TOOLS / FIXTURES · COMPLEX METAL PARTS
Where This QCW Mold Laser Welder Fits
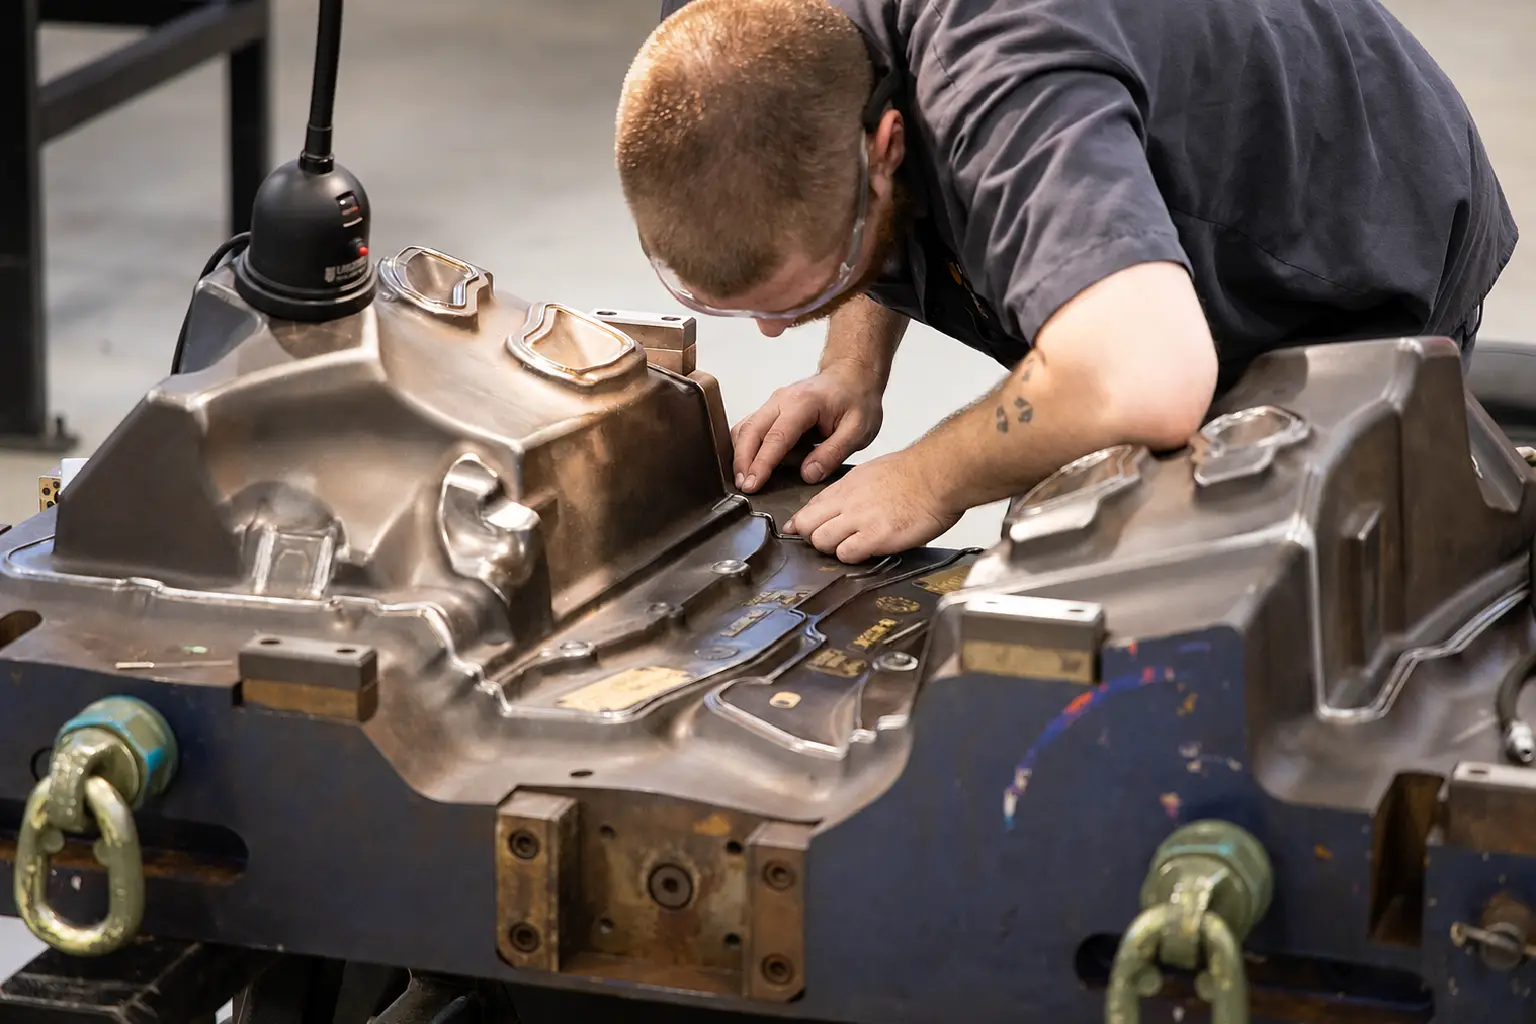
Mold Repair & Maintenance
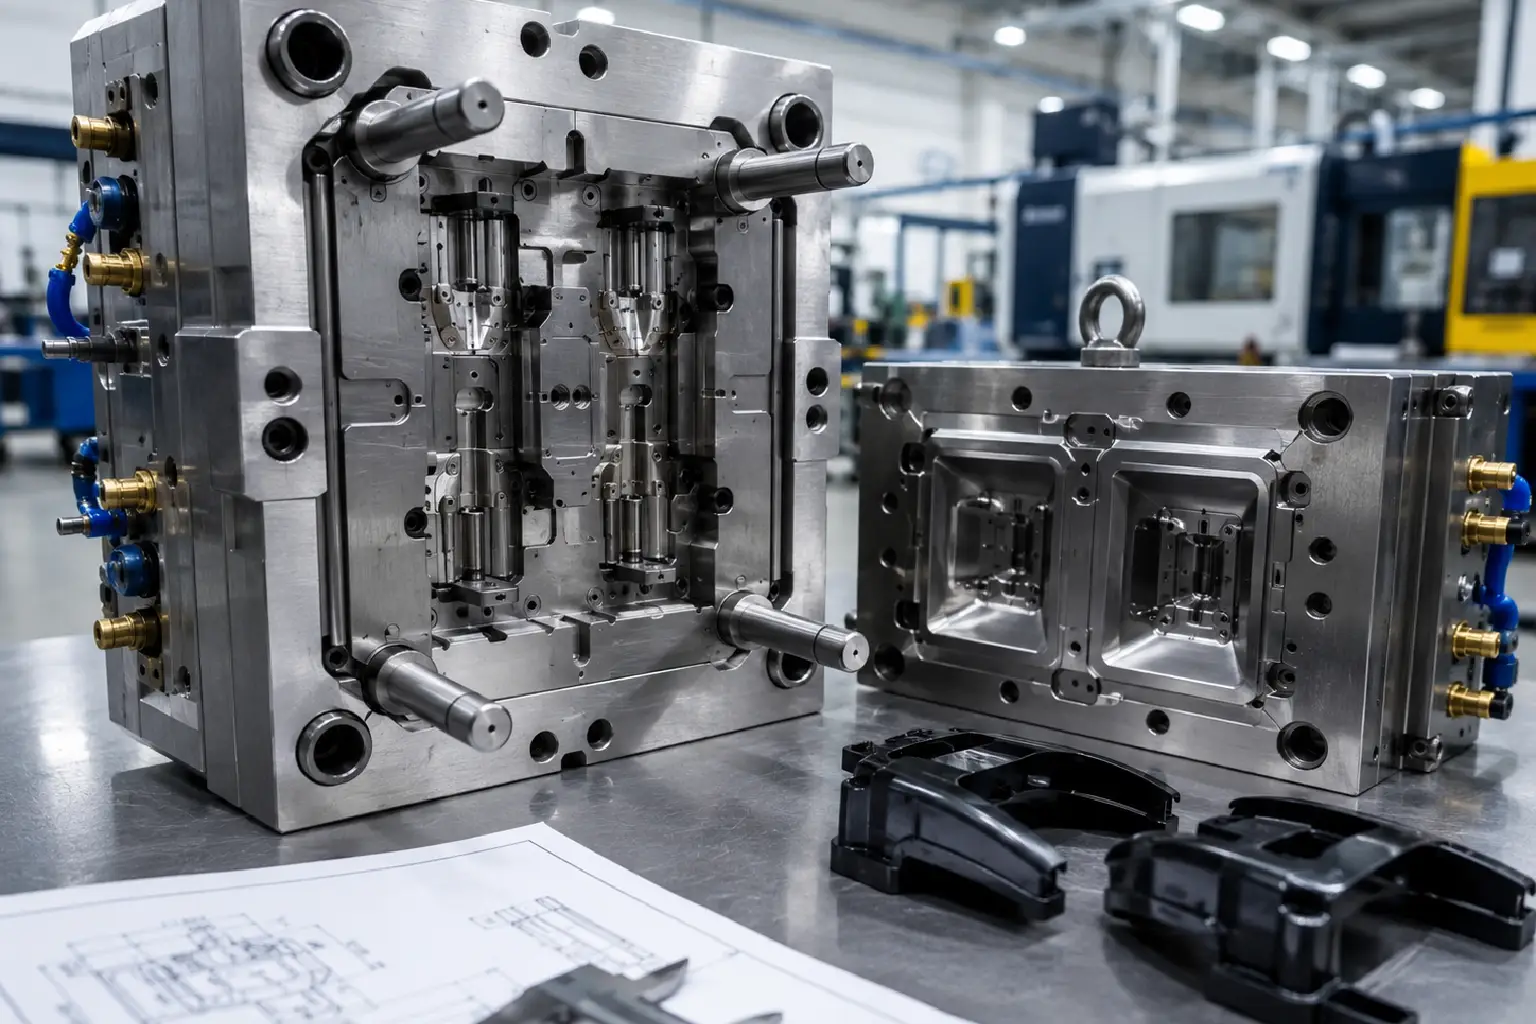
Mold & Die Manufacturers
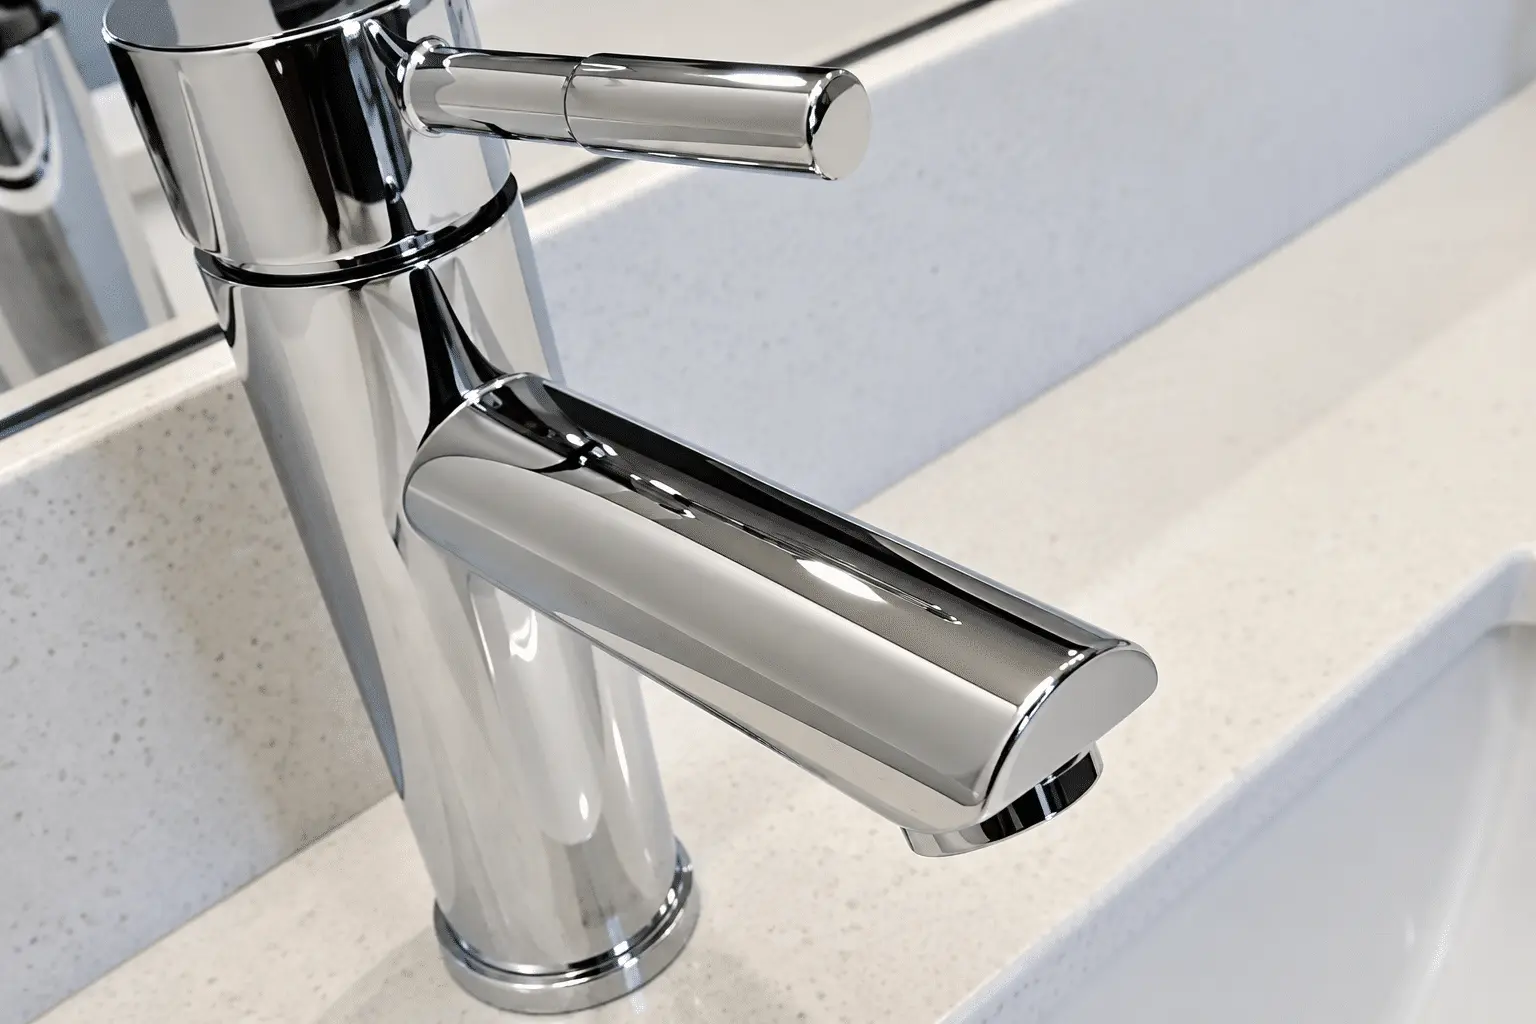
Kitchen, Bath & Appliance Manufacturing
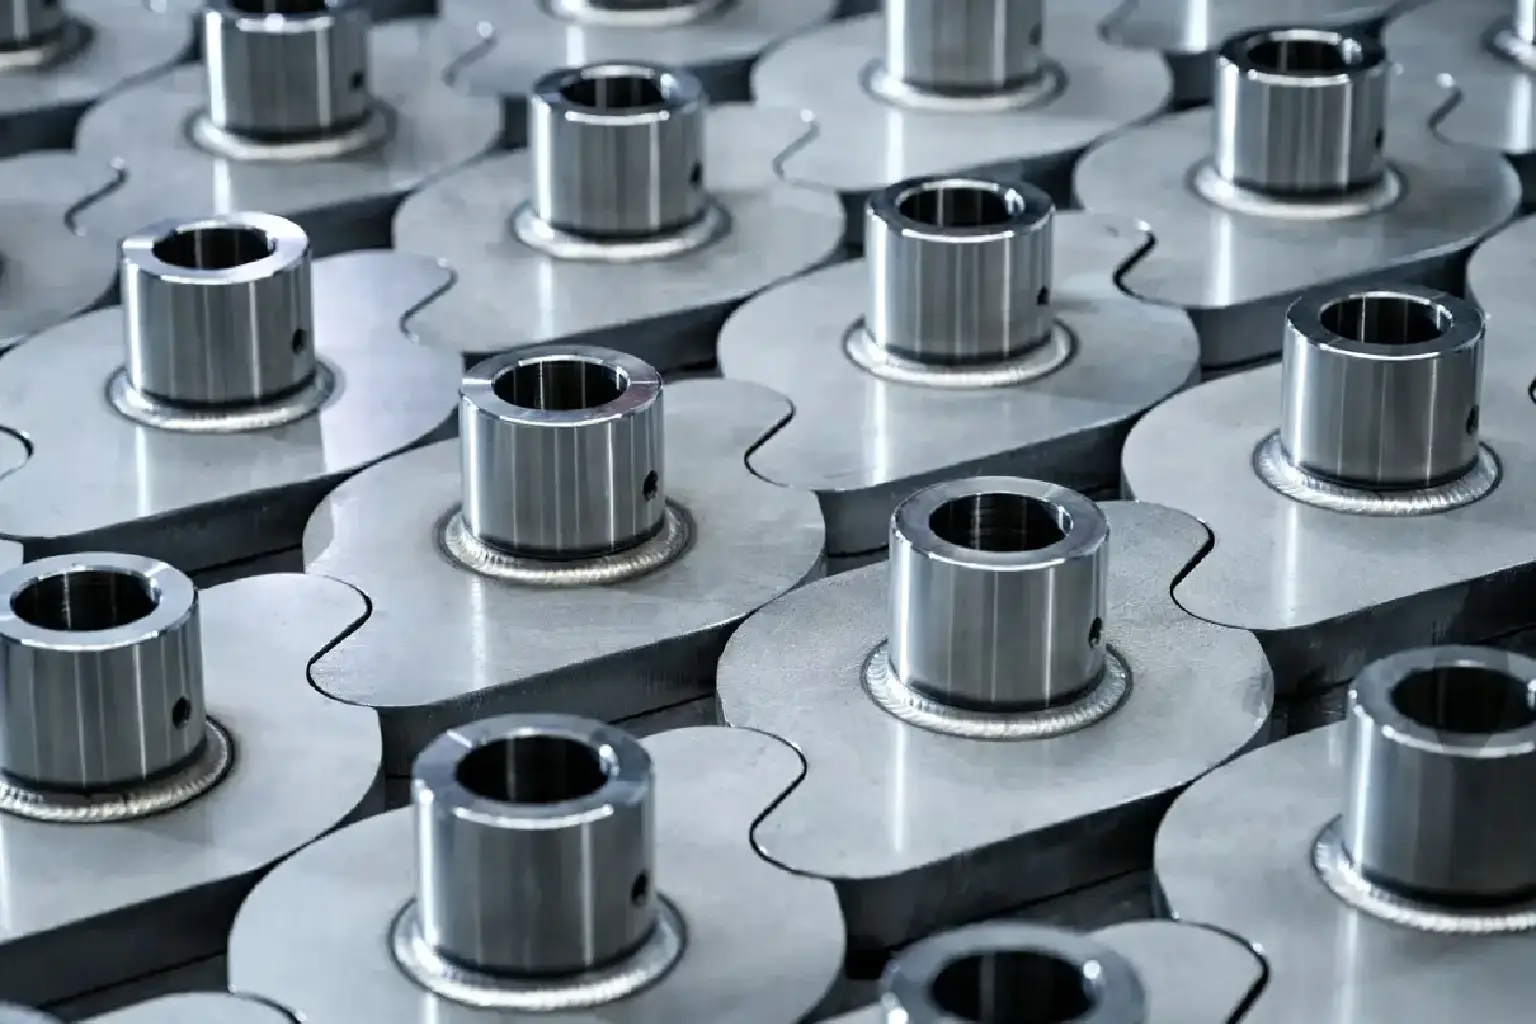
recision & Small-Batch Production
CORE SYSTEM ADVANTAGES
What Makes This MaxWave Semi-Automatic QCW Mold Laser Welder Different
From semi-automatic XYZ motion and QCW pulse delivery to weld viewing and variable-speed boom travel, each system is designed around real repair work.
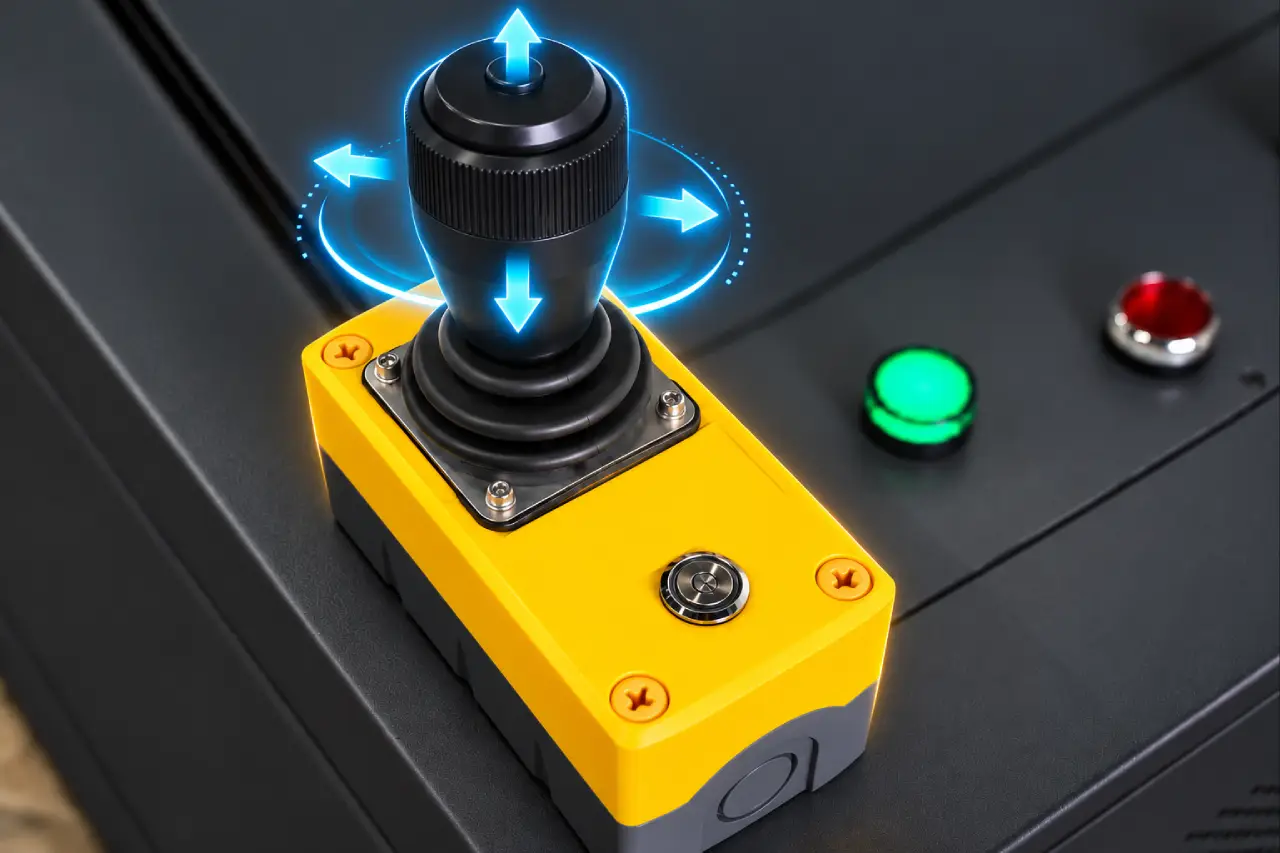
Semi-Automatic XYZ Control for More Consistent Welds
Variable-speed XYZ joystick control guides the welding head along the repair path, reducing repeated hand repositioning. Similar seams become easier to follow and more consistent from one part to the next.
CONTROL XYZ Motion · Variable Speed · Joystick
Fiber QCW Laser for Lower-Heat Mold Repair
LASER SOURCE Fiber QCW · 200W / 300W / 400W
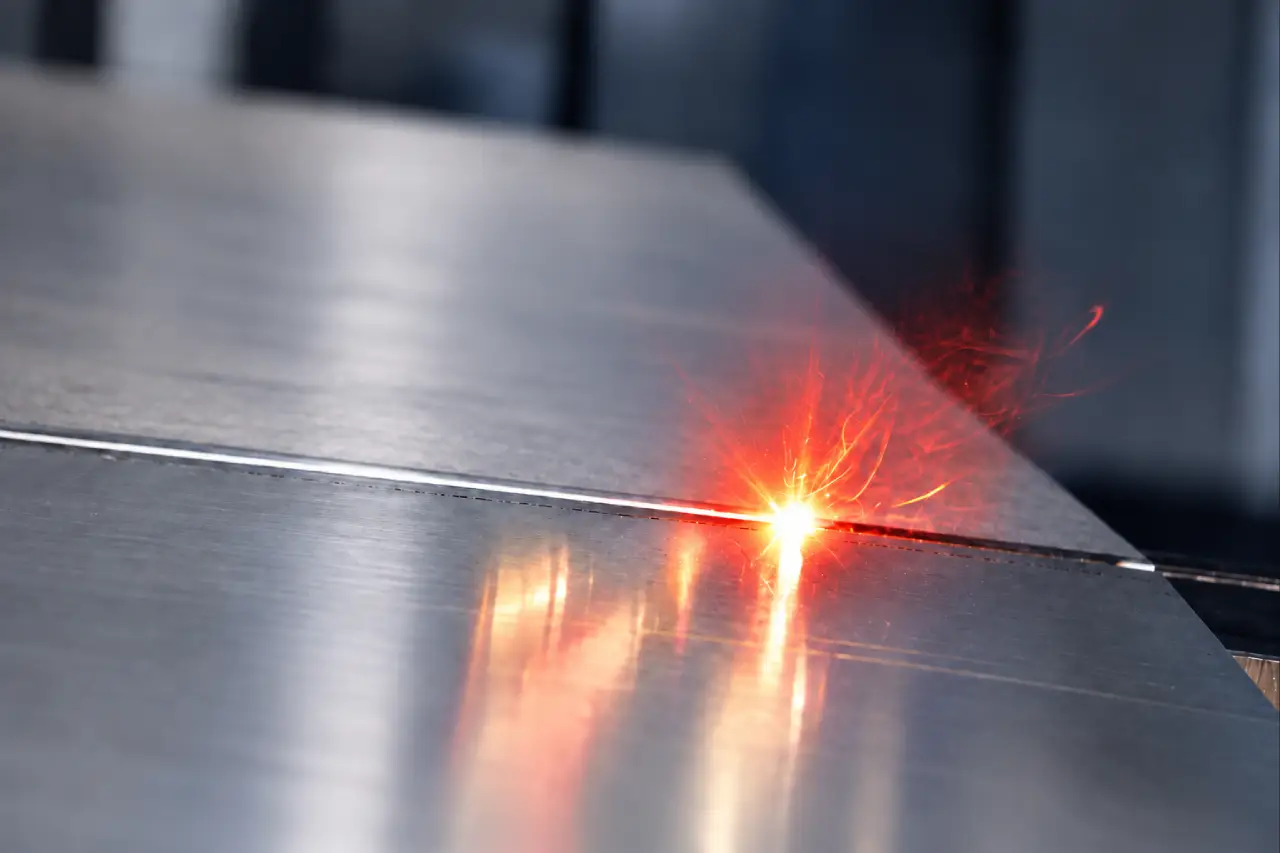
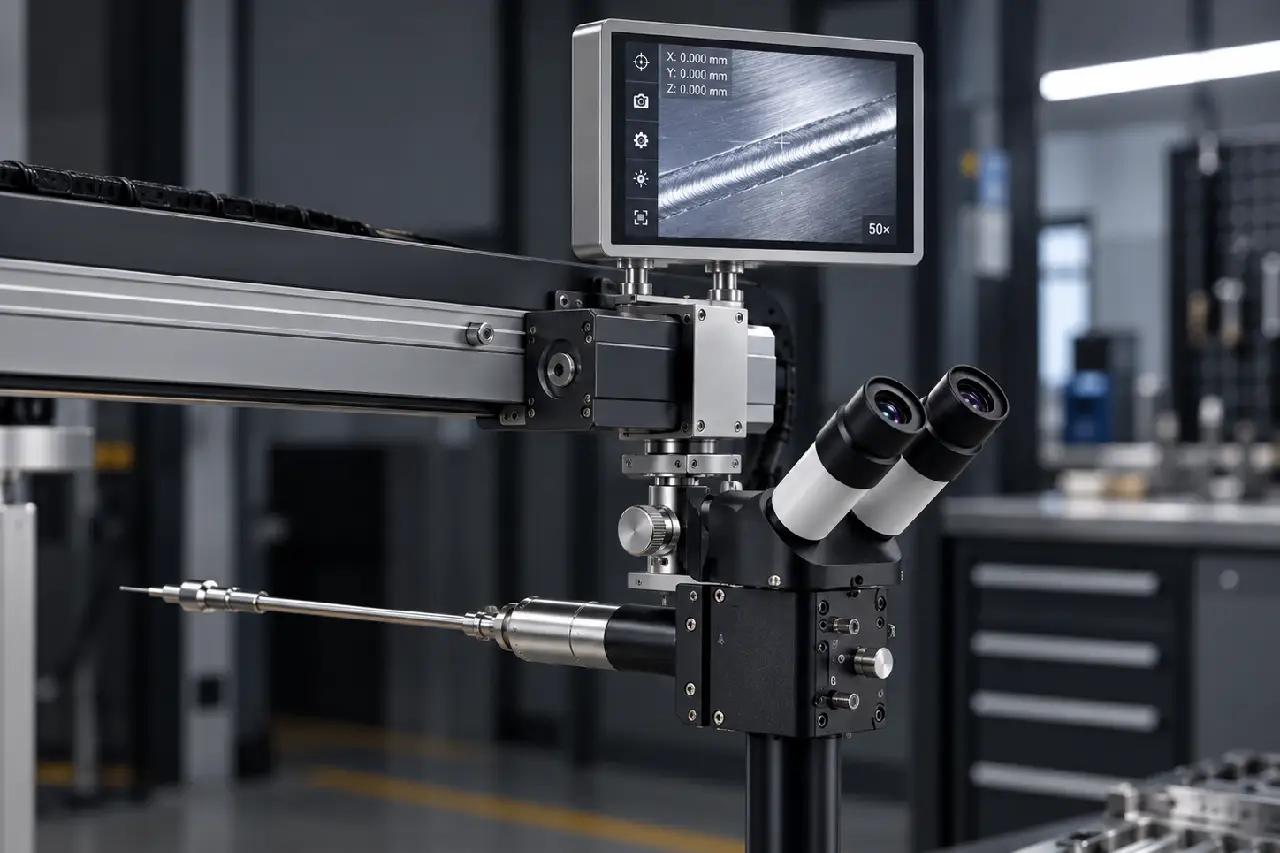
Microscope & CCD for Clearer Weld Positioning
VIEWING OPTIONS Microscope · CCD
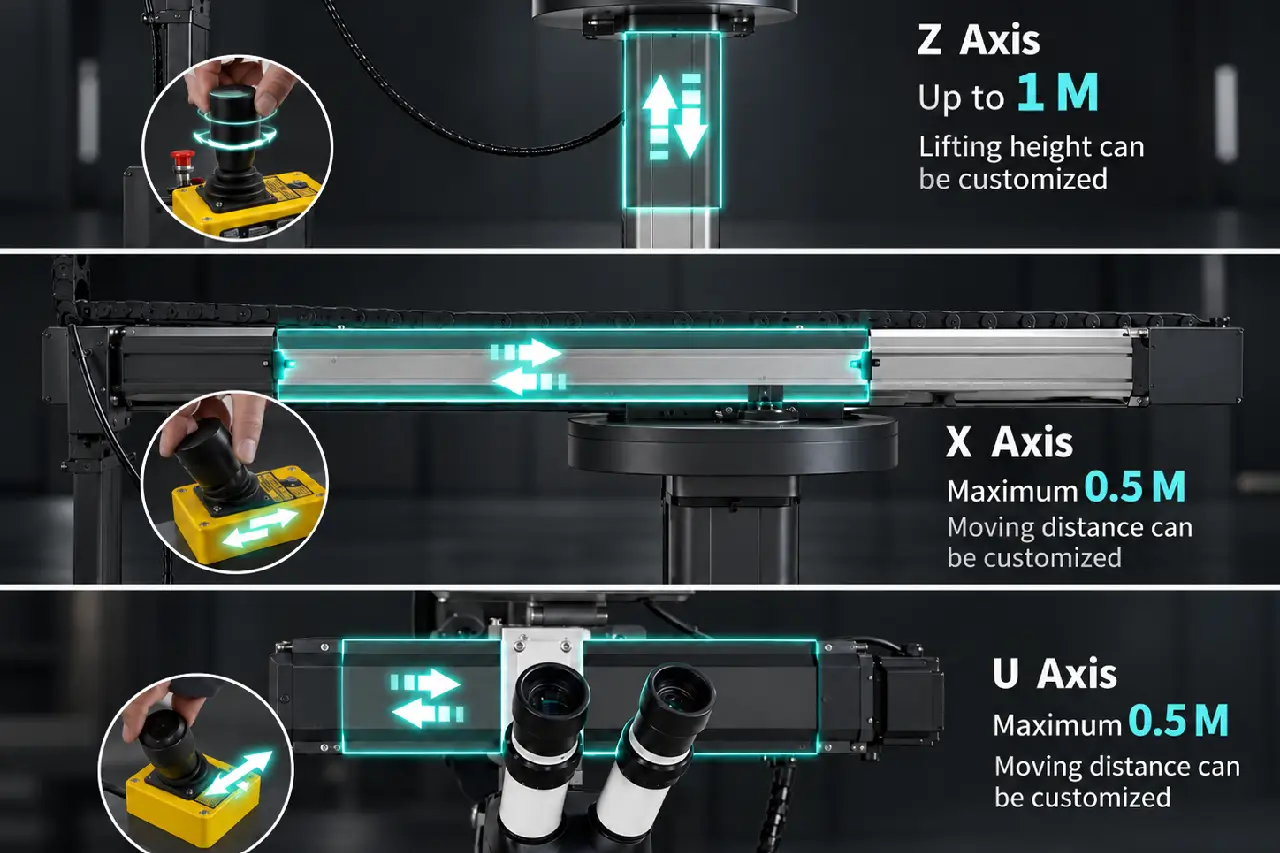
Variable-Speed Boom Motion for Faster Positioning
MOTION CONTROL Travel · Vertical Lift
WORKING RANGE Up to 1 m Lift · Up to 0.5 m Travel
Choose the Right Power for Your Welding Job
Choose by material, part thickness, weld depth and repair requirements—not wattage alone.
POWE
BEST FOR
TYPICAL WELDING JOBS
TYPICAL CLEANING JOBS
WHY CHOOSE IT
200W
Mold Edges · Small Defects · Thin Parts · Tools & Fixtures
Mold Edges · Small Defects · Thin Parts · Tools & Fixtures
SS / Iron: 1.0–2.0 mm · Au / Ag / Pt / Ni: 0.5–1.5 mm · Ti: 0.1–1.0 mm · Cu: 1.0 mm
Better control for fine, localized welding with lower heat input
300W
Mold Repair · Tool Repair · Fixtures · Small-Batch Parts
Mold Repair · Tool Repair · Fixtures · Small-Batch Parts
SS / Iron: 1.0–2.5 mm · Au / Ag / Pt / Ni / Ti: 0.5–2.0 mm · Cu: 0.2–1.5 mm
A balanced choice for everyday repair and small-batch production
400W
Deeper Build-Up · Thicker Parts · Larger Repairs · Industrial Components
Deeper Build-Up · Thicker Parts · Larger Repairs · Industrial Components
SS / Iron: 2.0–3.5 mm · Au: 1.0–2.5 mm · Ag: 1.0–2.0 mm · Pt / Ni / Ti: 1.0–2.5 mm · Cu: 0.5–2.0 mm
More capacity for thicker sections, deeper build-up and demanding repair work
MANUAL POSITIONING
Manual Positioning vs Semi-Automatic XYZ Movement
Both approaches offer flexibility for repair work, but semi-automatic XYZ movement reduces repeated positioning when weld paths, workpiece size or job volume increase.
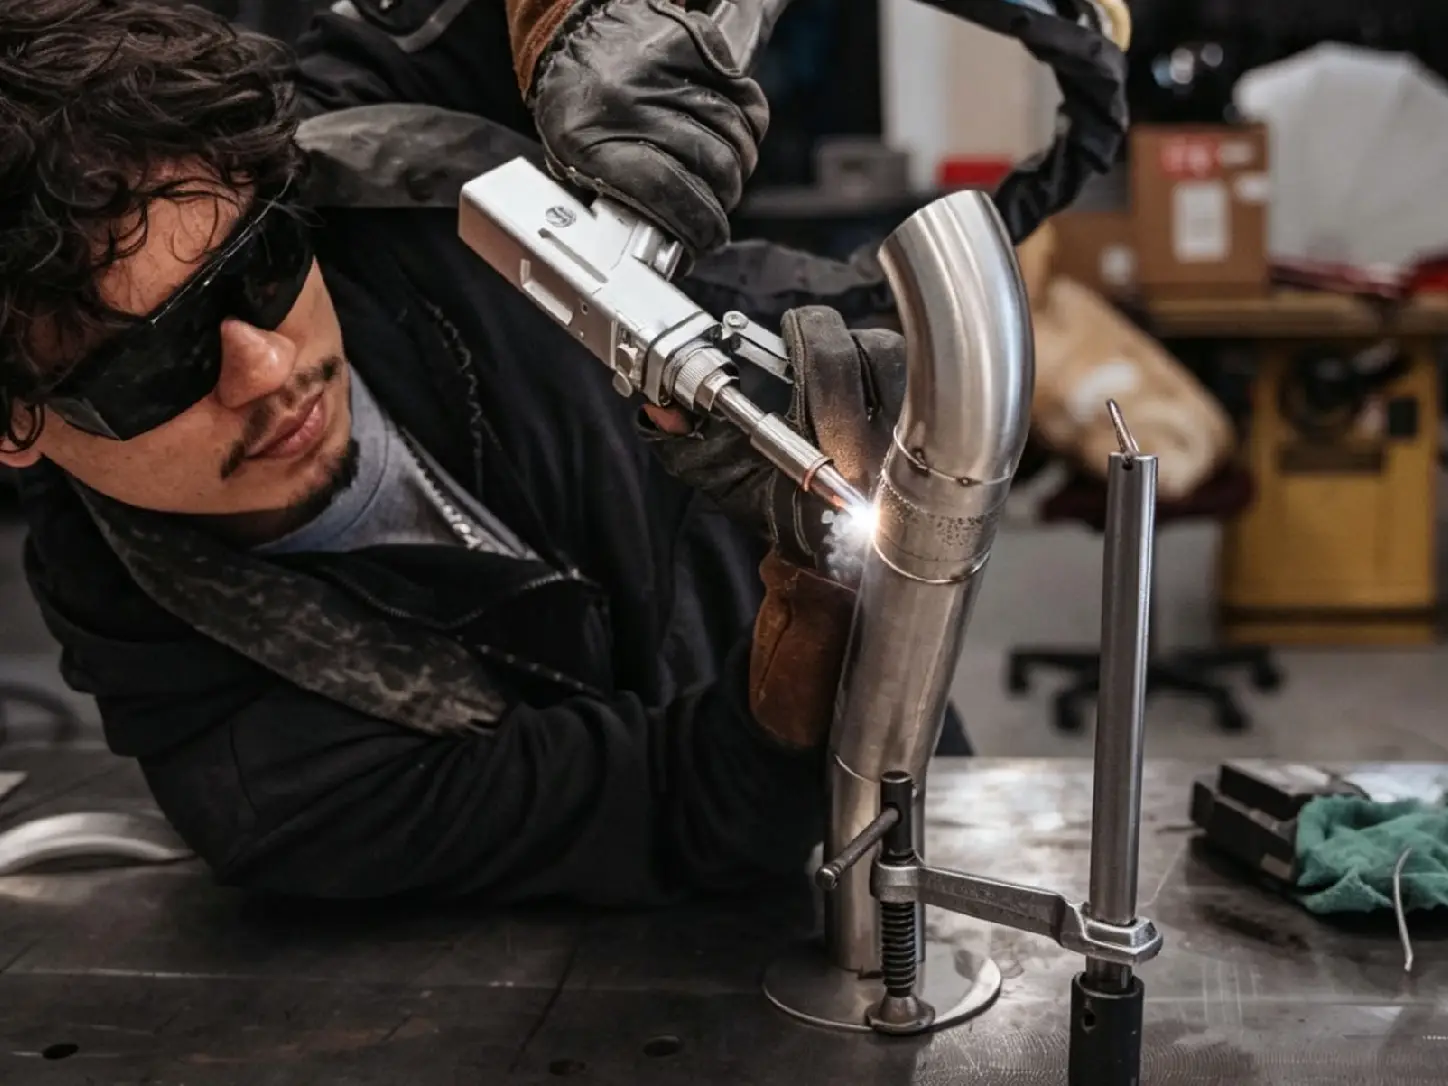
MANUAL POSITIONING
Manual Positioning
With manual positioning, the operator adjusts each weld location by hand. It works for one-off jobs, but larger molds and repeat seams require more repositioning and operator effort.
Positioning Depends on the Operator
Each weld point is located and adjusted by hand
More Repositioning on Larger Jobs
Larger parts and repeated seams require more manual setup
Best for Flexible One-Off Work
Irregular parts · Low-volume jobs · Changing weld positions
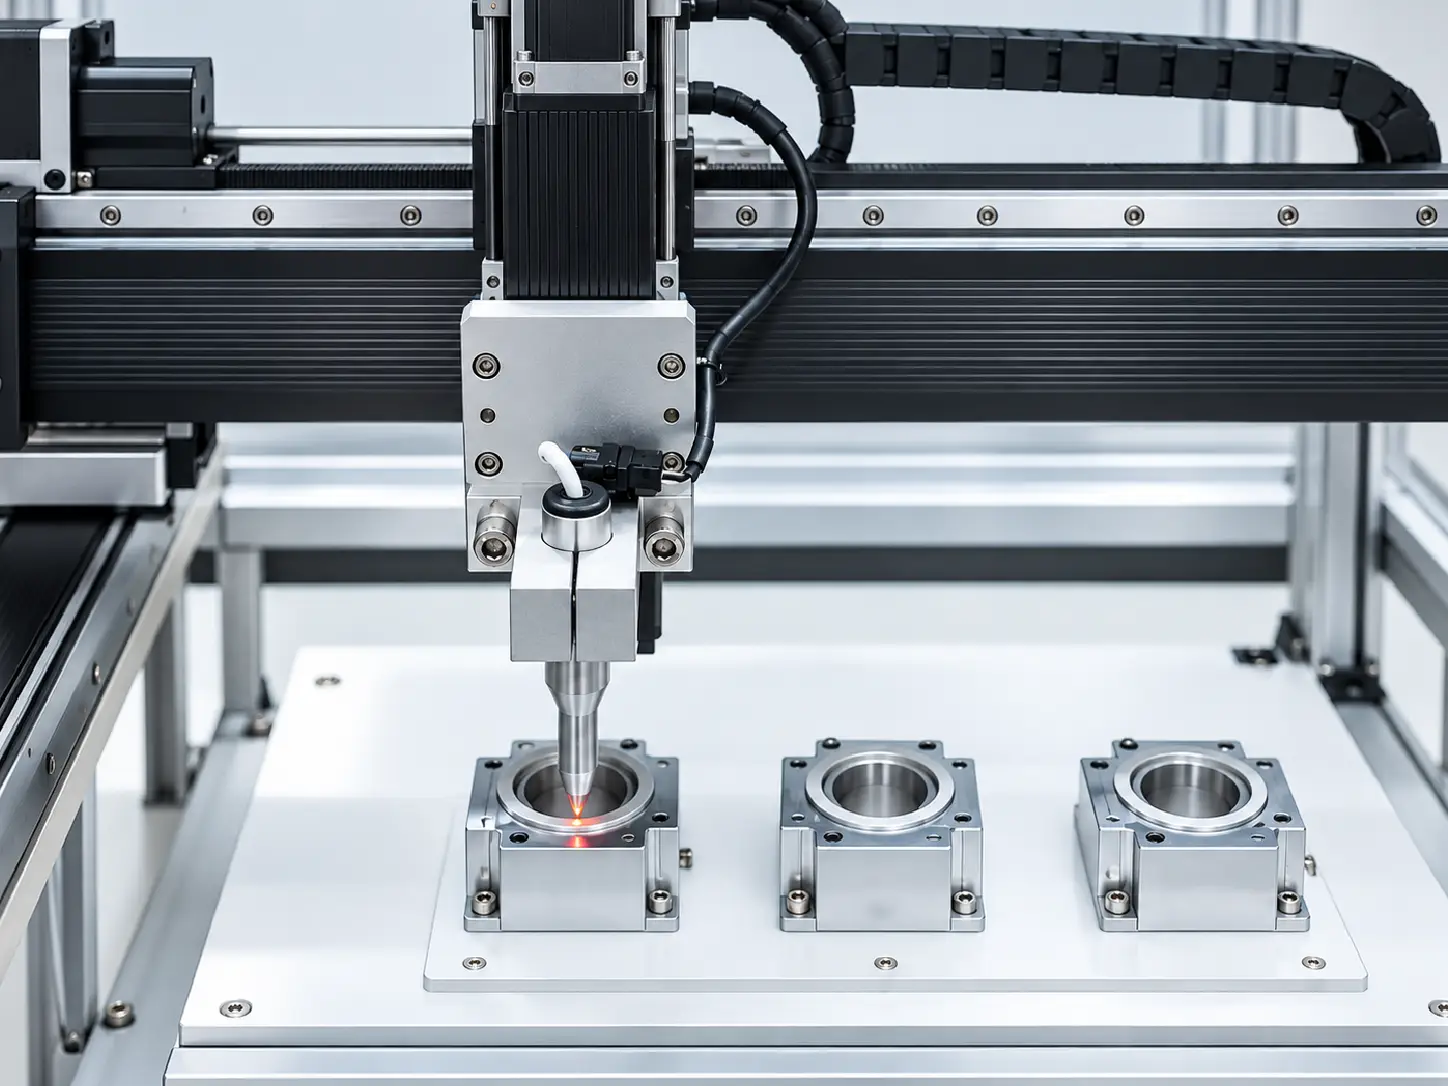
SEMI-AUTOMATIC XYZ
Semi-Automatic XYZ Movement
Semi-automatic XYZ movement guides the welding head with variable-speed joystick control, reducing repositioning and making repeat welds easier and more consistent.
Movement Controlled by the System
XYZ motion guides the welding head more predictably
Less Repositioning During Welding
Keep the workpiece in place while moving across different weld areas
Best for Repeat & Small-Batch Work
Repair jobs · Repeat seams · Larger workpieces · Small-batch welding
FREE SAMPLE TEST
See Your Weld Before You Buy
Send us your material, part photos and welding requirements. We’ll test the weld, record the process and recommend the right power and setup before you order.
01
Send Your Welding Details
Material · Part Thickness · Weld Area · Photos or Sample
02
We Match the Right Setup
200W / 300W / 400W · Welding Parameters · Positioning Setup
03
We Weld & Record the Test
Actual Welding · Close-Up Result · Before & After · Test Video
04
Review Before Ordering
Weld Result · Key Parameters · Recommended Configuration
WHAT YOU’LL RECEIVE
A Clear Result Before You Order
Cleaned Sample
See the actual weld quality on your own or similar material.
Test Video
Review the welding process and close-up result.
Recommended Setup
Get the suggested power, parameters and configuration.
PACKAGE & CONFIGURATION
Know What Comes With Your QCW Mold Laser Welder
See the accessories included with the machine, the parts used for routine welding, and the optional upgrades available for different welding jobs.
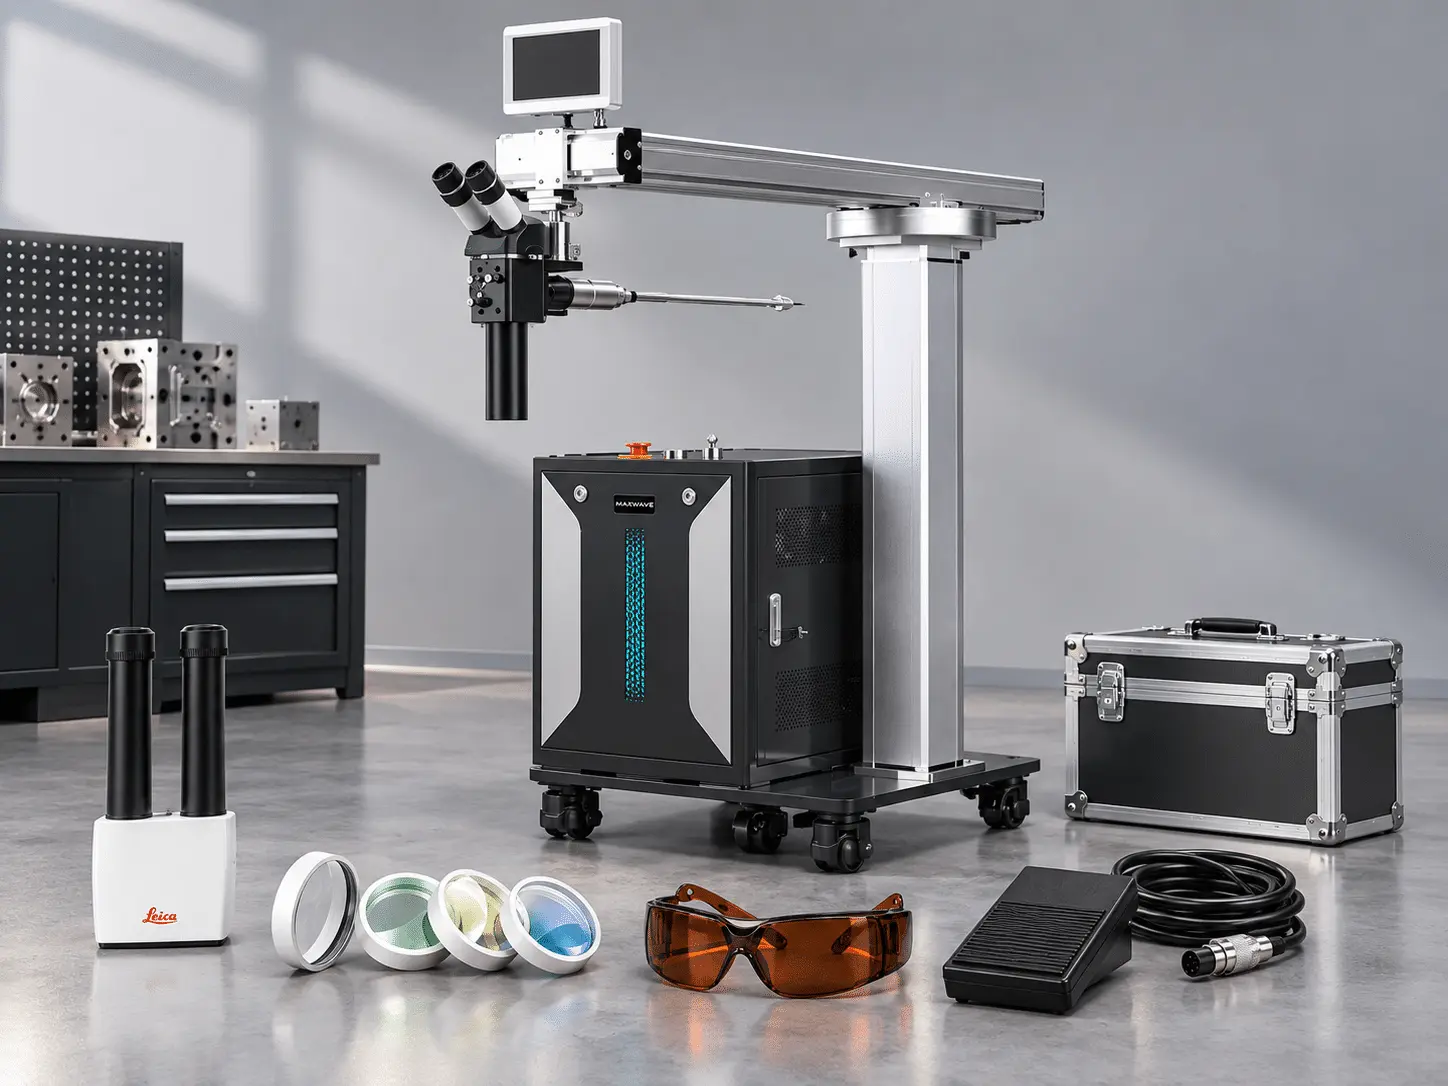
01 Included With the Machine
Semi-Automatic QCW Welding System
Complete welding unit with boom structure, welding head and control system.
Binocular Microscope
Close-up viewing for positioning and detailed welding work.
Lens Set
Optical lenses supplied for the welding system.
Laser Safety Goggles
Eye protection for laser welding operation.
Foot Pedal
Hands-free welding trigger for easier operation.
Power Cord
Power connection supplied with the machine.
02 Routine use & replacement parts
Optical Lenses
Replacement lenses are available when optical parts become worn or damaged.
Protective Optics
Spare optical components can be prepared to reduce downtime during routine use.
Welding Wire
Available according to the material and repair process when filler welding is required.
QCW fiber laser technology reduces routine laser-source maintenance and eliminates YAG-style xenon lamp replacement.
03 OPTIONAL UPGRADES
CCD Viewing System
Adds screen-based viewing for easier observation of small weld areas.
Rotary Axis
For circular parts and repeat rotary welding tasks.
Wire Feeder
Supports welding jobs that require continuous filler wire.
Custom Fixtures
Hold specific parts more securely for repeat or small-batch welding.
MAINTENANCE & CONSUMABLES
Less Maintenance, More Time for Welding
The QCW fiber laser requires no routine consumables. Daily care mainly focuses on optics, air cooling, moving parts and cable checks.
ITEM
ROUTINE CARE
PERIODIC CHECK
REPLACE WHEN
QCW laser source
No routine consumables
Check output and cooling
Output becomes unstable or a system fault occurs
Optical lenses
Keep clean
Check for dust, scratches or burn marks
Lens is damaged
Air-cooling system
Keep vents clear
Remove dust and check fans
Airflow weakens or fan operation is abnormal
Welding head & microscope
Keep the work area clean
Check mounting and positioning
Loose, damaged or misaligned
Fiber Cable
Avoid sharp bends and pulling
Check cover and connectors
Cable or connector is damaged
XYZ & boom system
Keep moving areas clean
Check movement and fasteners
Abnormal resistance, noise or positioning issues
Power & signal cables
Check connections
Check wear and overheating
Loose, overheated or damaged
Spare optical parts can be prepared with the machine to help reduce future maintenance downtime.
WELDING IN ACTION
See the Semi-Automatic QCW Welder at Work
Watch how variable-speed movement, operator-controlled positioning and QCW laser welding come together in real repair and welding tasks—from molds and tools to irregular metal parts.
SITE READINESS
What You Need to Run It in Your Shop
Prepare the power, ventilation, working clearance and laser-safe area before delivery. The air-cooled QCW system does not require an external water chiller.
BEFORE SHIPMENT
01 Power Supply
Prepare a stable power supply that matches the confirmed qcw mold laser welding machine specification. We’ll confirm the required voltage, frequency and circuit before shipment.
02 Ventilation & Dust Control
Use suitable local exhaust or fume extraction near the welding area to remove smoke and airborne particles from the operator’s working zone.
03 Keep Cooling Airflow Clear
Leave enough clearance around the machine’s air inlet and outlet for unrestricted airflow. The QCW system is air-cooled, so no external water chiller is required.
04 Fume Control
Allow enough space around the machine for boom travel, XYZ movement and safe access to larger workpieces without blocking the operator or welding head.
05 Laser-Safe Work Area
Set up a controlled welding area with suitable laser protection, PPE, reliable grounding and restricted access to protect operators and nearby personnel.
Technical Specifications
Model
QCW(60/600W)、(120/1200W)、(200/2000W)
Laser working material
Ytterbium-doped fiber
Laser wavelength
1080
Output average power
60W/120W/200W
Maximum peak power
600W/1200W/2000W
Laser pulse width
0.2~15ms continuously adjustable
Maximum energy at a single point
6J /12J /35J
Beam quality (BPP)
1~2mm×mrad
Photoelectric conversion efficiency
30%
Cold way
air cooling
Maximum input power
2KW
Laser source life
>100,000 hours
Power demand
110-240V/50-60hz
Overall dimensions
1200*(600+480)*1200mm
Packing size
1300*750*800mm
Net weight
≤4.5kWh
Working environment humidity range
200kg
Packing weight
260kg
MaxWave Automatic Laser Welder FAQs
Thinking about upgrading to an automated laser welding system? Below are the most common questions manufacturers ask before investing—covering production stability, integration, efficiency, and long-term ROI—so you can scale with confidence.
Is an automatic laser welder suitable for high-volume production?
How does automation improve production efficiency?
Automation reduces operator dependency, shortens cycle time, and minimizes rework. One system can operate continuously with stable output, significantly increasing throughput and overall efficiency.
Can the system be integrated into existing production lines?
Yes. MaxWave automatic laser welders support customized configurations and can be integrated with robotic arms, positioning systems, and production lines for seamless industrial automation.
How Can an Automatic Laser Welder Scale Your Production?
Increase output, ensure consistent quality, and handle high-volume orders—all with one automated system. From thin parts to thicker components, achieve stable, high-quality welds with minimal variation. With program-controlled operation, reduce reliance on skilled labor while maintaining repeatable results across every batch. Less rework, fewer errors, and faster cycles help lower costs and improve production efficiency.