
Choosing between Laser Welding and TIG welding is both a technical and financial decision. It could shape your workshop’s productivity for the next decade.
Both processes produce strong, high-integrity welds. But they work in very different ways — with big differences in speed, cost, and skill requirements.
Pick the right one, and you’ll streamline output, cut rework, and protect your margins. Pick the wrong one, and you end up with equipment that collects dust or creates a bottleneck you never planned for.
This is a straight breakdown of both technologies. It covers real costs, real materials, and real workshop scenarios — so you can make a decision with confidence.
Content Framework: Laser Welding Vs TIG Welding
Two technologies. One decision. The table below shows where each process wins — and where it falls short.
| Factor | Laser Welding | TIG Welding |
|---|---|---|
| Speed | 4–10× faster | Slower, operator-paced |
| Heat Input | Low — smaller HAZ | Higher heat input |
| Distortion | Minimal | More warping risk |
| Precision | Excellent on thin stock | Excellent with skilled hands |
| Material Range | Steel, stainless, aluminum, copper, titanium | Aluminum, magnesium, copper, non-ferrous |
| Thickness | Very thin up to ~5/16 in. | Wide range with proper setup |
| Fit-Up Tolerance | Tight — less forgiving | More flexible |
| Post-Weld Cleanup | Less grinding needed | More finishing common |
| Manual Control | Limited | Maximum |
| Best For | Volume, speed, clean finish | Custom work, fine craftsmanship |
This guide compares both processes across eight key pillars: speed, heat input and distortion, thickness range, material compatibility, weld appearance, fit-up requirements, industry use cases, and total cost. Each section gives you a clear verdict — no filler.
What Is Laser Welding and How Does It Work?
A focused beam of light — that’s the whole secret.
Laser Welding pushes optical energy through fiber cables or precision lenses into a spot 0.2–1 mm wide. At that scale, a 1,000W laser hitting a 0.3 mm target generates power densities above 10⁶ W/cm². Metal doesn’t heat up slowly. It melts — or partly vaporizes — in milliseconds.
That’s about 100x the energy concentration of conventional arc Welding.
Two Modes Worth Understanding
Conduction mode keeps power density below 10⁵ W/cm². The laser melts surface material without going deep. You get a shallow, wide bead — clean, controllable, ideal for thin sheet and cosmetic joints.
Keyhole mode pushes past 10⁶ W/cm². Metal vaporizes at the beam center. This forms a vapor-filled cavity — the “keyhole” — that drives laser energy deep into the material. The result: high depth-to-width ratio welds that cut through thick stock in a single pass.
Why the Heat-Affected Zone Stays Small
Speed kills heat spread. laser welding runs at 600–3,000+ mm/min. Fusion completes before thermal energy moves outward. The laser welding heat affected zone measures just 0.5–2 mm wide — two to three times narrower than comparable TIG welds.
Less heat. Less distortion. Less post-weld grinding.
Shielding gas — argon or nitrogen at 10–20 l/min — protects the molten pool the whole time. Add optional wire feed (0.8–1.2 mm diameter) for gap-filling where fit-up falls short.
On materials like Stainless steel 304/316, laser welds match or exceed base metal tensile strength. Carbon steel handles parameter variation well. Aluminum needs higher power density and cleaner prep — but it’s doable.
What Is TIG Welding and How Does It Work?
Tungsten doesn’t melt. That’s the whole foundation of TIG welding.
The process — known as GTAW (Gas Tungsten Arc Welding) — runs an electric arc between a non-consumable tungsten electrode and the base metal. Tungsten holds its shape at 3,422°C. That’s far above the melting point of steel or aluminum. It generates heat without becoming part of the weld. Need filler material? You feed it in by hand with your other hand.
That manual feed is where TIG earns its reputation.
The Electrical Setup
TIG runs on a constant-current (CC) power source. It keeps amperage stable even as arc length shifts. Two modes handle most applications:
- DCEN (DC Electrode Negative) — the default for carbon steel, stainless steel, and titanium. About 70% of heat goes into the workpiece, 30% into the electrode. You get deep penetration and high efficiency.
- AC (Alternating Current) — essential for aluminum and magnesium. The positive half-cycle breaks up the oxide layer (Al₂O₃) through cathodic cleaning. Skip this, and aluminum welds fail.
Current ranges show how precise this process gets. Thin stainless or titanium work runs 20–120A. Heavier carbon steel multi-pass joints push 150–250A.
Shielding Gas Protection
Pure argon at 6–15 L/min is standard. For thicker sections, an argon/helium mix (75/25) adds heat and penetration depth.
Shielding gas leaves no room for error on reactive metals. Titanium changes color as protection breaks down — silver first, then straw yellow, then blue, then gray. Most industrial specs reject anything darker than light blue. So you’ll need trailing shields and back-purge argon on critical joints.
stainless steel backs need the same care. A black, sugary root bead tells you oxidation has already damaged corrosion resistance.
Why Skill Is the Real Variable
TIG puts three things in your hands at once: arc length, travel speed, and filler wire. MIG asks for two. Your right hand holds the torch steady at 2–4mm arc length. Your left hand dips wire at timed intervals. Getting both hands working together takes months of practice.
MIG welders switching to TIG usually need 2–4 weeks to lay clean, consistent beads. Real proficiency on thin sheet — no burn-through, tight fish-scale pattern, low rework — takes 3–6 months of regular practice.
The reward is full manual control over every millimeter of the weld pool.
Laser Welding Vs TIG Welding: Head-to-Head Comparison Table
Eight dimensions. Two technologies. One table that cuts through the noise.
| Dimension | Laser Welding | TIG Welding |
|---|---|---|
| Heat Source | Focused laser beam — no arc, very high energy density | Electric arc with a non-consumable tungsten electrode |
| Speed | 3–10× faster; ~4× in typical sheet-metal work | One of the slowest welding processes available |
| Heat-Affected Zone | Narrow — less warping, tighter distortion control | Wider HAZ — more risk on thin sheet |
| Best Thickness Range | 0.5–4 mm sheet; up to ~5/16 in. | Thicker sections, multipass joints, large gaps |
| Weld Appearance | Minimal cleanup — no grinding needed in most cases | Clean welds are possible, but post-weld finishing is common |
| Fit-Up Tolerance | Tight — precise joint prep required | Forgiving — handles gaps and inconsistent prep well |
| Automation | Robot/cobot-ready; works with scanner heads and wobble patterns | Can be automated, but most shops still run it manually |
| Equipment Cost | Higher upfront investment | Lower barrier to entry |
Where Each Process Wins
Laser welding is the stronger choice for cycle time, cosmetic finish, and distortion control on thin materials. Think stainless panels, aluminum enclosures, and high-volume seams.
TIG Welding is the stronger choice on tight budgets. It also handles inconsistent joints well. Plus, it gives you the kind of hands-on control that automated systems can’t match.
The table doesn’t lie. Your application does the deciding.
Speed and Productivity: How Big Is the Gap?
The numbers here are not close.
On 1–3 mm stainless steel — the bread-and-butter material in most fabrication shops — TIG welding runs at 150–200 mm/min. Skilled operators pushing for throughput might hit 250 mm/min. For cosmetic-grade work on sanitary tubing or thin sheet, speed drops to ≤150 mm/min to keep heat input under control.
Fiber Laser welding on the same material runs at 1.5–6 m/min. On thinner 1 mm sheet with optimized fixturing, automated systems reach 8–10 m/min.
That’s not a marginal improvement. That’s a different category of process.
What It Means for Your Shift Output
Speed on paper is one thing. Seams per shift is what counts.
Take a realistic 8-hour shift with 6 effective welding hours — accounting for setup, part changeover, and breaks. Assume a 1-meter weld seam and a conservative 8× effective speed advantage for laser after accounting for system overhead.
| Metric | TIG | Laser |
|---|---|---|
| Welding speed | ~0.2 m/min | ~1.6 m/min (effective) |
| Time per seam (weld + handling) | ~10 min | ~3.6 min |
| Seams per shift | ~36 | ~100 |
| Labor cost per seam | ~$2.80 | ~$1.00 |
Same crew. Same shift. The laser setup puts out 3× more parts — and cuts labor cost per seam by 64%.
Where TIG’s Slower Pace Works in Its Favor
Speed isn’t always the deciding variable.
On complex joints — tee intersections, inside corners, full-position pipe work — a TIG welder can slow to 60–120 mm/min. The operator adjusts torch angle mid-pass and feeds wire to exact spots where the puddle needs it. laser systems struggle with irregular paths, shifting focal angles, and tight access geometry.
Gap tolerance is another real-world factor. Poor fit-up with gaps at 0.5–1.0 mm is something a skilled TIG welder handles by hand. Laser welding starts producing undercut and incomplete fusion once gaps exceed 0.2–0.3 mm — unless you add a wire feed system or wobble head.
The bottom line: Laser welding‘s speed advantage is decisive for high-volume, straight-seam work on well-fitted parts. For irregular geometry, poor fit-up, or low-quantity custom jobs, TIG’s slower pace gives you a level of control that automated speed cannot replicate.
Weld Quality and Distortion Control: Laser Welding’s Biggest Advantage
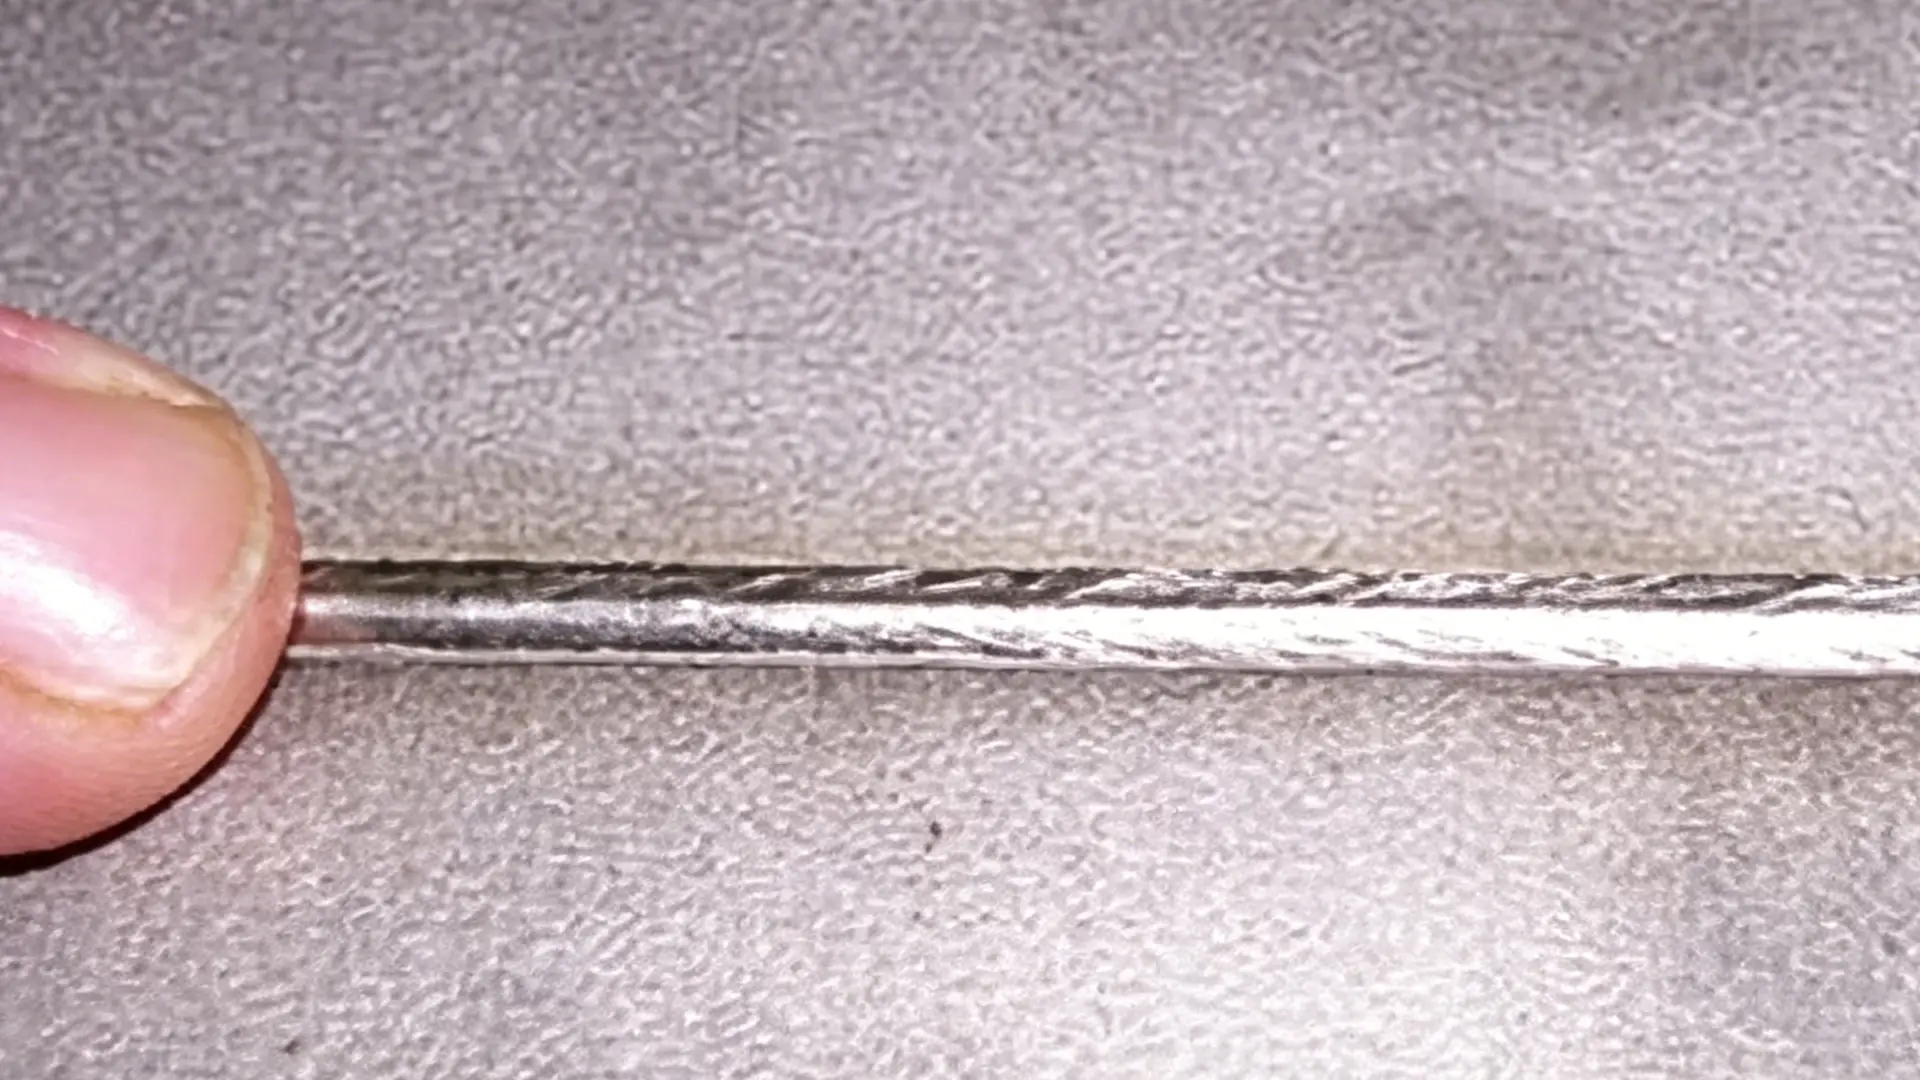
Heat is the enemy of precision. Push more heat into metal, and that metal moves — warps, bows, twists. Every millimeter of unwanted distortion is money spent on rework you never planned for.
This is where laser welding pulls ahead of TIG in a way that hits your bottom line.
Heat Input: The Numbers Tell the Story
TIG welding on 1–3 mm stainless sheet runs at 300–800 J/mm of linear heat input. That’s what it takes to hold fusion and penetration depth.
Laser welding on the same material? 30–150 J/mm. That’s 20–50% of what TIG puts in — sometimes even less.
Less heat means a smaller heat-affected zone. A smaller HAZ means less thermal stress in the surrounding material. Less thermal stress means the part comes off the fixture closer to the shape you intended.
What the HAZ Really Looks Like
On 1 mm stainless steel, the difference is stark:
| Measurement | Laser Welding | TIG Welding |
|---|---|---|
| Weld bead width | 0.3–0.8 mm | 2.5–4 mm |
| HAZ width (per side) | <0.5–1.0 mm | 3–6 mm |
| Depth-to-width ratio | Up to 10:1 | 0.5–1.5:1 |
TIG’s arc spreads heat wide and slow. The laser drives energy into a spot 0.2–0.6 mm in diameter at power densities reaching 10⁴–10⁶ W/mm². The metal melts fast, the torch moves on, and the surrounding plate barely notices.
Distortion in the Real World
The physics shows up in real workshop results.
0.8–1.0 mm 304 stainless door panels: TIG butt welds produce 1–3 mm of longitudinal distortion over a 500 mm length. That means straightening. That means grinding. A 4–6 kW Fiber laser running at 3–5 m/min with rigid fixturing drops that figure to ≤0.5–1 mm over the same span. Clean enough to go straight to powder coat or brushing — no correction step needed in between.
1.5–2.0 mm stainless automotive brackets: Manual TIG produces angular distortion and twist with dimensional variance of ±1.0–1.5 mm. That’s too much for automated assembly fixtures to handle. robot-guided laser welding compresses that variance to ±0.3–0.5 mm. It meets datum hole requirements without shimming or rework.
0.8–1.5 mm aluminum (5xxx/6xxx series): Aluminum’s thermal conductivity makes distortion worse under TIG. Conventional MIG/TIG on the same structure produces 2–4 mm of deflection over 600 mm. Laser welding with oscillation at 4–6 m/min holds that to <1 mm over the same span. That’s the target number automotive body panel and battery enclosure programs are building to right now.
Weld Appearance: Narrow, Clean, and Ready to Ship
The laser welding distortion advantage carries through to the surface finish too.
Laser welds on thin stainless are narrow — 0.4–0.8 mm wide on 1 mm plate — straight, smooth, and close to spatter-free. In most cosmetic applications, you skip grinding before finishing. A single light brushing pass removes any visible trace.
TIG’s fish-scale pattern — that rippled, hand-crafted texture — runs 3–6 mm wide on the same material. For exposed pipe or artisan work, that texture reads as craftsmanship. For appliance fascias, 3C enclosures, or precision sheet metal assemblies, it reads as extra labor: 1–3 additional finishing steps before the part is ready for a visible surface.
The tradeoff is real. Your work demands tight weld-zone geometry, zero post-weld distortion correction, and a finish that goes straight to coating. Laser welding‘s heat-affected zone control isn’t a small improvement. It’s a structural advantage built into every part you run.
Equipment Cost and Total Cost of Ownership (TCO) Analysis
The price tag on the box is the wrong number to look at.
Most shops compare laser welding and TIG welding by looking at the equipment invoice. That’s a mistake. The invoice is just the entry fee. What you pay over three years, five years, a decade — that comes from gas consumption, filler wire, grinding labor, maintenance cycles, and the value of time you either recovered or lost.
Here’s how the real numbers stack up.
Initial Equipment Investment
The gap at purchase is real and significant.
A handheld fiber laser welding system — Machine, laser head, chiller, basic wire feed — runs $6,000–$11,000 for 1,000–1,500W domestic-brand configurations. Step up to 1,500–2,000W, the practical range for small-to-mid fabrication shops, and you’re looking at $10,000–$17,000. A 3,000W high-spec system can push past $28,000.
A professional TIG setup tells a different story. A 200–250A industrial inverter TIG welder — water cooling, quality torch, cables, and regulators — lands between $1,400–$3,500. A full “shop workhorse” kit from a respected brand runs $2,100–$3,500 all-in.
The math is straightforward: a mid-spec laser system costs 4–5× more upfront than a comparable TIG configuration.
| Equipment | Typical Price Range |
|---|---|
| Handheld fiber laser (1,500–2,000W, full system) | $10,000–$17,000 |
| TIG inverter setup (200–250A, full kit) | $2,100–$3,500 |
| Upfront cost multiplier | ~4–5× |
That gap is real. But it’s just the opening chapter.
Where the TCO Calculation Shifts
Gas costs are the first place the math gets interesting.
TIG welding on stainless sheet burns pure argon at 8–15 L/min. At industrial cylinder pricing, that comes out to $1.30–$2.60 per hour of welding time. Laser welding needs higher flow rates — 15–25 L/min — but it opens the door to nitrogen. Shops running their own nitrogen generation equipment can cut gas costs down to $0.09–$0.26 per hour. That’s a 50–80% drop in gas spend compared to TIG argon. One caveat: run laser with argon instead of nitrogen, and you pay 1.5–2× more per hour than TIG. Gas strategy matters here.
Filler wire is the next cost lever. TIG welding on 1–3mm material almost always needs filler rod. Stainless wire runs $2.90–$5.80/kg, and on longer seam runs, that adds up fast. Laser welding on the same thin-gauge material often needs zero filler wire — or close to it. On high-volume production of sheet metal enclosures and panels, Fabricators report 70–100% reductions in filler wire consumption after switching to laser. That’s a hard number you’ll see show up in your monthly cost sheet.
Post-weld finishing labor is where the gap becomes dramatic.
A skilled TIG welder leaves a clean bead — but it’s wide, has a fish-scale texture, and needs grinding and polishing before any cosmetic surface goes to finishing. Post-weld labor runs 2–5 minutes per 300mm seam for stainless decorative work. Laser welds are narrow, low-profile, and nearly spatter-free. The same seam takes 0–1 minute of post-processing. Most shops see finishing labor drop by 70–90% after switching.
Here’s what that looks like at production scale:
| Scenario | TIG | Laser |
|---|---|---|
| Daily seam count (300mm seams) | 400 | 400 |
| Post-weld labor per seam | 3 min | 0.5 min |
| Daily finishing labor hours | 20 hrs | 3.3 hrs |
| Daily labor cost (at $7.25/hr) | ~$145 | ~$24 |
| Monthly savings (22 days) | — | ~$2,660/month |
That one line item — grinding and polishing labor — can cover a major portion of the laser system’s payback on its own.
Maintenance and Long-Term Ownership
TIG equipment is simple to maintain. Consumables — nozzles, collets, contact tips, cable ends — run $430–$1,160 per year across a two-to-three machine shop. Repairs come up rarely, and they don’t cost much.
Laser systems need more attention. Annual routine costs — protective lenses, optical path cleaning, coolant maintenance, oscillation head service — run $435–$1,450 per year under normal use. The bigger risk sits in the laser source itself. Rated at 50,000–100,000 hours, a laser source that fails outside warranty can cost $2,900–$8,700 to replace, depending on power class and brand. Build that into any honest TCO model as a contingency line.
The Payback Threshold
The break-even point on a laser system comes down to one thing above all else: volume.
A shop running continuous production on thin stainless or aluminum — hundreds of seam-meters per day — can see the cost gap close within 12–24 months. Faster cycle times, eliminated filler wire, and reduced finishing labor all stack together to get you there. For low-volume custom shops running fewer than 20–30 parts per day, that payback window stretches to 36–48 months or longer. At that pace, TIG’s lower carrying cost starts to look more attractive.
The equipment price gets paid once. Labor, gas, and grinding get paid every single day.
Material Compatibility: What Can Each Process Handle?
Not every metal behaves the same under heat. How a process handles that variation tells you more about its real-world limits than any spec sheet.
Steel and Stainless Steel
TIG covers the full thickness range on mild carbon steel — 0.5 mm sheet up to 8 mm single-pass. Multi-pass groove welding pushes well beyond that for structural and vessel work. Carbon content is the key threshold. Below 0.25% C, cold cracking risk stays low and weldability is straightforward. Above that, you need preheat and post-heat. Laser welding needs even more of it — higher cooling rates produce hardened microstructures and raise cracking risk.
For stainless 304/316, laser welding performs well on thin precision parts — 0.1–6 mm single-pass full penetration. Distortion drops 50–80% compared to TIG. TIG, on the other hand, covers the full range from 0.3 mm foil-thin sheet to 50+ mm pressure vessel walls. Back-purge argon protects root bead integrity throughout.
Aluminum: Where Both Processes Face Friction
TIG handles 1–10 mm aluminum with consistency. AC current breaks up the oxide layer — essential on 5xxx and 6xxx series. The 6xxx series has a catch: hot cracking sensitivity. You need low-crack-sensitive filler wire like ER4043. Skip that, and the joint fails before you finish the seam.
Laser welding on aluminum runs into a physics problem. At 1064 nm, aluminum’s reflectivity exceeds 90% at room temperature. You need high power density to push through that barrier and hold a stable keyhole. The sweet spot is 0.5–4 mm single-pass — usable, but porosity and hot cracking stay as persistent risks. Most production shops running laser on aluminum add oscillation or hybrid laser-MIG to stabilize the melt pool.
Copper: Laser’s Toughest Challenge
Copper blocks near-infrared laser light almost entirely. Pure copper reflects >95% of 1064 nm energy. That leaves less than 5% for actual welding. The reflected energy doesn’t just waste power — it can damage optical components too.
The common industry fix: switch to green (~515 nm) or blue (~450 nm) laser sources. These push copper absorption up to 40–60%. TIG handles copper up to 6 mm, but it needs preheat at 150–300°C to offset rapid heat dissipation. Doable, but it adds process complexity.
Titanium: Both Can Do It, With Conditions
Both processes weld titanium. Neither tolerates contamination.
TIG on titanium needs ultra-pure argon (≥99.99%), trailing shields, and back-purge protection. Above 400–450°C, surface oxidation degrades mechanical properties fast. Laser welding shrinks the heat-affected zone, which cuts oxidation exposure time. Even so, inert atmosphere or vacuum enclosures are non-negotiable. Typical laser range: 0.5–6 mm.
TIG has no real substitute for dissimilar metal joints — think stainless-to-carbon steel transitions using ER309 filler, or nickel alloy-to-low-alloy steel joints in nuclear and pressure vessel work. Laser welding doesn’t have the filler composition flexibility to bridge those metallurgical gaps with confidence.
Real Workshop Scenarios: Laser vs. TIG
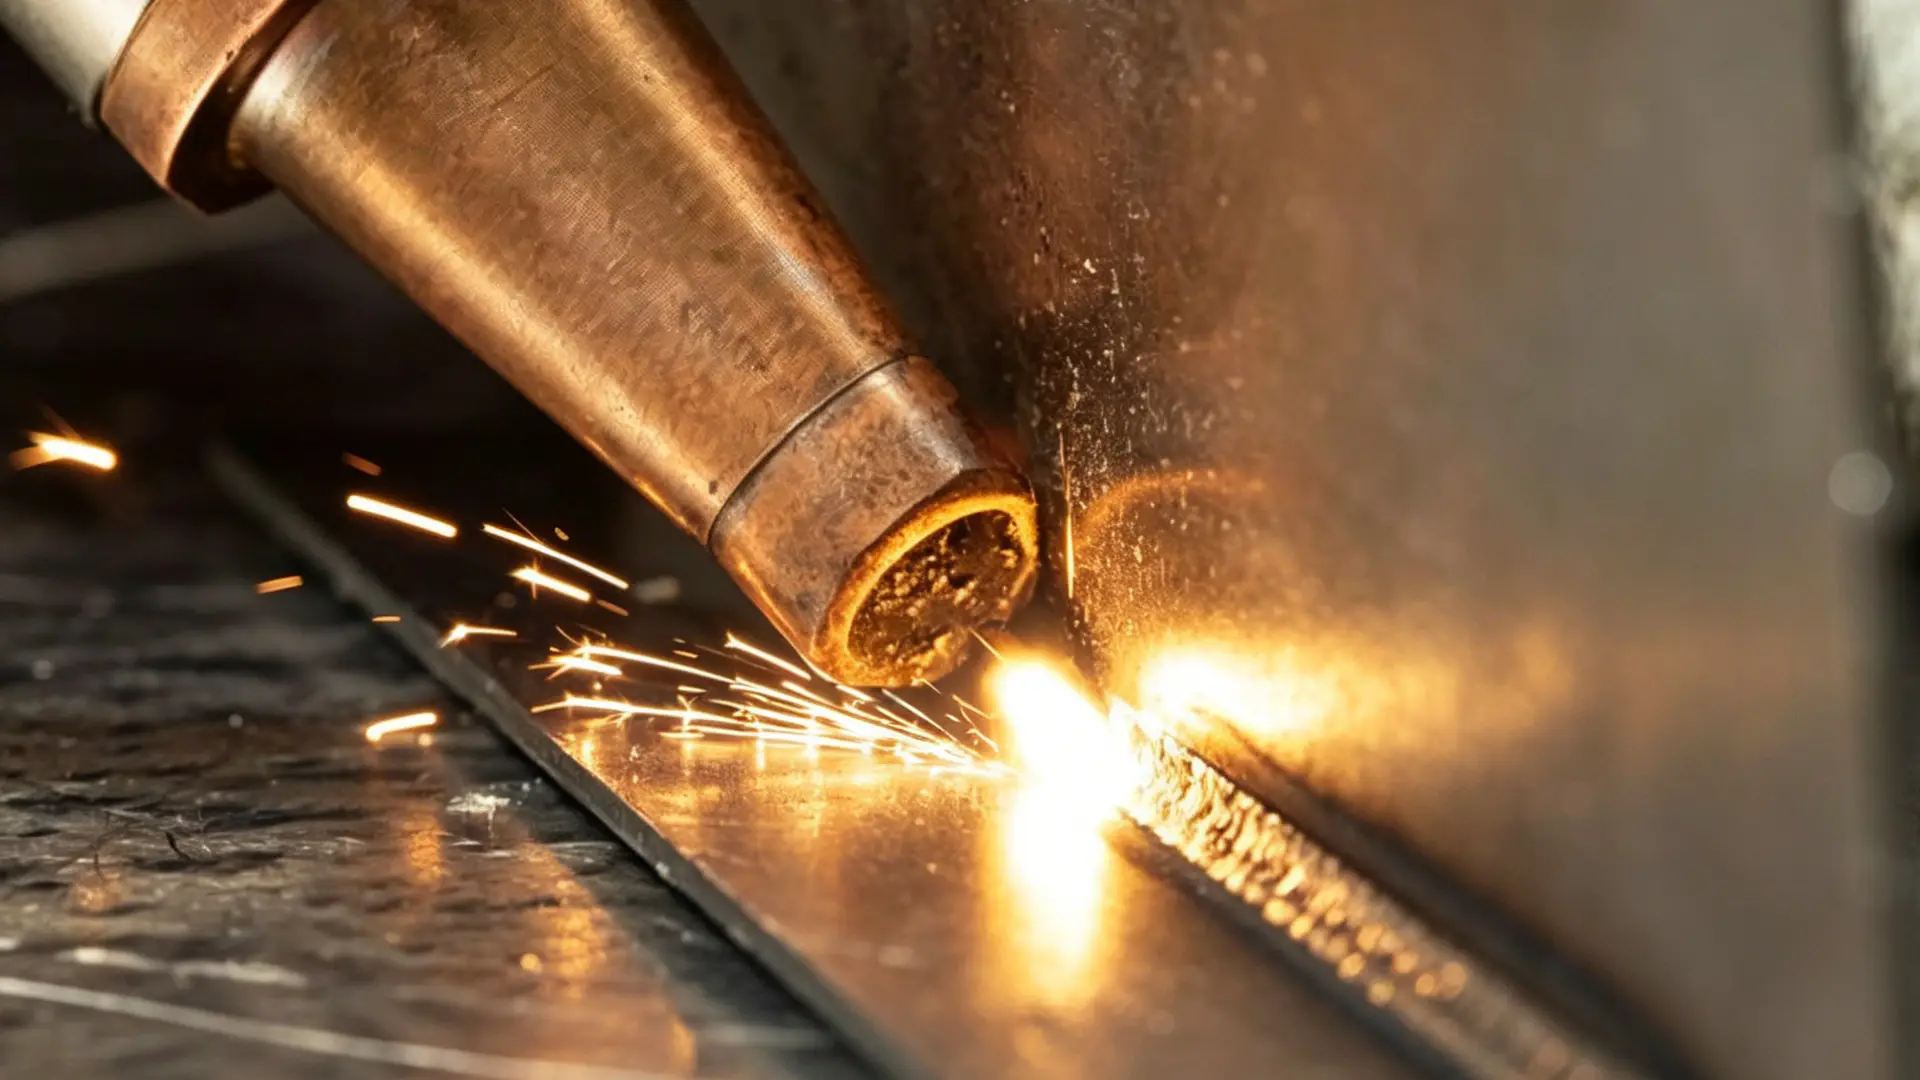
The technology doesn’t make the decision. Your work does.
Four scenarios cover most of what real fabrication shops run. Here’s where each process belongs — and why.
Jewelry and Precision Instruments (0.1–1.0 mm)
Laser wins this category, no debate. The heat-affected zone stays at ≤0.5 mm. Stone settings don’t shift. Housings don’t warp. Finished pieces go straight to polish — no grinding step needed. Weld beam diameters run 0.1–0.6 mm, too fine for any TIG torch to match.
TIG still has a place here. Cost-sensitive jobs or heavy gap-filling? TIG works. But on cosmetic precision work, it leaves more cleanup behind — every time.
Automotive Fabrication — Exhaust, Brackets, Thin Sheet (0.8–3 mm)
On 0.8–2 mm stainless exhaust tubing, laser welding runs at 1.5–5 m/min. That’s three to five times faster than TIG on the same seam. One laser station matches the output of four TIG welders on repetitive pipe runs. Distortion drops to about one-eighth of conventional welding. On long exhaust headers, that matters — post-weld straightening eats time you didn’t plan for.
Keep TIG on chassis reinforcement and structural tow points above 3–4 mm. Also use it anywhere joint access is too tight to fit a laser head.
Stainless Enclosures and Cabinets (0.8–6 mm)
Long straight seams on cabinet sheet metal are where laser shines. At 1.5–5 m/min on 1–2 mm stainless, a one-meter enclosure seam finishes in under a minute. You get minimal spatter and surface quality good enough to skip grinding before brushing.
For openings, nozzle welds, and poor-fit-up joints, TIG with filler wire handles what laser can’t.
Heavy Plate and Structural Repair (>6 mm)
This is TIG territory. handheld laser systems max out around 4–5 mm before costs climb. Heavy plate needs multi-pass fill, deep penetration, and gap tolerance that laser optics can’t handle. TIG’s gap adaptability and filler control aren’t just advantages here — they’re requirements.
Already running TIG? Add laser for thin-sheet, long-seam, and cosmetic work. Let TIG hold the thick plate and field repairs. That split covers most shops without replacing anything that’s already pulling its weight.
Which Is Better for YOUR Workshop? A Decision Framework by Shop Type
Your shop type answers this question faster than any spec sheet.
Set the technology aside for a moment. Think about what lands on your workbench every week — the thickness, the volume, the margin pressure, the person running the machine. Those four variables tell you more than any head-to-head comparison.
Here’s a practical framework built around three real shop profiles.
Budget-Constrained Small or Home Workshop
Capex budget: Under $2,500 per station. Volume under 1,000 parts per year. Mixed jobs, high setup time, single-phase power.
At this scale, neither laser nor TIG is your first call. An inverter MIG with flux-core capability covers 1–8 mm steel. A new operator can produce usable welds in under 10 hours. Changeover takes 20 minutes flat.
Add TIG to your setup only if:
– Thin stainless or aluminum makes up more than 20–30% of your workload
– Cosmetic quality on visible surfaces is non-negotiable
Running fewer than 50 parts per month? Steel above 2 mm across the board? A multiprocess MIG/Stick combo under $1,500 handles everything. No extra complexity needed at this stage.
Custom Shop Expanding Thin-Gauge Stainless
Material: 304/316 stainless, 0.8–3.0 mm. Volume: 1,000–10,000 parts per year. High cosmetic demand — kitchen, medical, architectural.
This is TIG’s home territory. Pulse TIG at 0.5–2 Hz cuts heat input by 20–40% compared to non-pulsed. That tightens distortion and heat tint control on visible seams. Modern inverters hold stable arcs down to 3–5 amps — clean enough for 0.5 mm sheet.
Consider pulse MIG once a part group crosses 500 pcs/year at 1.0 mm or thicker. Travel speed jumps to 40–60 cm/min versus 15–20 cm/min on TIG. The extra $2,000–$4,000 investment pays back in 6–18 months at 20+ hours of use per week.
Distortion rework eating more than 10% of total weld time? Fix your fixturing and back-purge setup first. New equipment won’t solve a process problem.
Medium-to-Large Batch Production
Volume: 10,000–500,000 parts per year. Enclosures, HVAC ducting, automotive brackets. Cycle time targets under 90 seconds per part.
Robotic MIG runs at 10+ kg/h deposition. It cuts enclosure weld cycles from 120–180 seconds down to 30–60 seconds. At that volume, labor is 40–60% of total welding cost — automation isn’t optional, it’s arithmetic.
Save TIG for prototypes, rework, and thin visible joints that robots can’t justify. Before committing $80,000–$200,000 to a robotic cell, check that incoming part tolerance holds within ±0.5–0.8 mm at weld interfaces. Miss that number, and the robot will expose the fixture problem you didn’t know you had.
Frequently Asked Questions
Can Laser Welding Replace TIG Welding?
For thin stainless steel and carbon steel between 0.8–4 mm, laser welding covers 60–80% of use cases — enclosures, kitchen equipment, standard sheet metal fabrication. welding speed runs 3–5× faster. The laser welding heat affected zone measures just 0.3–1.0 mm. TIG produces 2–5 mm on the same material.
Laser welding does have limits. It struggles with thick plate above 8–10 mm, large root gaps, complex groove geometry, and pressure vessel work. Those jobs need hybrid laser-arc processes or laser tacking with TIG fill passes.
Which Process Produces Stronger Welds?
Both processes reach 90–100% of base metal tensile strength with the right parameters. On 2 mm 304 stainless, laser joints test at 550–600 MPa. TIG joints land at 520–580 MPa. Fractures happen in the parent metal, not the weld itself.
The bigger practical difference is laser welding distortion. Laser produces about 30–50% of the distortion TIG creates. For precision assembly work, that gap matters more than peak strength numbers.
How Long Does Laser Welding Take to Learn?
- Experienced welders: 1–2 days to production-ready
- Zero-experience operators: 3–7 days
Compare that to TIG. Real proficiency on thin sheet takes 1–3 months. Laser systems run on preset parameter libraries. Operators adjust gun angle and travel speed — that’s it. No arc length management. No simultaneous filler wire feed. The skill ceiling is lower by design, and that’s the point.
What’s the Realistic ROI on a Laser Welding System?
A 1–2 kW handheld fiber laser system costs $7,000–$15,000 with full configuration. Most mid-volume sheet metal shops recover that investment in 6–18 months. Here’s where the savings come from:
- Reduced labor headcount
- Near-zero filler wire consumption
- Finishing labor drops by 50% or more
Higher production volume plus tighter cosmetic requirements means faster payback. The math gets better as your throughput grows.
Conclusion
The right welder isn’t an abstract choice — it’s specific to your materials, your volumes, and your budget.
Laser welding brings speed, near-zero distortion, and repeatable results with minimal manual input. Your shop produces high volumes of precision parts? The investment pays for itself. Running lower volumes, working with thicker alloys, or not ready for the upfront cost? TIG welding holds its ground. It’s a proven, reliable process that rewards skilled hands — every time.

0 Comments