
Prices of global handheld laser welders vary drastically in 2026, ranging from several thousand US dollars for entry-level units to over $15,000 for professional-grade portable laser welder models. Blind equipment selection easily leads to massive unnecessary cost losses. Targeting three core buyer groups including sheet metal fabricators, conventional TIG welders switching business directions and custom metal workshops, this buying guide centers on practical production cost, profit gain, hidden running expenses and on-site safety, helping buyers avoid mainstream industry pitfalls and accurately calculate ROI of laser welding equipment.
What Is a Handheld Laser Welder?
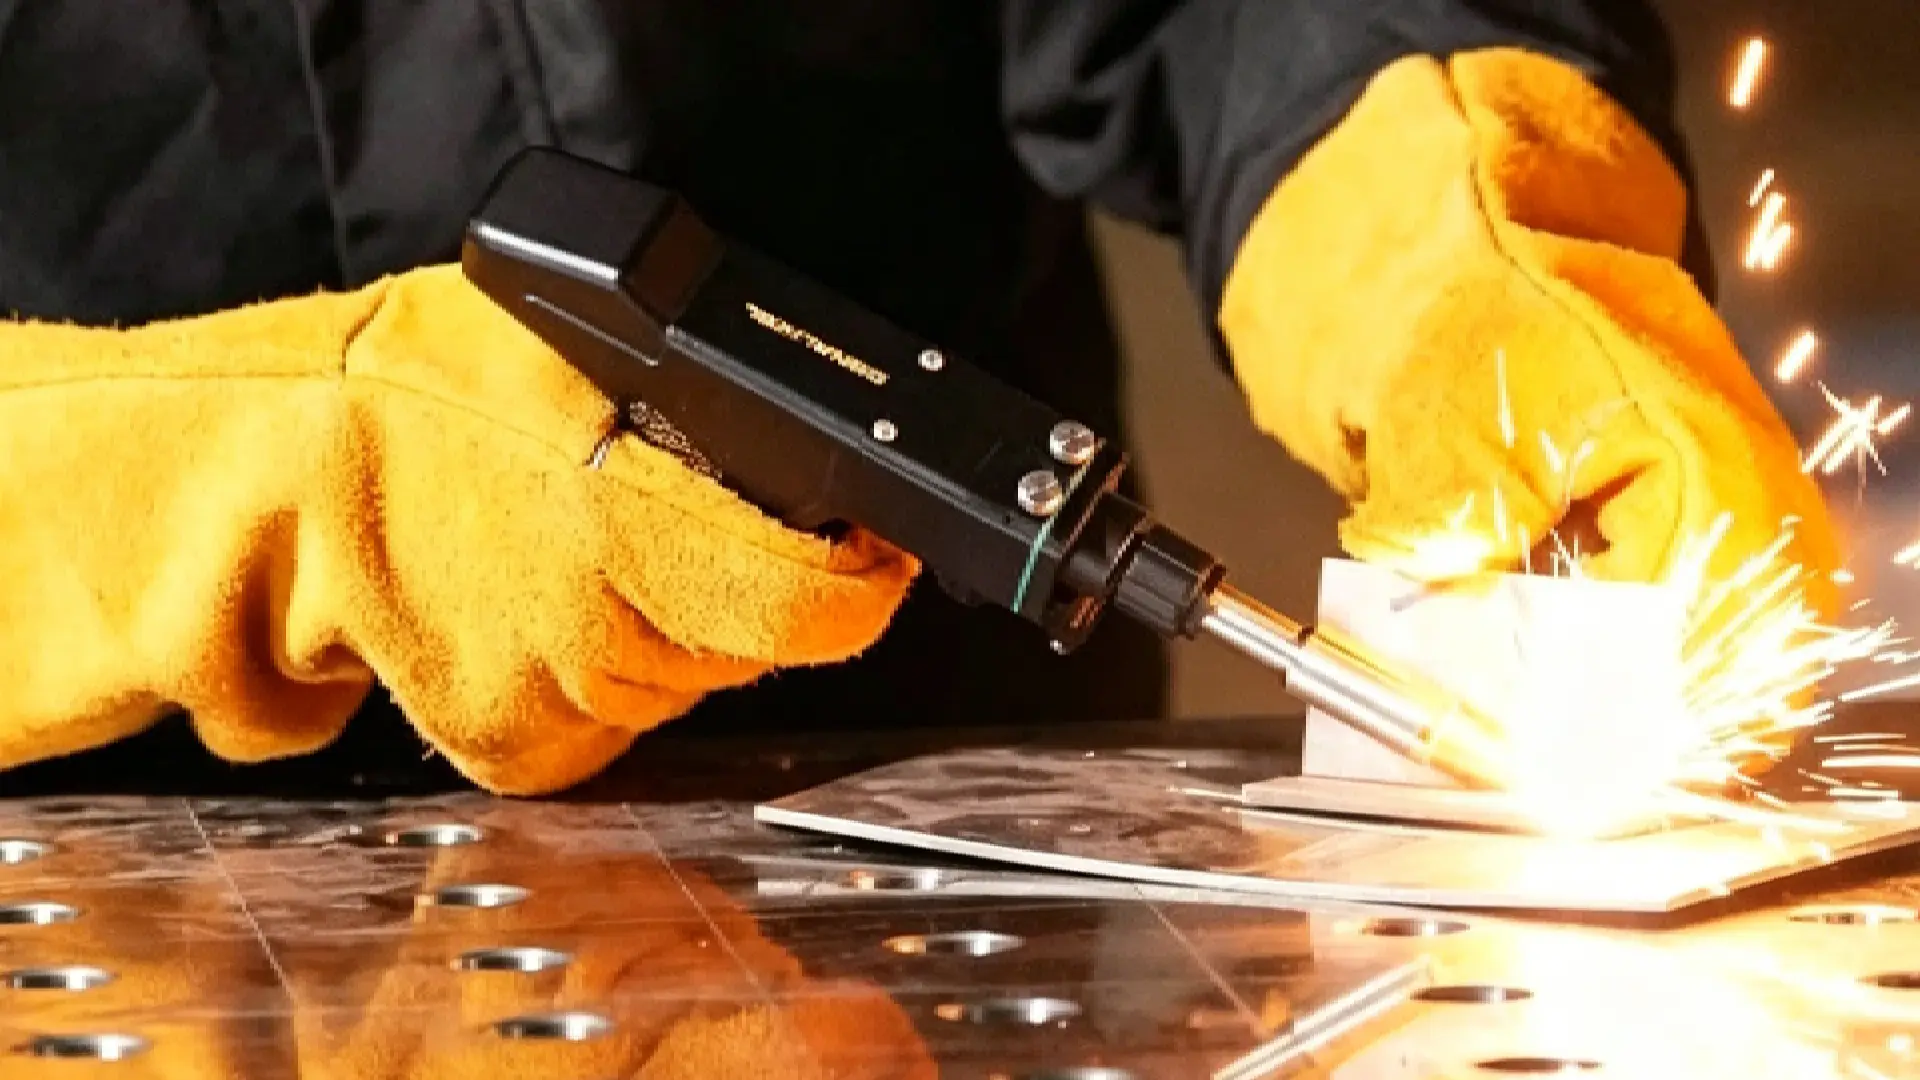
Think of a hot glue gun for metal. But instead of melted adhesive, it fires an invisible beam of concentrated light. That beam is intense enough to liquefy steel on contact.
That’s what a Handheld Laser welder does.
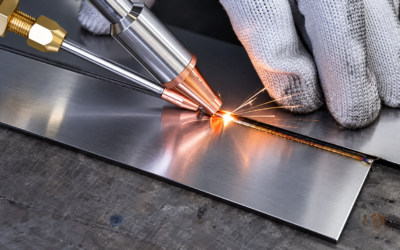
Here’s the basic setup: a Fiber Laser power supply (the box) connects through a flexible fiber-optic cable to a pistol-shaped gun. You point the gun at a metal joint, pull the trigger, and trace the seam. The beam runs at ~1080 nm wavelength, deep in the near-infrared spectrum. It melts a tiny pool of metal ahead of you. As you move forward, that pool cools and solidifies into a clean, strong weld bead behind you.
Most beginner-friendly units run between 700 W and 1500 W continuous output. That’s enough power to handle 0.5 mm up to 4–6 mm of Stainless steel, carbon steel, aluminum, or copper in a single pass.
The gun does more than just direct the beam. Inside, optics focus the beam and give it a small “wobble” across the joint. This spreads heat across a wider area and fills small gaps without extra effort. Many guns also pack in:
- A wire feeder port for 0.8–1.2 mm filler wire
- Shielding gas delivery
- Built-in safety interlocks that cut power the moment you lift the gun from the surface
One thing that catches most first-timers off guard: it feels more like drawing than Welding. No arc. No blinding flash. Just a smooth, controlled trace — and a neat bead where there used to be a gap.
Handheld Laser Welder vs TIG vs MIG: Is the Upgrade Worth It in 2026?
Three welding processes walk into a shop. Only one lets a rookie lay a clean bead on 1.5 mm stainless in under an hour.
That’s not a punchline. That’s the real competitive gap in 2026.
Speed: The Number That Changes Everything
On 1.5 mm stainless steel, the travel speed comparison looks like this:
| Process | Travel Speed | Spatter | Post-Processing |
|---|---|---|---|
| TIG | 150–200 mm/min | Low | Grinding + polishing |
| MIG | 250–400 mm/min | High | Heavy grinding |
| Handheld Laser | 600–1,600 mm/min | Near zero | Wipe or nothing |
That’s a 4–10× speed advantage over TIG. Not marketing copy — that’s the engineering estimate pulled from multiple industry sources.
At 800 mm/min average, one laser welder puts out 288 meters of Weld per day. A TIG welder at 200 mm/min hits about 72 meters. Same wages. Four times the output.
Weld Quality and Post-Processing
Laser’s heat-affected zone runs 30–50% narrower than TIG on the same material thickness. Less heat means less warping, less distortion, and cleaner parts coming off the table.
For stainless decorative work — furniture, cabinets, railings — shops report cutting their grinding crew by 50–80% after making the switch. First-pass acceptance rates jump from the 90–95% range typical of TIG/MIG up to 97–99% once you dial in the laser parameters. That’s fewer rejected parts and less rework eating into your day.
Where Laser Still Loses
Be straight with yourself about these three limits:
- Thick plate — Above 8 mm, MIG is still the better tool. The ceiling on the most powerful handheld laser units sits at 8.5 mm.
- Entry cost — Laser systems run $3,000–$15,000 versus $1,000–$5,000 for a solid TIG/MIG setup. That’s a real gap you need to plan for.
- Low-volume shops — Under 500 annual weld hours, the ROI math doesn’t add up. Stick with TIG.
The ROI Verdict
At an $8,000 equipment premium, saving four hours of labor per day at $10/hour puts $10,000 back in your pocket each year. Payback period: 9–12 months.
High-production shops running thin-to-medium gauge steel see the Machine pay for itself fast — well before the year is out. Weekend-repair operations won’t get there. That’s the straight answer most buying guides skip over.
The 7 Key Specs That Actually Matter When Buying a Handheld Laser Welder
Seven numbers. That’s all that separates a smart purchase from an expensive lesson.
Most buyers walk in armed with marketing brochures and YouTube demos. They come out either thrilled or frustrated. The difference almost always traces back to these seven specs — and whether they knew them before signing the purchase order.
Here’s what to look at.
1. Laser Power Output — Match It to Your Material, Not Your Budget
Power is the spec everyone notices first. It’s also the one most often mismatched.
The four standard tiers in 2026: 1000 W, 1500 W, 2000 W, and 3000 W. Here’s how they map to real-world thickness on carbon steel and stainless:
| Material Thickness | Recommended Power | Best Used For |
|---|---|---|
| 0.5–1.0 mm | 1000 W | Precision sheet metal, thin enclosures |
| 1.0–2.0 mm | 1000–1500 W | Furniture, stainless doors, cabinets |
| 2.0–3.0 mm | 1500–2000 W | Structural frames, small assemblies |
| 3.0–4.0 mm | 2000 W | Single-pass butt joints on structural parts |
| 4.0–6.0 mm | 2000–3000 W | Near the ceiling; slower travel speeds required |
| 6.0–8.0 mm | 3000 W+ | Premium light sources only; Han’s Blue Crystal tops out at 8.5 mm stainless |
Two material exceptions worth knowing:
- Aluminum pulls heat fast. Step up one power tier for the same thickness. Three mm aluminum needs 2000 W. Three mm stainless gets by on 1500–2000 W.
- Copper has an even lower limit. A 6 mm stainless joint is routine. That same joint on copper drops to a 3.3 mm upper limit. Factor that into your planning.
2. Welding Mode — Continuous, Wobble, or Wire Feed
The beam is only part of the story. How it moves across the joint changes everything about the result.
Continuous welding keeps the beam fixed on a single path. The weld is narrow, the heat-affected zone is tight, and the output looks clean. The tradeoff: your hand movement has to match that precision. For beginners, the margin for error is thin.
Wobble welding swings the beam side-to-side across the joint. Width is adjustable between 0.5 mm and 5 mm. That side motion does two things: it widens the effective weld zone, and it lowers peak energy density at any single point. The result is a more forgiving pass on thin material and gapped joints. Multiple equipment manufacturers and field operators report the same finding — wobble mode is far more forgiving for first-time users than continuous mode. You don’t have to hold steady like a TIG welder. The machine adjusts.
Wire feed welding adds filler material to the process. Use it when: – Joint fit-up is imperfect and you need gap compensation – You’re building a fillet with a required throat size – The weld chemistry needs adjusting
One field rule of thumb from 2000 W operators is worth keeping: 1 inch of wire consumed equals about 1 inch of weld produced. It’s a handy model for estimating consumable costs.
3. Gun Weight and Ergonomics
This spec rarely shows up in brochure headlines. It should.
A gun that balances well at 1.0 kg feels manageable through an eight-hour shift. One that’s front-heavy at 1.4 kg becomes a problem by noon. Han’s Blue Crystal’s engineering team cut their Welding head volume by 70% and weight by 50% compared to standard handheld guns. That decision came straight from operator fatigue data — not aesthetics.
Look for the balance point near the index finger and thumb grip zone. Guns that carry their mass forward of the grip force the wrist into constant correction. Over a full production day, that adds up fast.
Nozzle interchangeability matters too. Premium systems include inside-corner, outside-corner, and narrow-gap nozzles as standard. The best designs let you swap them tool-free in under 30 seconds.
4. Cooling System Quality
Underestimate cooling and you’ll pay for it in laser source failures.
At 2000–3000 W continuous output, the thermal load on the fiber and optics is heavy. Industrial water-cooling isn’t optional at those power levels. It’s what keeps the system running past its warranty period.
Han’s Blue Crystal runs a compound liquid cooling system with closed-loop sensing. It holds temperature to ±0.3°C accuracy and operates from -20°C to 45°C ambient. That thermal stability protects a $6,000–$12,000 laser source from early wear — that’s not a marketing line, it’s a hardware protection measure.
Here’s a harder number: service technician data points to cooling system failures as the cause of 40–60% of early hardware failures across Fiber laser systems. Burned fiber, degraded optical seals, and unstable beam output are the most common results. The takeaway is simple — don’t buy a premium laser source and pair it with a budget cooling unit.
Any serious machine should meet these minimum specs:
– Low coolant level alarm
– Overheat automatic shutdown
– Pump fault detection
5. Pre-Set Program Library
For beginners, this spec decides whether your first week is productive or painful.
IPG’s LightWELD system ships with 75 factory-programmed presets sorted by material type and thickness. Select “stainless steel, 2 mm” and the machine loads the validated settings. You weld. No first-day parameter-chasing.
Look for a control panel that shows these core settings:
– Power (% or direct wattage display)
– Frequency (pulse density control)
– Wobble width and frequency
– Wire feed speed, retract speed, and start delay
Fault code readability matters just as much. A system that displays “coolant temperature high” in plain text is worth more to a first-time operator than one showing “Error: E-047” and sending you into a manual.
6. Power Supply Requirements — 220 V vs. 380 V
Miss this spec and it can stall your entire installation plan.
- 1000–1500 W systems: Many run on single-phase 220 V — compatible with standard workshop or garage wiring. Practical for small shops and home fabricators.
- 2000–3000 W systems: Most require three-phase 380 V. Your facility may not be wired for it. Add the upgrade cost to your total budget before you commit.
Don’t find this out after delivery.
7. Metal Compatibility — Know Your Material Before You Commit
A fiber laser welder at ~1080 nm wavelength performs well on the metals that fill most fabrication shops. That said, absorption varies by material — and so does the approach.
Works well with standard settings:
– Carbon steel
– Stainless steel
– Galvanized steel
Requires adjusted settings or higher power:
– Aluminum (high thermal conductivity — step up power, slow down travel)
– Copper (narrow weldable range — reflectivity demands careful focus and power density control)
Not the right tool:
– Zinc and other high-reflectivity coatings — back-reflection puts your optics at risk
– Materials above 8–8.5 mm in a single pass — that’s past what handheld laser physics can deliver with clean results
Know your primary material before picking a power tier. The machine that handles your stainless cabinet work perfectly may fall short on an aluminum structural project — or the other way around.
Seven specs. Each one can make or break your purchase decision on its own. Go through this list before you talk to any vendor. You’ll walk into that conversation knowing what you actually need.
Handheld Laser Welder Price Guide 2026: What’s Your Budget Actually Buying?
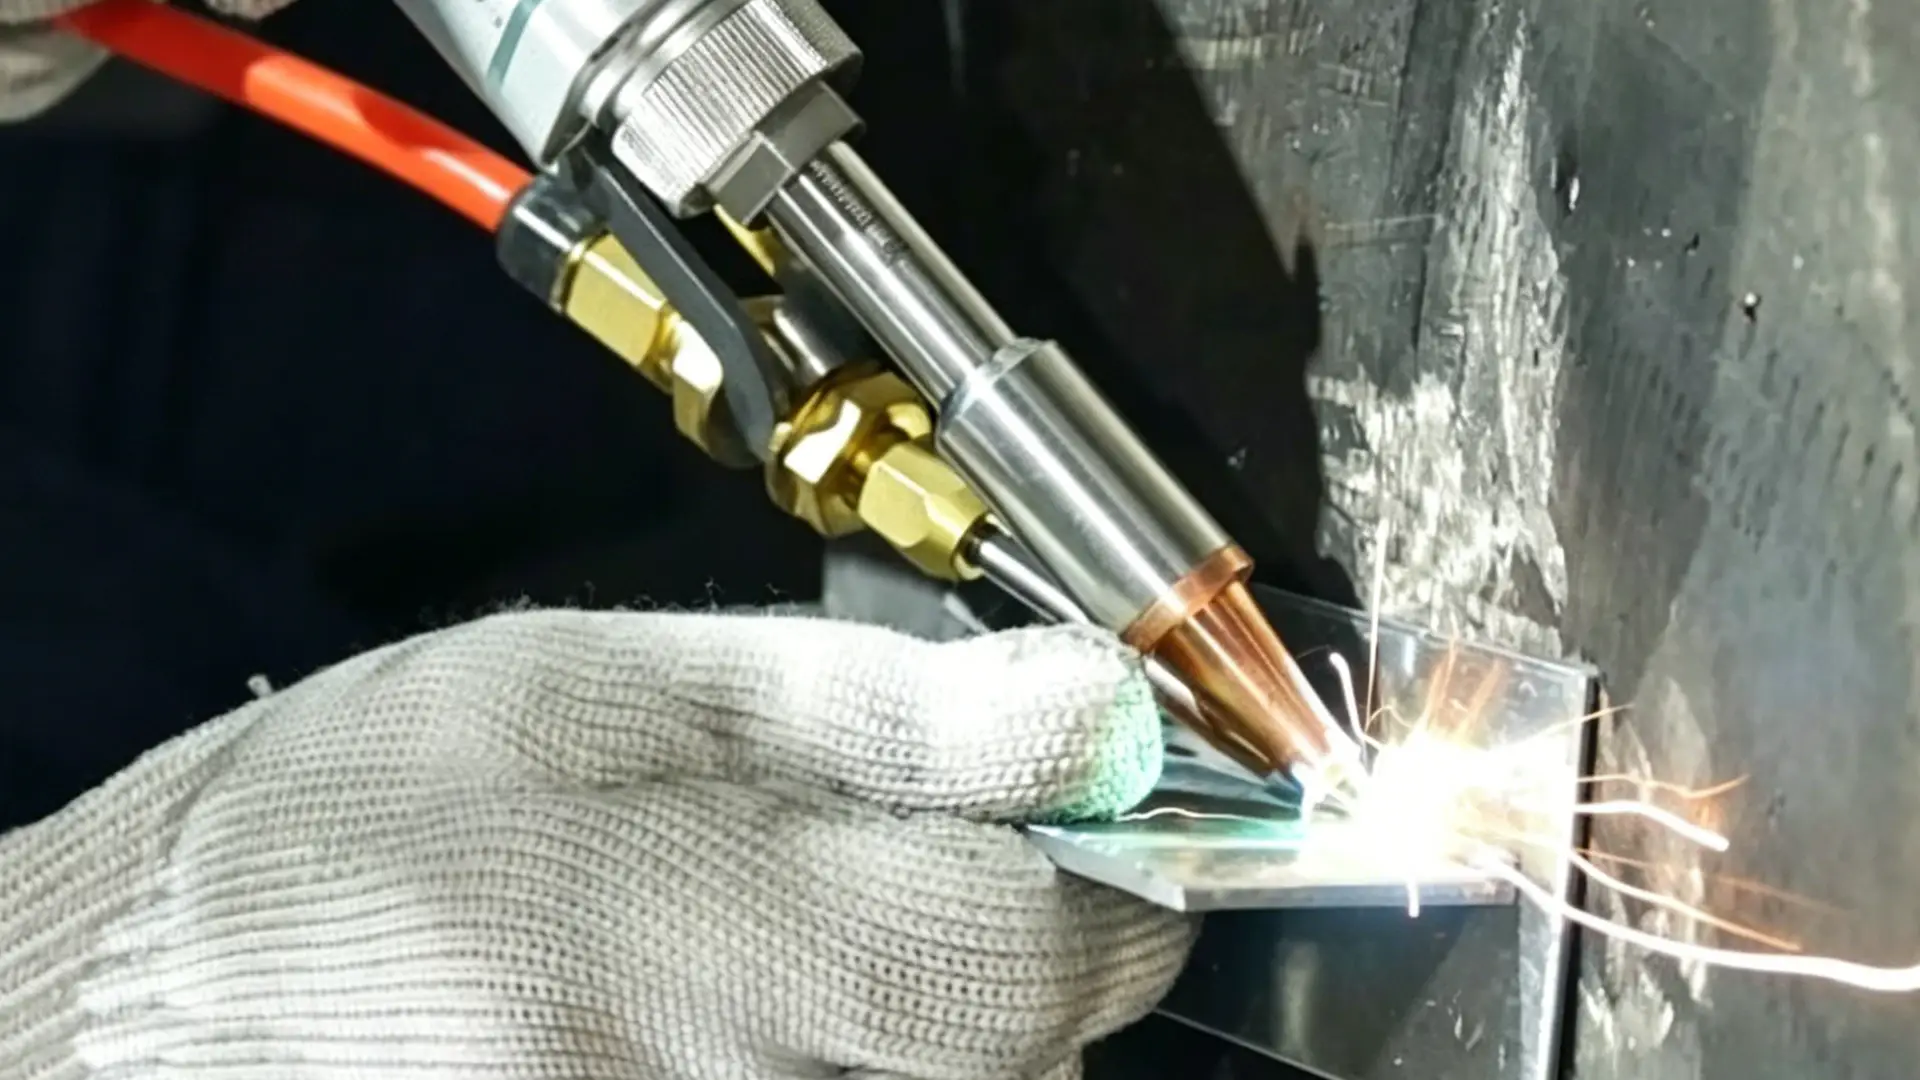
The sticker price on a handheld laser welder tells you almost nothing. The full picture includes the machine, gas, safety gear, consumables, and hidden costs that don’t show up until month three.
Here’s how the market breaks down in 2026.
The Four Price Bands
$3,600–$5,300 — Entry-Level 3-in-1 Systems
Most first-time buyers land here. Units in this range run 1000–1500W. They use domestic laser sources with 1–2 year warranties and pair with compact water-cooling units that struggle under sustained load. Many are marketed as 3-in-1 (weld, cut, clean) — but the accessories are stripped-down. Wire feeders cost extra. Fume nozzles are basic.
Best for: thin material (≤3 mm), low-volume work, under four hours of runtime per day.
$4,700–$8,000 — Standard Commercial welders
Step up here and the configuration improves noticeably. You get 1500–2000W output, Raycus or MAX laser sources, proper industrial water cooling, and multi-mode wobble welding as standard. These are purpose-built welding machines — no cutting or cleaning functions. That focus shows clearly in weld stability and joint quality.
Best for: metal fabrication shops, railing and window manufacturers, stainless production at 1–4 mm.
$6,500–$9,800 — Professional portable Systems
This is the sweet spot for small-to-mid factories running serious production. You get 2000–3000W output, first-tier domestic sources (Raycus/MAX/Reci), large-capacity industrial chillers, dual-axis wobble, touchscreen HMI, and full preset libraries. High-spec 3-in-1 machines in this range — like the STYLECNC 3000W at ~$8,000 — handle stainless, carbon steel, and aluminum up to 6–8 mm.
Best for: multi-shift production, structural fabrication, shops that need one machine to handle everything.
$10,000+ — Brand-Name Premium Systems
IPG LightWELD 1500/2000XR. TRUMPF. These are European-certified machines with air-cooled or high-performance Water-cooled systems, full CE/UL compliance, and premium fiber cables rated for longer bend-cycle life. In Western markets, prices run $12,000–$25,000.
Best for: export-order factories, precision manufacturing, operations where downtime carries a real dollar cost.
The Hidden Costs Nobody Quotes You
A $7,500 machine is not a $7,500 purchase. Run the real numbers before you commit.
| Cost Item | First-Year Estimate |
|---|---|
| Shielding gas (argon/nitrogen) | $400–$800 |
| Laser safety glasses (OD 6+, ×2 pairs) | $160–$500 |
| Protective clothing + gloves | $200–$500 |
| Fume extractor + first-year filters | $900–$3,500 |
| Nozzles, lenses, filler wire | $350–$1,200 |
| Trial-and-error scrap material | $200–$500 |
First-year total cost for a professional-tier system: $8,700–$16,800. That’s the honest number — machine included, ancillary costs included, facility modifications excluded.
The line item that surprises people most: fume extraction. An entry dual-filter unit runs $700–$1,200. An industrial-grade four-stage system runs $1,500–$3,000. On top of that, filter replacements add $200–$600 per year. Class IV Laser Welding produces metal fume. There’s no way around this cost.
Does the Investment Pay Back?
Take a 3–5 person metal shop replacing TIG with a $10,000 all-in laser setup. The math looks like this:
A skilled TIG welder costs $25/hour fully loaded. laser welding is faster — higher travel speed, less post-weld grinding. Once the operator gets comfortable, you save an estimated 2 hours of labor per day. That’s $50 saved per day. Over 250 working days: $12,500 recovered in year one.
Add reduced rework, fewer rejected parts, and lower grinding consumable costs. For shops running consistent medium-volume stainless work, the $10,000 investment pays itself off inside 12 months.
For weekend-repair operations or low-volume custom shops under 500 annual weld hours, the math doesn’t hold. Keep the TIG.
Step-by-Step Safety Setup for Beginner Handheld Laser Welder Operators
A 1500 W fiber laser at 1080 nm is invisible. Your eye gets zero warning before the damage is done.
That’s not a scare tactic. It’s physics. Near-infrared light sits outside the visible spectrum. Your pupil won’t contract. Your blink reflex won’t fire. By the time you feel warmth or discomfort, the injury has already happened. Direct exposure at close range — even for a split second — can cause permanent retinal damage. Class IV laser safety isn’t optional paperwork. It’s the difference between a career and a compensation claim.
Run through this checklist before you touch the trigger.
PPE: What You Put On Before Anything Powers Up
Eyes — this is non-negotiable:
– Laser safety glasses rated OD ≥ 6 at 1070–1080 nm, ANSI Z136 or EN 207 certified
– Wraparound or side-shield design — reflected beams don’t just come from straight ahead
– Check lenses every shift. One scratch, one crack, one sign of delamination — replace them now, not later
– Add a laser welding helmet with integrated protective glass as a second layer of eye defense
Body:
– Full-cotton or flame-retardant long-sleeve jacket and trousers. Synthetics melt and bond to skin — don’t wear them
– Heat-rated welding gloves that cover the wrist
– Steel-toed, slip-resistant safety boots
– P100 respirator at minimum indoors. Use a PAPR for galvanized or coated metals
Everyone inside the work zone wears eye protection. No exceptions — observers included.
Workspace Setup: Clear It Before You Start
| Check Item | Minimum Standard |
|---|---|
| Flammables (paper, wood, solvents) | Remove within 5 m; barrier or curtain from 5–10 m |
| Fume extraction | Running, filter current, intake positioned 20–40 cm above weld point |
| Fire extinguisher | ABC dry-powder ≥ 4 kg, within 10 m walking distance |
| Gas cylinders | Chained at two points, ≥ 3 m from weld area, out of any reflection path |
| Warning signage | “Class 4 Laser — 1080 nm — OD 6+ Eye Protection Required” at every entry point |
Got a door within line-of-sight of the welding zone? Fit a red/green indicator light or a door interlock. The interlock cuts the laser the moment the door opens. Most industrial systems include this as standard. Turn it on and use it.
Power-Up Sequence: Do It in Order, Every Time
- Main breaker — power up the workshop supply and the machine’s rear power switch
- Key switch — insert and rotate to enable the control system
- Cooling system — start the water chiller first. Confirm flow before anything else runs
- Fume extractor — on and verified
- Control panel — power up the HMI, load your material preset
- Laser enable — only after you confirm all the steps above
The sequence matters. Fire up the laser source before the chiller is running, and you risk killing a $6,000–$12,000 component.
The Three Beginner Mistakes That Land People in the ER
- Looking at the weld pool through standard welding goggles, tinted safety glasses, or bare eyes. None of these block 1080 nm — not even close
- Test-firing on polished stainless or bare aluminum without tracking where the reflection lands
- Letting untrained coworkers stand within 3 meters of the welding zone without certified laser eye protection
Experienced TIG welders face the highest risk here. The visible arc trained your instincts over years. The laser won’t give you that same warning. It won’t give you any warning at all.
Best Use Cases
The machine isn’t magic. It’s a precision instrument. It works great inside its range — and falls apart outside it.
Here’s where handheld laser welding earns its place.
Where It Wins
Thin sheet metal under 3 mm — stainless, carbon steel, galvanized
This is the machine’s home territory. At 1000–1500 W, a handheld laser welder cuts through 0.5–3 mm stainless in a single pass. The heat-affected zone stays narrow. Distortion stays low. Weld width runs 0.6–1.5 mm — tight enough for instrument enclosures, control boxes, and precision sheet assemblies. Tolerance matters here. Rework doesn’t belong here.
Decorative and appearance-critical parts
For stainless railings, cabinet faces, kitchen sink edges, and architectural trim, laser welding cuts post-weld grinding by 60–80% compared to TIG or MIG. The bead comes off the gun looking like a thin silver line. On 0.8–2.0 mm decorative stainless, that often means light sanding — and you’re done.
Small-batch shops that switch materials often
Say your day involves cycling between stainless, carbon steel, aluminum, and galvanized — sometimes within the same hour. The Laser handles it. Load a saved preset: “1.2 mm SUS fillet,” “2.0 mm Q235 lap,” done. Parameter switching takes two minutes, not twenty.
Field repair and mobile work
Most units mount on casters. The gun cable runs 5–10 meters. That’s enough reach to fix a cracked stainless tank or a broken railing without dismantling anything. Fume output is lower than MIG or stick welding — a real advantage for indoor work.
Dissimilar thin-metal joints
Lap-welding 1–2 mm stainless to 1–2 mm aluminum is doable for non-load-bearing connections. Bias the beam toward the higher-melting-point side. Keep energy input tight. Skip this for structural load paths — but for sealing and light-duty joining, it gets the job done.
Where It Doesn’t
Plate above 8 mm
Past 8 mm, you’re into multi-pass work that no handheld operator can run at a steady quality level. Weld results get unpredictable. Joint prep requirements become too tight to hit by hand. For structural beams, heavy brackets, or crane arms — go with submerged arc welding, multi-wire MIG/MAG, or a robotic laser system.
Polished copper and bare aluminum surfaces
High-reflectivity surfaces bounce the 1080 nm beam straight back up the fiber optic cable. That path leads right to your optical components and laser source. On a system worth $6,000–$12,000, that’s a risk you don’t want to take. Running polished copper busbars or bare aluminum sheet? Use a green-wavelength laser system, or go back to TIG with argon shielding.
Non-metals
A fiber laser welder at 1080 nm is a metal tool — full stop. Plastics burn. Wood chars. Glass cracks. Nothing useful happens. To join plastics, look at transmission laser welding or ultrasonic welding. For ceramics and glass, brazing or adhesive bonding are better fits.
Quick Compatibility Reference
| Material | Weldability | Practical Thickness Range | Watch Out For |
|---|---|---|---|
| Stainless steel (304/316) | ★★★★★ | 0.5–6 mm | Gap ≤ 0.3 mm; protect weld root with shielding gas |
| Carbon steel | ★★★★★ | 0.5–6 mm | Surface rust reduces penetration consistency |
| Galvanized steel | ★★★★ | 0.5–3 mm | Zinc fume — mandatory extraction; don’t skip this |
| Aluminum | ★★★ | 1–4 mm | Step up one power tier; high thermal loss |
| Copper | ★★ | 0.5–3.3 mm | Back-reflection risk; needs surface prep |
| Polished copper/bare aluminum | ✗ | — | Optics damage risk; use alternative process |
| Non-metals | ✗ | — | Wrong tool for the job |
Check which column your primary material falls in before you buy. That one step cuts out more bad purchasing decisions than any spec sheet comparison ever will.
Top 5 Mistakes Beginners Make Buying a Handheld Laser Welder
Most bad purchases don’t come from ignorance. They come from almost-enough information. You know enough to feel confident. Not enough to catch the trap.
Here are the five traps that catch first-time buyers — and how to step around each one.
Mistake 1: Chasing Price, Ignoring the Laser Source
The sticker price is easy to see. The laser source brand? Buried in the spec sheet — or not listed at all.
The source is the machine’s heart. Raycus, MAX, and IPG are the names that matter. They drive stability, lifespan, and what happens at month 14 when something breaks. Budget machines often hide generic or undocumented sources behind a low price tag.
Fix it: Ask for the laser source model number, the warranty term, and written proof of the installed source. Get this before you sign anything. The supplier gives vague answers? Walk away.
Mistake 2: Assuming 1000 W Is Always Enough
It isn’t. Not for aluminum above 2–3 mm. Not for a proper fillet on thicker stainless steel. At that point, travel speed drops, penetration goes shallow, and the weld starts looking like a guess.
Fix it: Define your most common material and maximum thickness before talking to any vendor. Then ask them to run the machine on your exact joint type. No demo, no deal.
Mistake 3: Ignoring the Cooling System
The cooling system isn’t just a feature. It’s a maintenance contract you forgot to read.
Liquid-cooled units need coolant replacement every few months. Skip it, and sediment builds up. Temperature climbs. Your $8,000 laser source starts degrading — and you won’t notice until it’s too late. Also, cooling capacity must match the machine’s actual power output and duty cycle. “Cooling included” on a checkbox means nothing.
Fix it: Ask whether the chiller is rated for the machine’s continuous power output. Get the service interval in writing.
Mistake 4: Buying a Machine With No Local Service Behind It
A fiber laser welder is not something you fix with a YouTube tutorial. The torch fails or the source drops output — you need a real technician who can respond fast. Not a support ticket in another timezone.
Fix it: Before purchase, get written answers to three questions:
– Who handles warranty claims?
– Where are repairs done?
– Is a local technician available?
Vague answers mean future downtime is already priced into your decision — you just don’t know it yet.
Mistake 5: Skipping Safety Training and Starting Production Right Away
The machine arrives. It looks impressive. Someone plugs it in.
That’s the highest-risk moment. Handheld laser welding at 1080 nm needs proper laser-rated PPE, a designated Laser Controlled Area, and a trained Laser Safety Officer on site. In many jurisdictions, this is a legal requirement — not optional.
Fix it: Get operator and supervisor training from the supplier before the first production weld. Run a safe test first. Set up your LCA. Then weld.
Quick-Decision Checklist: Are You Ready to Buy a Handheld Laser Welder?
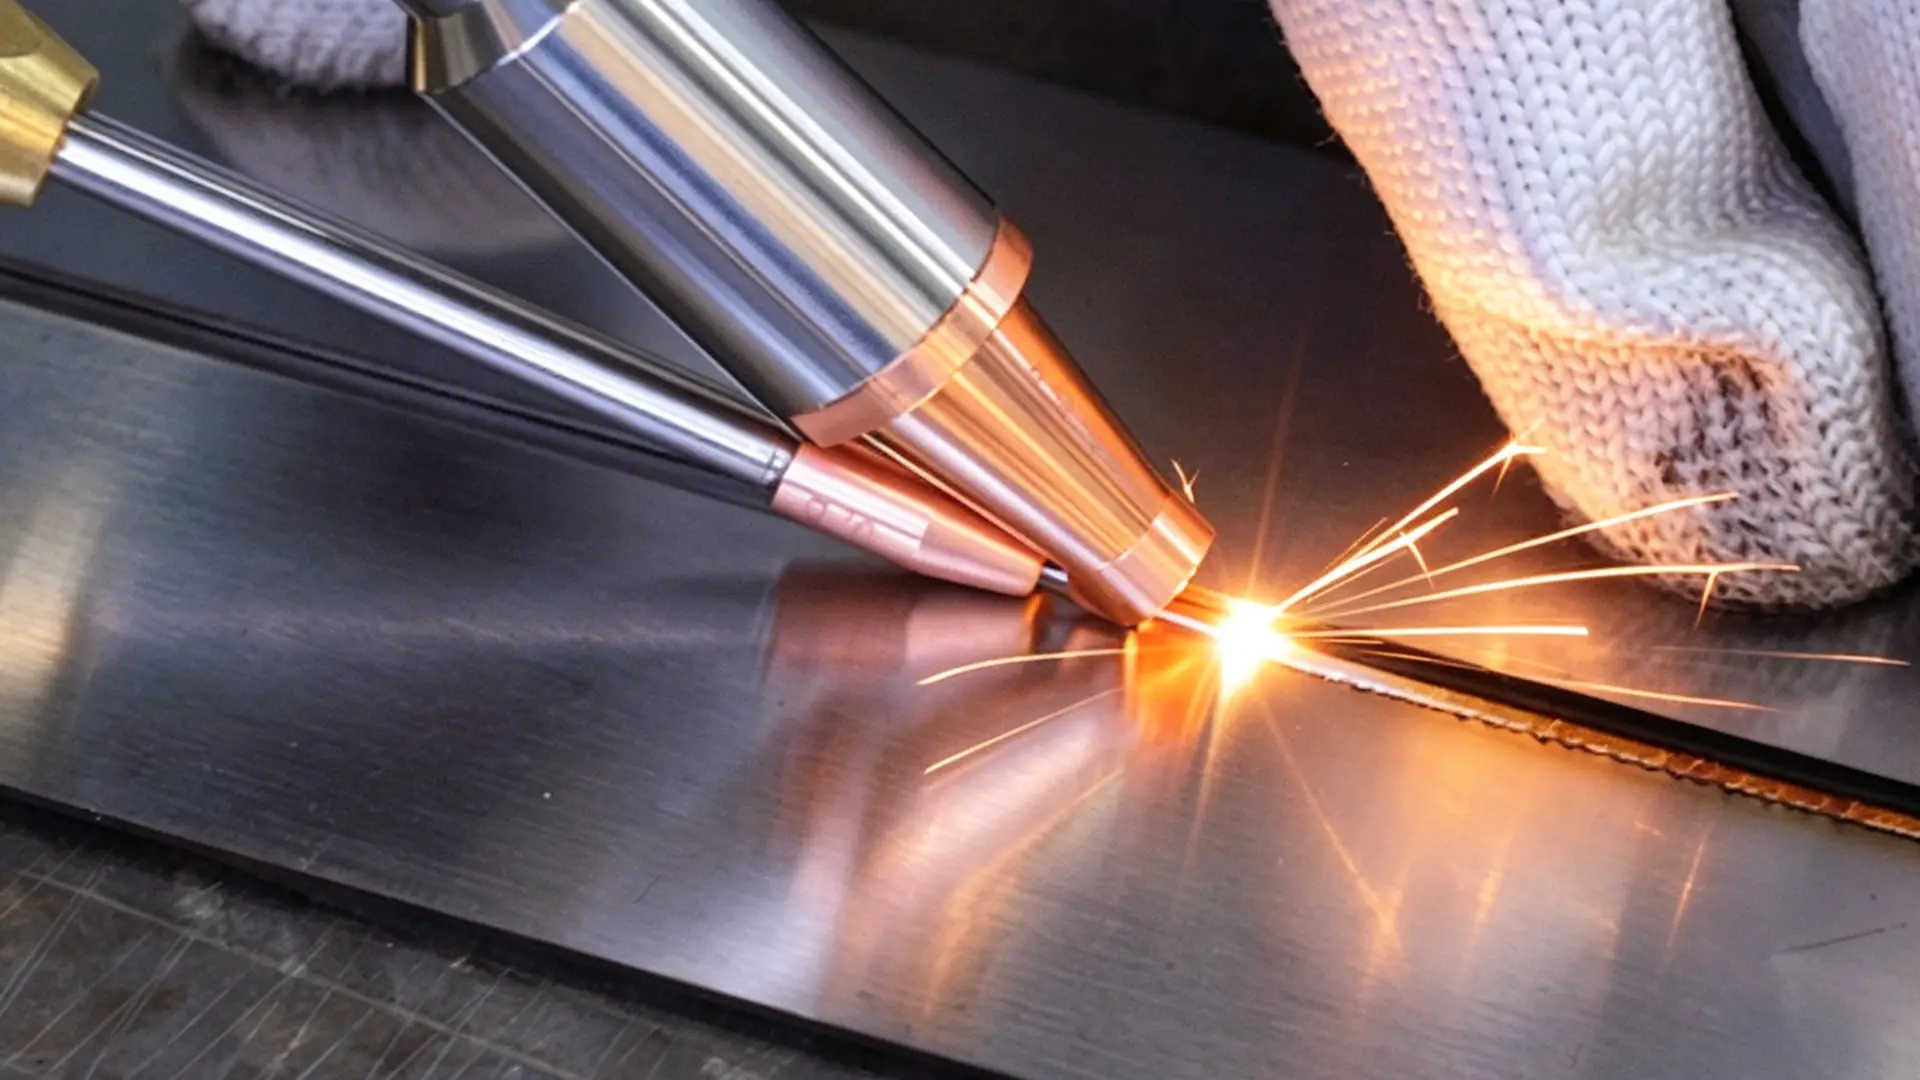
Five minutes of honest self-assessment now saves you from a very expensive lesson later.
Work through these four questions before you talk to a single vendor.
1. Does your electrical setup match the machine?
Most 1500–2000W systems run on three-phase 380V — not the single-phase 220V outlet in your garage. A 2000W unit draws 4–6kW total system load once the chiller and controls are running. That means a dedicated circuit, a 16–20A breaker, and proper grounding. Don’t find this out on delivery day.
2. Does the power tier match your actual material?
Be specific. 70%+ of your work is 0.5–3mm stainless or carbon steel? A 1500W machine covers you. Working 1–4mm with some aluminum in the mix? That’s a 2000W job. Regular work above 4mm? Step up to 3000W — or keep your MIG for the heavy stuff.
3. Can you run it long enough to matter?
Running four-plus hours of continuous welding each day? Get the machine’s duty cycle rating and the chiller’s sustained cooling capacity confirmed. In writing.
4. Is your safety infrastructure ready?
Class IV laser. OD 6+ eye protection. A designated, controlled work area. Fume extraction on before the first arc strikes. Set aside 5–15% of equipment cost for PPE and extraction. That part is not optional — full stop.
Four honest answers. Any one of them is “not yet”? Fix that first.
Conclusion
You now know what wattage your work demands. You know why a fiber laser welding machine beats TIG for speed and finish quality on stainless steel. You also know which beginner mistakes drain budgets before the first bead is laid.
That knowledge is your real purchase protection.
MaxWave builds exactly the kind of machine this guide points you toward — factory-direct manufacturing, integrated supply chain, in-house assembly and testing. Every unit undergoes multi-step calibration before shipment, ensuring stable output and reliable long-term performance.
Browse MaxWave’s lineup with fresh eyes. You’re not guessing anymore — you’re evaluating.

0 Comments